If you're looking to update the look of your kitchen cabinets without the commitment and effort of painting, toning may be the perfect solution. Toning is a technique that involves applying a tinted topcoat to your cabinets to change the color or enhance the wood grain while still allowing the natural wood to show through. It's a great way to refresh your cabinets without completely covering up the beauty of the wood.
Toning can be done with a variety of products, including tinted polyurethane, tinted varnish, or tinted lacquer. It's a relatively simple process that can be done by DIYers with a bit of patience and attention to detail. By using the toning technique, you can achieve a new look for your kitchen cabinets without the time and expense of a full repaint. Below is a step-by-step guide to help you get started.
Advertisement
Materials:
Tinted topcoat (tinted polyurethane, tinted varnish, or tinted lacquer)
Degreaser or cleaning solution
Fine-grit sandpaper
Clean rags or tack cloth
Paintbrush or foam applicator
Drop cloths or plastic sheeting
Degreaser or cleaning solution
Fine-grit sandpaper
Clean rags or tack cloth
Paintbrush or foam applicator
Drop cloths or plastic sheeting
Instructions:
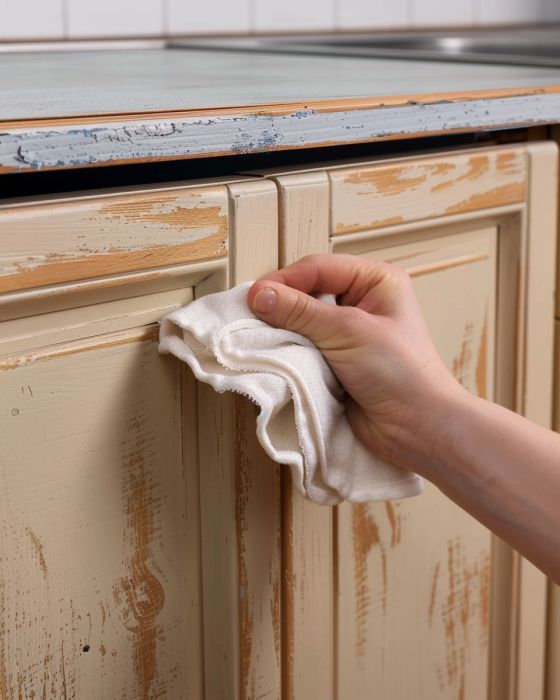
Step 1: Clean the cabinets
Start by cleaning your cabinets thoroughly to remove any dirt, grease, or grime. Use a degreaser or cleaning solution to wipe down the surfaces, paying extra attention to areas around handles or knobs where grime may build up. Allow the cabinets to dry completely before moving on to the next step.
Step 2: Prep the surfaces
Lightly sand the surfaces of your cabinets with fine-grit sandpaper to create a slightly rough texture. This will help the tinted topcoat adhere better. Wipe down the surfaces with a clean rag or tack cloth to remove any dust or debris.
Step 3: Protect your surroundings
Lay down drop cloths or plastic sheeting to protect your floors and countertops from drips or spills. You may also want to tape off any areas you don't want to be toned, such as hardware or hinges.
Step 4: Apply the tinted topcoat
Using a paintbrush or foam applicator, apply a thin, even coat of the tinted topcoat to the surfaces of your cabinets. Be sure to follow the manufacturer's instructions for the specific product you're using. Work in small sections, and be mindful of drips or runs.
Step 5: Allow to dry
Allow the tinted topcoat to dry according to the manufacturer's instructions. Depending on the product, this may take a few hours or overnight.
Step 6: Assess and repeat if necessary
Once the topcoat is dry, assess the color and coverage. If you're happy with the result, you're done! If you want a deeper color or more coverage, you can apply additional coats of the tinted topcoat, allowing each coat to dry fully before applying the next.
Step 7: Clean up and enjoy
Once you're satisfied with the look of your cabinets, clean up your workspace and remove any protective coverings or tape. Enjoy your refreshed kitchen cabinets!
Advertisement
Toning is a versatile technique that can give your kitchen cabinets a fresh look without the need for a complete repaint. With a little bit of preparation and some patience, you can achieve a beautiful result that enhances the natural beauty of the wood. Give it a try and see how it can transform your space!