The Christmas cactus, also known as Schlumbergera, is a delightful and vibrant succulent that captures the hearts of many with its stunning blooms and easy-care nature. As the holiday season approaches, these charming plants become a favorite centerpiece in homes, adding a touch of festive beauty with their cascading flowers in shades of red, pink, white, and lavender.
If you're a Christmas cactus enthusiast looking to expand your collection or share the joy of this beautiful plant with others, propagating them is a rewarding and cost-effective way to do so. In this comprehensive guide, we'll walk you through the step-by-step process of propagating Christmas cactus successfully, ensuring you have healthy, new plants to brighten up your living spaces or gift to loved ones.
Advertisement
Part 1: Propagating Christmas Cactus
Materials you'll need:
Healthy Christmas cactus plant (the parent plant)
Clean and sharp scissors or pruning shears
Well-draining potting mix (a mix suitable for cacti and succulents)
Small pots or containers with drainage holes
Plastic bags or clear plastic wrap
Spray bottle filled with water
Clean and sharp scissors or pruning shears
Well-draining potting mix (a mix suitable for cacti and succulents)
Small pots or containers with drainage holes
Plastic bags or clear plastic wrap
Spray bottle filled with water
Step 1: Choose the Right Time
The best time to propagate Christmas cactus is in the spring or early summer when the plant is actively growing. This will give the new cuttings the best chance to root successfully.
Step 2: Prepare the Parent Plant
Ensure that the parent Christmas cactus is healthy and disease-free. Water it a day or two before taking cuttings to ensure it is well-hydrated.
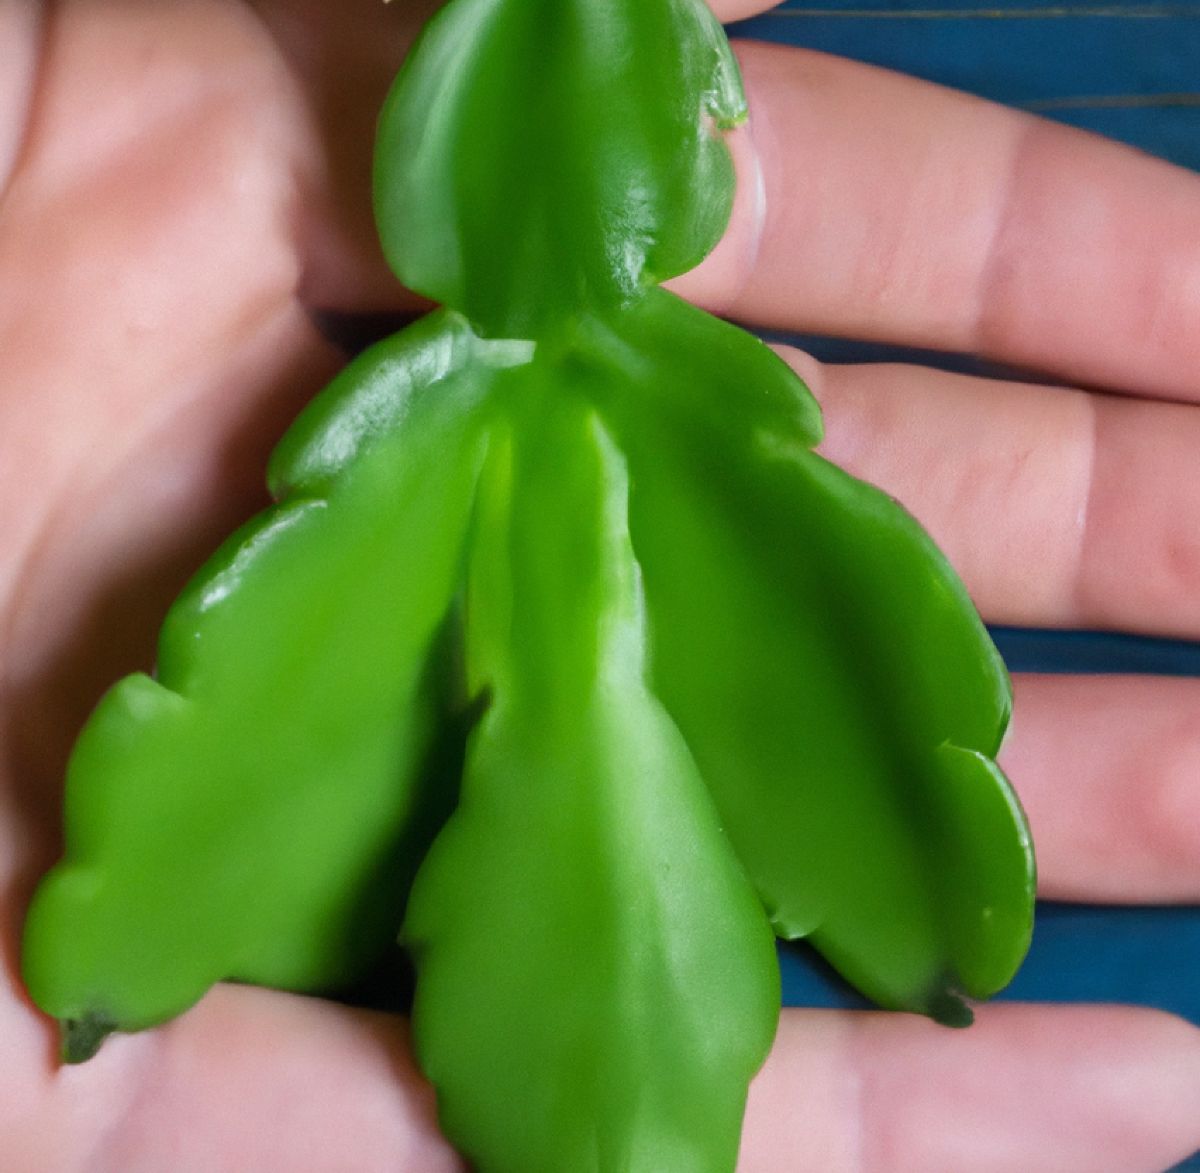
Step 3: Take Cuttings
Using clean and sharp scissors or pruning shears, choose healthy segments to cut from the parent plant. Each cutting should be about 2 to 4 segments long, which is roughly 3-4 inches (8-10 cm) in length. Make clean cuts to avoid damaging the plant.
Step 4: Allow the Cuttings to Callus
Place the cuttings in a dry and warm location to allow the cut ends to callus. This typically takes about 1 to 2 days and helps prevent rot when you plant the cuttings.
Step 5: Potting the Cuttings
Fill small pots or containers with well-draining potting mix suitable for cacti and succulents. Plant the cuttings about an inch deep into the soil, ensuring the cut ends are facing downward.
Step 6: Watering and Covering
After planting the cuttings, water them lightly to settle the soil. Then, cover the pots with clear plastic bags or plastic wrap to create a mini-greenhouse effect. This will help retain moisture and create a humid environment, which aids in root development.
Step 7: Provide Indirect Light
Place the pots with cuttings in a location with bright, indirect light. Avoid placing them in direct sunlight as it may cause the cuttings to become too dry or overheated.
Step 8: Monitor and Care
Check the cuttings regularly for signs of growth and moisture. Mist the inside of the plastic covering if it appears dry. However, be cautious not to overwater the cuttings, as they may rot if the soil remains excessively wet.
Step 9: Root Development
After a few weeks, gently tug on the cuttings to check for resistance, indicating that roots have developed. Once you feel resistance, the cuttings have successfully rooted.
Step 10: Transplanting
Once the cuttings have rooted, carefully remove the plastic covering and gradually acclimate the new plants to the surrounding environment over a few days. Then, transplant each rooted cutting into its own slightly larger pot with regular cactus and succulent potting mix.
Part 2: Secrets to Spectacular Blooms
Secret 1: Begin with a Full-Size Pot
When transplanting the rooted cuttings into individual pots, consider using a full-size pot that allows enough room for the cactus to grow and expand its root system. A slightly larger pot will provide the plant with ample space to develop, leading to better growth and blooming.
Advertisement
Secret 2: Plant Cuttings In Groups
Instead of planting each cutting in separate pots, consider planting multiple cuttings together in one larger pot. Group planting encourages the cacti to grow closely together, creating a fuller and more visually appealing arrangement. This also helps the plants share humidity, which can be beneficial for their overall health and blooming potential.