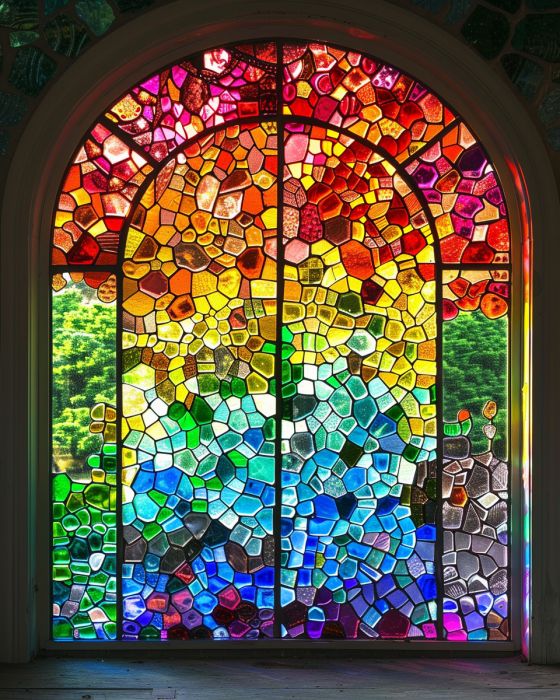
Turning discarded bottles into a stunning stained glass window not only repurposes waste but also adds a splash of color and artistry to any home. This DIY project is perfect for those who love to upcycle materials and incorporate unique, handmade pieces into their décor. It combines creativity with sustainability, offering a satisfying way to transform everyday items into something extraordinary. Beyond its aesthetic appeal, this project enables individuals to personalize their spaces in a cost-effective way, while also contributing positively to the environment by reducing waste.
This DIY stained glass window made from discarded bottles can be styled in various ways to complement different interior designs. For a contemporary look, consider placing it in a minimalist setting, where its colors can truly pop against neutral walls. In a bohemian-inspired space, pair the window with eclectic furnishings and mixed textures to enhance its vibrant, artsy vibe. If your home has a rustic or farmhouse aesthetic, this window can serve as a striking contrast to natural wood elements and muted colors. For an added touch of charm, backlighting the stained glass window can create a warm, inviting glow that enhances its visual impact in any room.
Advertisement
Eco-Chic Discarded Bottle Stained Glass Window

Materials
Discarded glass bottles of various colors
Glass cutter
Sandpaper (fine-grit)
Lead came - H or U shape
Copper foil tape
Soldering iron and solder
Stained glass cement
Paintbrush
Hanging mechanism (e.g., chains, sturdy wire)
Protective gloves and eyewear
Glass cutter
Sandpaper (fine-grit)
Lead came - H or U shape
Copper foil tape
Soldering iron and solder
Stained glass cement
Paintbrush
Hanging mechanism (e.g., chains, sturdy wire)
Protective gloves and eyewear
Directions
Collect a variety of discarded glass bottles, focusing on different colors and transparencies.
Carefully cut the bottles into sections using a glass cutter. Aim for straight cuts to create uniform pieces.
Smooth the edges of each glass piece with fine-grit sandpaper to avoid sharp edges.
Arrange the glass pieces into your desired design on a flat surface. Consider color placement and balance for visual appeal.
Wrap the edges of each glass piece with copper foil tape, ensuring it is centered and smooth.
Assemble the foiled pieces using the lead came, fitting them snugly within its channels.
Use a soldering iron and solder to join the pieces together at their intersections, carefully following safety procedures.
Apply stained glass cement into the gaps between glass pieces with a paintbrush to secure and waterproof the window.
Clean the window gently with a damp cloth to remove any flux or residue.
Install the hanging mechanism based on your preference and the weight of the window.
Hang your stained glass window in a location where it can catch light, either against an existing window or in a spot that receives direct sunlight.

Advertisement
Variations & Tips
There are numerous variations to this project to make it your own. Consider using a specific color scheme to match your room’s décor, such as shades of blue for a calming effect or an array of bright colors for a more playful approach. Experiment with different shapes and compositions, perhaps creating a specific image or abstract patterns. For those looking for a simpler version, smaller panels can be created and displayed as part of a gallery wall. Additionally, playing with different textures of glass can add depth and interest to your stained glass window.
