With an ever-growing collection of shoes, it can be challenging to keep them organized. This DIY project is not only functional but also adds a stylish touch to your home. By creating a customized shoe rack using PVC pipes, you'll have a smart and economical solution that caters precisely to your storage needs. Perfect for entryways, closets, or hallways, this innovative shoe rack will help declutter your space while providing a chic, modern look.
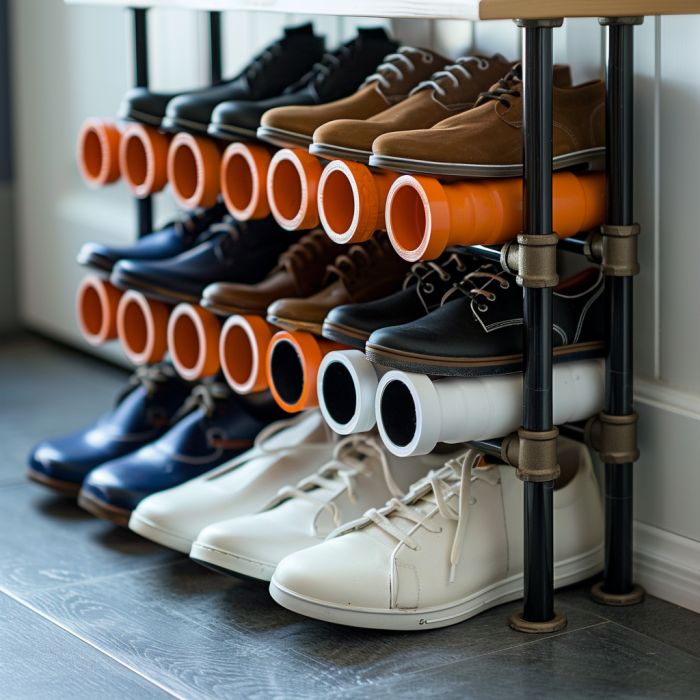
This DIY shoe rack can be painted or wrapped with a stylish adhesive paper to match your interior decor. Opt for neutral colors like white, black, or grey for a minimalist look, or choose bold colors to make a statement. Adding decorative elements such as small plants or fabric bins on top can enhance its aesthetic appeal. Placing the shoe rack near a mirror or a coat rack can create a cohesive entryway setup.
Advertisement
DIY PVC Pipe Shoe Rack
Materials
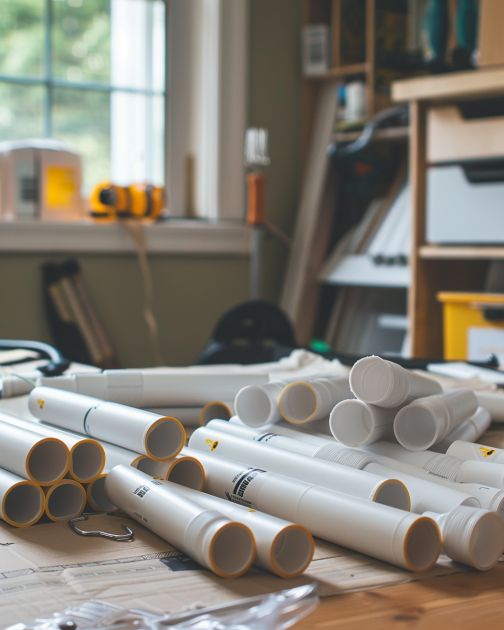
PVC pipes (1-inch diameter, 6-10 feet length depending on size needed)
PVC pipe connectors (elbows and tees)
PVC pipe cutter
Measuring tape
Sandpaper
PVC cement or strong adhesive
Optional: Paint and paintbrush or adhesive paper
PVC pipe connectors (elbows and tees)
PVC pipe cutter
Measuring tape
Sandpaper
PVC cement or strong adhesive
Optional: Paint and paintbrush or adhesive paper
Directions
Measure the area where you want to place the shoe rack and determine the dimensions of your shoe rack accordingly.
Using a PVC pipe cutter, cut the PVC pipes into segments for the shelves and sides. Each shelf section should be slightly wider than the length of your largest shoe.
Sand the edges of the cut pipes to ensure they are smooth and free of burrs.
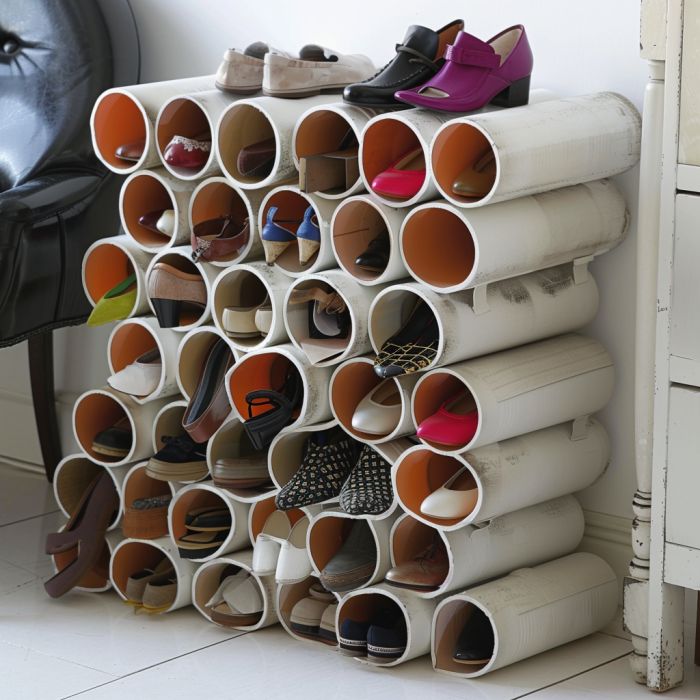
Arrange the pipes side by side and attach them using the PVC connectors (elbows for the corners and tees for the middle junctions). Ensure the structure is square and level as you build.
Apply PVC cement or a strong adhesive at each joint to secure the connections, ensuring they are firmly held together.
Allow the structure to dry fully according to the adhesive manufacturer's instructions.
Optional: Once dry, paint the shoe rack in your desired color or wrap it with adhesive paper for a customized finish.
Place the completed shoe rack in your chosen location and start organizing your shoes.
Final Looks
Advertisement
Variations & Tips
For a more personalized touch, consider varying the size and number of shelves based on your specific storage requirements. You can also use different types of connectors to create unique designs or patterns. If you have kids, adding lower shelves for their shoes will make it easier for them to put away their footwear. Additionally, consider adding small hooks or extra tiers for storing accessories like umbrellas, hats, or keys. For an eco-friendly option, use leftover or recycled PVC pipes.