
In recent years, sustainable gardening practices have gained significant attention, and one such practice is vermicomposting. My grandpa, a seasoned gardener, swears by a simple yet effective hack to create a worm tower using a 5-gallon bucket. This method is not only cost-effective but also a great way to recycle kitchen waste into nutrient-rich compost.
A worm tower is essentially an in-ground composting system that allows worms to break down organic matter directly in your garden, enriching the soil and promoting plant health.
Advertisement
Why Build a Worm Tower from a 5-Gallon Bucket
Building a worm tower from a 5-gallon bucket is an ingenious way to utilize materials you likely already have at home. The bucket serves as a sturdy and durable container that can withstand the elements, making it perfect for outdoor use. Additionally, using a 5-gallon bucket is a cost-effective alternative to purchasing commercial worm towers, which can be quite expensive. This DIY approach not only saves money but also allows for customization to fit the specific needs of your garden.
Benefits of Using a DIY Worm Tower
A DIY worm tower offers numerous benefits for both your garden and the environment. Firstly, it provides a continuous supply of compost, which improves soil fertility and structure. The worms in the tower break down organic waste, reducing the amount of waste sent to landfills. Moreover, the worm castings produced are rich in nutrients, promoting healthier plant growth. The tower also encourages beneficial microbial activity in the soil, enhancing its overall health and resilience.
Materials and Tools Needed for the Worm Tower
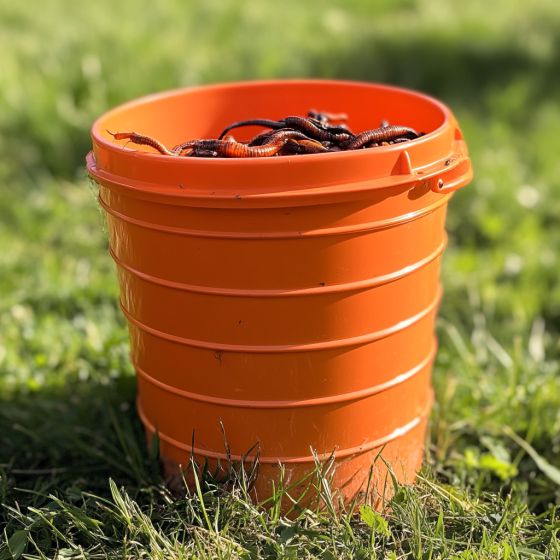
To build your own worm tower, you will need a 5-gallon bucket with a lid, a drill with a large drill bit (approximately 1/4 inch), a saw or a sharp knife, and a shovel. Additionally, you'll need bedding material such as shredded newspaper or cardboard, a small amount of garden soil, and, of course, composting worms (red wigglers are recommended). These materials are inexpensive and often readily available, making this project accessible to anyone interested in sustainable gardening.
Step-by-Step Guide to Building Your Own Worm Tower
Building a worm tower is a straightforward process that can be completed in a few simple steps. First, you'll need to prepare the bucket by cutting off the bottom and creating holes for ventilation and drainage. Next, assemble the components by adding bedding and worms to the bucket. Finally, install the tower in your garden by burying it partially in the soil. With these steps, you'll have a functional worm tower that will enhance your garden's productivity.
Preparing the 5-Gallon Bucket
Begin by removing the bottom of the 5-gallon bucket. This can be done using a saw or a sharp knife. Removing the bottom allows worms to move freely between the tower and the surrounding soil, facilitating the composting process. Ensure the edges are smooth to prevent injury to the worms. Once the bottom is removed, clean the bucket thoroughly to remove any residues that might harm the worms.
Creating Ventilation and Drainage Holes
Using a drill, create several holes around the sides and lid of the bucket. These holes should be approximately 1/4 inch in diameter to allow for adequate airflow and drainage. Proper ventilation is crucial to prevent the compost from becoming anaerobic, which can lead to foul odors. The drainage holes ensure that excess moisture can escape, maintaining an optimal environment for the worms.
Assembling the Worm Tower Components
With the bucket prepared, it's time to assemble the worm tower. Start by adding a layer of bedding material, such as shredded newspaper or cardboard, to the bottom of the bucket. This bedding provides a comfortable habitat for the worms and helps retain moisture. Add a small amount of garden soil to introduce beneficial microbes. Finally, add the composting worms to the bucket and cover them with a thin layer of organic waste, such as fruit and vegetable scraps.
Installing the Worm Tower in Your Garden
Choose a suitable location in your garden for the worm tower, ideally near plants that would benefit from the enriched soil. Dig a hole deep enough to bury the bucket about halfway, ensuring the lid remains above ground. This setup allows easy access for adding waste and monitoring the worms. Once installed, cover the tower with its lid to protect the contents from pests and extreme weather conditions.
Maintaining Your Worm Tower for Optimal Results
To maintain your worm tower, regularly add organic waste and monitor moisture levels. The contents should be as damp as a wrung-out sponge. If the compost becomes too dry, add water; if too wet, add more bedding. Avoid adding meat, dairy, or oily foods, as these can attract pests and create odors. Every few months, check the worm population and adjust the amount of waste accordingly. With proper care, your worm tower will provide continuous benefits to your garden.
Advertisement
Conclusion: The Value of a Homemade Worm Tower
A homemade worm tower is a valuable addition to any garden, offering an eco-friendly solution for waste management and soil enrichment. By recycling kitchen scraps into nutrient-rich compost, you reduce waste and promote sustainable gardening practices. This simple project not only saves money but also empowers gardeners to take an active role in improving their soil health. Whether you're an experienced gardener or a beginner, building a worm tower is a rewarding endeavor that yields lasting benefits for your garden and the environment.