Lavender is a beloved plant known for its fragrant flowers and versatile uses in gardens, culinary dishes, and aromatherapy. Propagating lavender from cuttings is a rewarding way to expand your garden without the need to purchase new plants. This method is not only cost-effective but also allows you to preserve the characteristics of your favorite lavender varieties. By taking cuttings from healthy plants, you can ensure that the new plants will be true to type, maintaining the same scent, color, and growth habits.
Understanding the Benefits of Propagating Lavender
Propagating lavender from cuttings offers several advantages. Firstly, it is a cost-effective method to increase your lavender collection. Instead of buying new plants, you can create multiple plants from a single parent plant. Secondly, propagation from cuttings ensures genetic consistency, meaning the new plants will have the same desirable traits as the parent plant. Additionally, this method is faster than growing lavender from seeds, as cuttings root and grow more quickly. Finally, propagating lavender from cuttings can be a therapeutic and educational gardening activity, providing a sense of accomplishment as you watch your new plants thrive.
Advertisement
Essential Tools and Materials for Lavender Propagation
To successfully propagate lavender from cuttings, you will need a few essential tools and materials. These include a pair of sharp, clean pruning shears or scissors, a small pot or tray filled with a well-draining potting mix, rooting hormone (optional but recommended), and a plastic bag or a propagation dome to maintain humidity. Additionally, having a spray bottle for misting and labels to mark your cuttings can be helpful. Ensuring you have these tools and materials ready will make the propagation process smoother and more efficient.
Step by Step Guide to Propagating Lavender from Cuttings
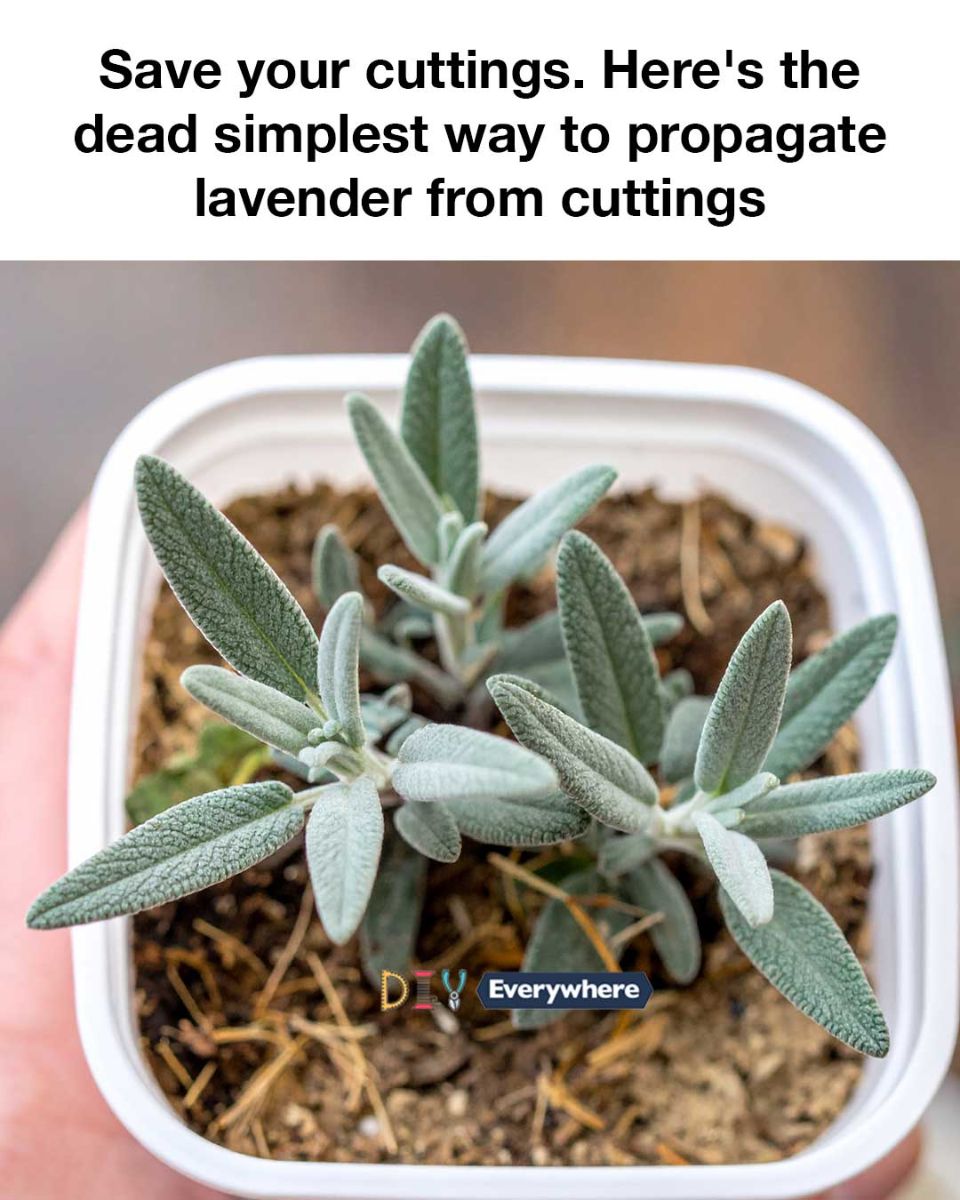
Propagating lavender from cuttings involves several key steps. First, select a healthy parent plant and take cuttings from non-flowering stems. Prepare the cuttings by removing the lower leaves and dipping the cut end in rooting hormone. Plant the cuttings in a pot filled with a well-draining potting mix, ensuring the leaves do not touch the soil. Cover the pot with a plastic bag or propagation dome to maintain humidity. Place the pot in a warm, bright location but out of direct sunlight. Mist the cuttings regularly to keep them hydrated. After a few weeks, check for root development by gently tugging on the cuttings. Once roots have formed, gradually acclimate the cuttings to outdoor conditions before transplanting them into the garden.
Preparing the Lavender Cuttings
To prepare lavender cuttings, choose healthy, non-flowering stems from the parent plant. The best time to take cuttings is in the morning when the plant is well-hydrated. Using sharp, clean pruning shears, cut a 4-6 inch section from the tip of the stem. Remove the lower leaves from the cutting, leaving a few sets of leaves at the top. This will help reduce water loss and encourage root development. Optionally, dip the cut end in rooting hormone to promote faster rooting and increase the success rate.
Rooting the Lavender Cuttings
Once your cuttings are prepared, it's time to root them. Fill a small pot or tray with a well-draining potting mix, such as a mix of perlite and peat moss. Make a small hole in the soil with a pencil or your finger and insert the cutting, ensuring the leaves do not touch the soil. Firm the soil around the cutting to provide support. Cover the pot with a plastic bag or propagation dome to create a humid environment, which is crucial for rooting. Place the pot in a warm, bright location, avoiding direct sunlight. Mist the cuttings regularly to maintain moisture. After 4-6 weeks, roots should begin to form.
Transplanting the Rooted Cuttings
Once your lavender cuttings have developed a healthy root system, they are ready to be transplanted. Gradually acclimate the rooted cuttings to outdoor conditions by placing them outside for a few hours each day, increasing the time over a week. Choose a sunny location in your garden with well-draining soil. Dig a hole slightly larger than the root ball of the cutting and gently place the cutting in the hole. Backfill with soil and water thoroughly. Space the plants about 12-18 inches apart to allow for growth and air circulation.
Caring for Your New Lavender Plants
After transplanting, it's important to care for your new lavender plants to ensure their success. Water the plants regularly, especially during dry spells, but avoid overwatering as lavender prefers well-drained soil. Mulch around the base of the plants to retain moisture and suppress weeds. Prune the plants annually to maintain their shape and encourage bushy growth. Fertilize sparingly, as too much fertilizer can lead to excessive foliage growth at the expense of flowers. With proper care, your lavender plants will thrive and provide beauty and fragrance to your garden.
Common Mistakes to Avoid When Propagating Lavender
When propagating lavender, there are a few common mistakes to avoid. One mistake is taking cuttings from flowering stems, which are less likely to root successfully. Another mistake is using dull or dirty tools, which can damage the cuttings and introduce disease. Overwatering is a common issue, as lavender prefers well-draining soil and can suffer from root rot if kept too wet. Additionally, placing the cuttings in direct sunlight can cause them to dry out and fail to root. Ensuring proper humidity and avoiding these mistakes will increase your chances of successful propagation.
Tips for Sowing Lavender from Seed
While propagating lavender from cuttings is often preferred, sowing lavender from seed is another option. To sow lavender seeds, start by chilling the seeds in the refrigerator for a few weeks to simulate winter conditions. Sow the seeds in a tray filled with a light, well-draining seed-starting mix. Lightly cover the seeds with soil and mist gently. Place the tray in a warm, bright location, keeping the soil consistently moist but not waterlogged. Germination can take several weeks, so be patient. Once the seedlings have developed a few sets of true leaves, they can be transplanted into individual pots and gradually acclimated to outdoor conditions.
Advertisement
Conclusion and Final Thoughts on Lavender Propagation
Propagating lavender from cuttings is a simple and rewarding way to expand your garden and enjoy the many benefits of this versatile plant. By following the steps outlined in this guide, you can successfully propagate lavender and create a thriving collection of fragrant plants. Whether you choose to propagate from cuttings or seeds, the key is patience and attention to detail. With proper care, your new lavender plants will flourish, providing beauty, fragrance, and a sense of accomplishment. Happy gardening!