Looking to add a touch of creativity and functionality to your living space without breaking the bank? Transforming a simple laundry basket into a stylish side table is an ingenious way to upcycle everyday items into something extraordinary. This innovative DIY project not only provides a unique piece of furniture but also serves as a conversation starter for guests. With just a few materials and a bit of creativity, you can craft a chic side table that suits any room in your home.
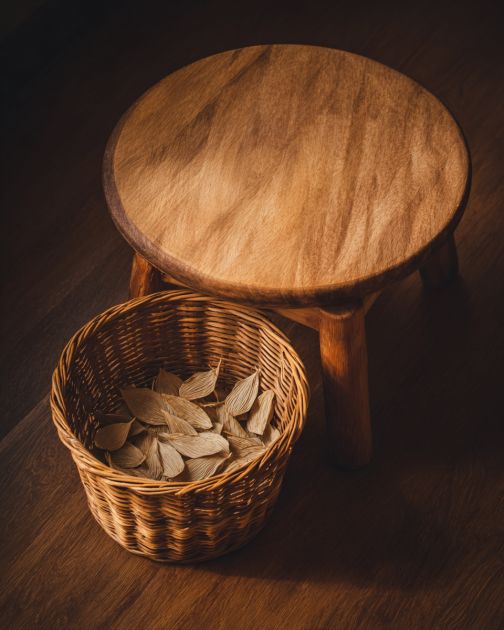
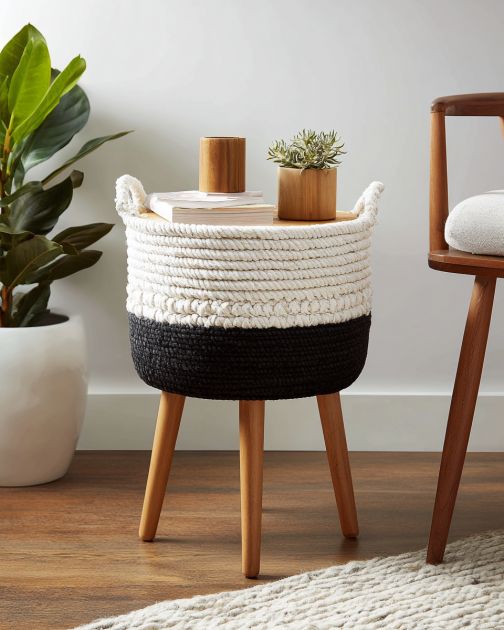
This DIY laundry basket side table can be styled in a variety of ways to complement your interior design. For a minimalist look, opt for a monochrome color scheme with neutral tones. Add a sleek, wooden round board for a Scandinavian touch. If you prefer a rustic or bohemian vibe, consider using a woven basket and topping it with a distressed wooden board. Pair it with plants, books, or a decorative lamp to enhance the aesthetic appeal. The versatility of the design allows it to fit seamlessly into living rooms, bedrooms, or even outdoor spaces.
Laundry Basket Side Tables
Materials
1 round laundry basket (approx. 20 inches in diameter)
1 round wooden board (diameter matching the basket top, approx. 20 inches)
Sandpaper (medium and fine grit)
Paint or wood stain (optional, depending on desired finish)
Paintbrush or roller (if painting/staining)
Strong adhesive or screws (if securing the board to the basket)
Protective clear sealant (optional, for wood finish)
Directions
Start by selecting a round laundry basket that matches the aesthetic you’re going for. Ensure it is sturdy enough to support weight.
Flip the laundry basket upside down so the base becomes the top of your side table.
Take the round wooden board and sand it down using medium-grit sandpaper, followed by fine-grit sandpaper, until smooth.
Apply paint or wood stain to the board if desired, using a brush or roller. Allow it to dry completely. Apply a second coat if needed.
Once the paint or stain is dry, apply a protective clear sealant to enhance durability, especially if placing the table outdoors.
Place the board on top of the upside-down basket. For a temporary setup, simply rest the board on top. For more stability, use strong adhesive or screws to secure the board to the basket.
Position your new side table in the desired location and style it with decorative items like a vase, books, or a lamp.
Variations & Tips
For different variations of this project, consider using baskets of various shapes and materials. A metal basket paired with a glass top can offer a modern industrial look. Alternatively, using a brightly colored plastic basket with a matching or contrasting top can add a pop of color to a child's room or a playful corner of your home. If you're feeling adventurous, try painting patterns on the wooden board or adding a fabric cover to the basket for a softer touch. Remember to adjust the size of the board and basket to suit your space and needs.