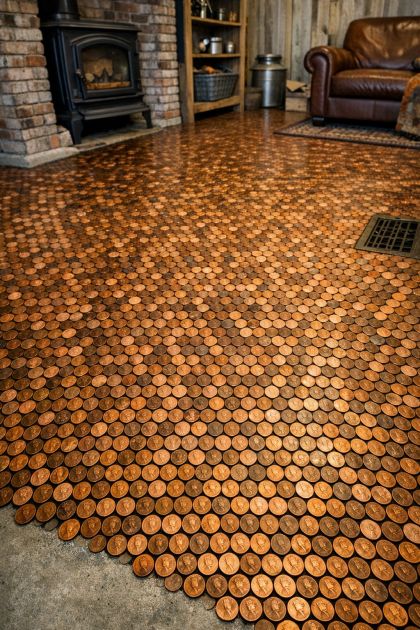
Creating a unique and eye-catching floor design can transform an entire space, and using pennies to achieve a copper finish is both cost-effective and striking. This project not only recycles coins but also adds a rustic charm to any room. The allure of a penny floor lies in its shimmering, textured appearance, which can serve as a conversation starter and a testament to one's creativity. For those looking for an affordable way to revamp their floors with a dash of vintage flair, this DIY penny floor is an ideal choice.
A penny floor pairs beautifully with industrial and rustic design themes. The copper hue of the pennies complements wood and exposed brick surfaces, adding warmth and depth. To enhance the metallic sheen, consider incorporating light fixtures with copper or brass elements. For a modern twist, pair the floor with minimalist furniture and neutral color palettes, allowing the floor to be the focal point of the room. Rugs with geometric patterns or in rich, deep shades can also highlight the unique texture of the penny surface.
DIY Copper Penny Floor
Materials
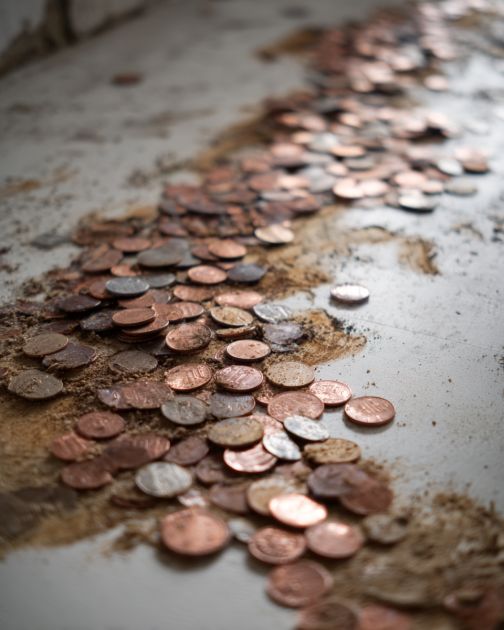
Thousands of pennies, cleaned and polished
Concrete slab as the base
Strong adhesive suitable for concrete
Clear epoxy resin
Rubber gloves
Plastic spreader or trowel
Bucket for mixing epoxy
Leveling tool
Cleaning cloth
Directions
Clean the concrete slab thoroughly, ensuring it's free of dust and debris.
Plan the layout of the pennies by arranging them in a small section to see how they fit best together.
Begin applying adhesive to a small section of the concrete slab using a trowel.
Press the pennies into the adhesive, working in small sections to ensure they are uniformly placed.
Continue laying the pennies, ensuring each penny is flat and aligned with those around it.
Once the entire surface is covered, allow the adhesive to dry completely as per the manufacturer's instructions.
Mix the epoxy resin according to the package instructions in a well-ventilated area.
Wearing gloves, pour the epoxy over the pennies, starting at one end and spreading it evenly with a plastic spreader.
Use a leveling tool to ensure the epoxy is evenly distributed and air bubbles are removed.
Allow the epoxy to cure completely, which may take up to 72 hours, before walking on the floor.
Variations & Tips
For those looking to customize their penny floor further, consider using a mix of old and new pennies for varied color tones. Alternatively, you can create patterns or shapes using different shades of pennies, such as creating a border or a central medallion design. To add a personalized touch, incorporate a few foreign coins or coins with significant dates. If concerned about the floor being too slippery, opt for a matte finish epoxy instead. Finally, using different adhesives for varied textures can also alter the final appearance.