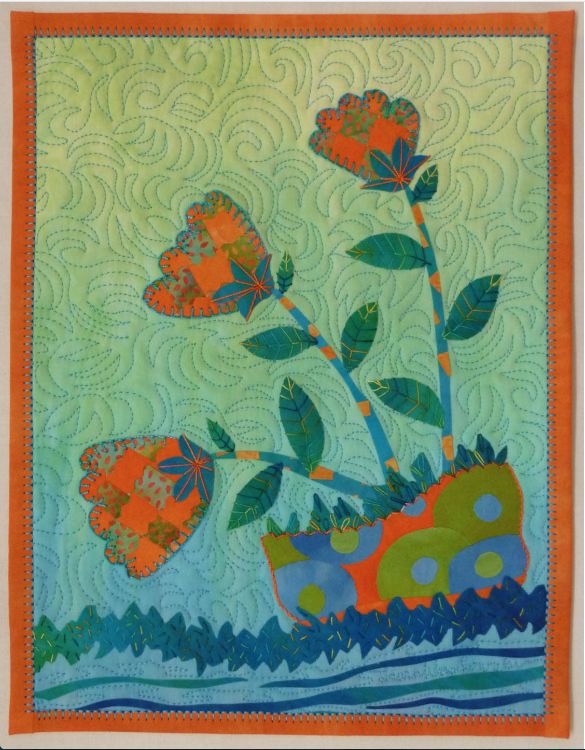
Putting the binding on a quilt is like putting the icing on a cake. It is the finishing touch, and if it's done correctly, it will make your quilt gorgeous. Unfortunately, many people dread putting the binding on, having to fight with fabric, trying to get it exactly the right length. If you cut it too long, the binding puckers; if you cut it too short, well, to do the project right, you need to tear it off and start over.
Fortunately, avid quilters have come up with several ways of making this part of quilting a lot less painful. We All Sew likes to use a fused binding. Since the fused fabric irons into place, coming up with exact measurements is easy. To make sure that the fabric stays in place and to add a decorative flair, We All Sew proposes to do some decorative stitching along the binding as well.
Advertisement
Another option for beginning quilters is using the quilt backing for the binding. Cluck Cluck Sew teaches how to cut the backing larger than the quilt and then fold it over the quilt and use it for the binding, again solving the measurement problem.
Lisa Tutman-Oglesby of Celebrate Creativity solves the binding problem by sewing the binding into a strip ahead of time and then stitching it onto the quilt on one side. Once it is attached, she irons it over and hand-stitches it onto the other side.
For those who want to do a traditional binding, the Missouri Star Quilt Co. shares a great quilting tool that makes getting the perfect binding simple. Make sure you always have the right side up when you use the tool. The host also points out that on the left side of the quilt, once you have made your mark and are ready to cut, be sure to place the tip of the tool on the mark line. For complete instructions, watch the step-by-step video below, and bind your quilt like a pro.
Advertisement


