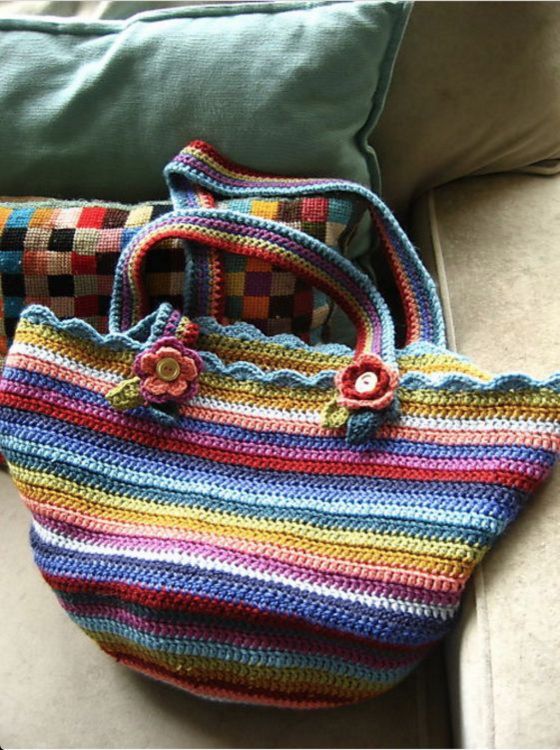
You've completed your blanket, but there's something missing. Here, we give you three of the most popular edging stitches for the perfect finishing touch. Shell stitching gives a lovely scalloped edge, picot edging provides a textural finish, and the block stitch adds a quirky note. The good news is that they're all easy. The bad news is that you'll have a hard time choosing just one!
1. Shell stitch
We'll start with the shell stitch. With its attractive wavy edge, the shell stitch looks very special but is built up quickly and easily. Have a look at this clear video from Sarah-Jayne at Bella Coco to get you started:
Advertisement
Shell stitch edging explained
Start your shell stitch by putting a row of single crochet all around the edge of your project. This forms a great foundation for the stitches and ensures your finished edges are neat and evenly covered.
After finishing the row of single crochet, insert your hook into the top of one of the single crochet stitches and yarn over. Now miss the next stitch and insert the hook into the following stitch. Now make five double crochets into this one stitch. As you create the stitches, you'll notice they fan out, and this forms your shell effect. To anchor this fan down, miss the next stitch along, then slip-stitch into the next stitch. The fan — or shell — will be nicely secured.
This anchor point becomes your new starting stitch. Yarn over, miss the next stitch and then put five double crochets into the next stitch along. Miss one stitch, and then anchor the shell in the next stitch along with a slip stitch. Yarn over, miss the next stitch and continue round, forming a pretty row of shells. Normally, this pattern will carry you right around the corners of your blanket, too, but you might need to adjust the spacing. You can miss out a couple of stitches as you get to the corner if need be, so that you can do your double crochets in the stitch on the corner itself. Judge by eye as to whether you need to add some extra double crochets here. Sometimes eight double crochets on the corner work best.
2. Picot edging
A picot edge will give you an interesting, nubbly-looking edge that is a little different from run-of-the-mill finishes. Again, it works best if you complete a row of single crochet all around your project first to provide an even foundation. Have a look at this video to get some great pointers:
Picot edging explained
Start your picot by chaining one, then single crochet into the next three stitches. Chain four, and then slip-stitch into the first of the four chain stitches. This forms your picot. Single-crochet into the next three stitches, and continue until you have edged your project with this rather elegant finishing touch. The look of picot edging depends a lot on the type of yarn you use, and I suggest a thinner yarn for a more pleasing result. A chunky yarn, though, can create very pronounced picots; it depends a lot on the look you are trying to achieve.
3. Block edging
Block edging produces a clean and crisp finishing touch for your project and can be quite delicate, depending on the thickness of your yarn. This video from Bella Coco shows you how it's done.
Block edging explained
You start your block edging with a row of single crochet first. Start your second row by chaining three into the chain stitch that represented your first single crochet. Work into the fourth stitch along. Miss three stitches and place one double crochet into this stitch. Then chain three. Work three double crochets around the post of the initial double crochet. This sounds confusing, so it's a good moment to refer back to the video, but you'll soon get the hang of it. As you can see from the pictures of block edging, there are little flyaway clumps of double crochet that form around the first double crochet, which gives a lovely effect.
This stitch is worked in groups of four, so again, you may have to be creative at the corners if your work's stitches do not divide neatly by four. Sometimes you can sneak in a couple of extra stitches when you need to, and sometimes you can just make one fewer to get around a corner. As long as all the corners look the same, who's counting?
Once you've got the hang of edging, you'll love the way these stitches act as a frame to showcase all the hard work you've done on your crochet project. Take Maybe Matilda's project below as an example of how to take a blanket (or any other crocheted item) to the next level thanks to a beautiful edging:
Advertisement


