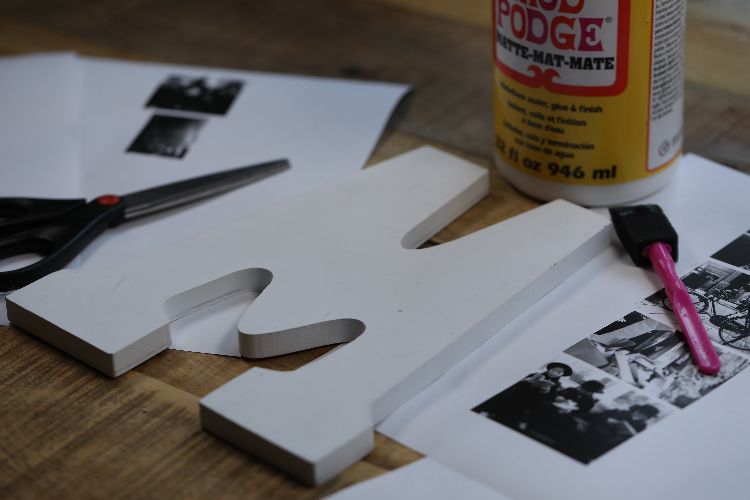
This photo letter project is a unique decorative piece that can look current and vibrant with color photocopies of photographs, or vintage-inspired if adorned with black and white images. You can complete the craft in no time, so creating a short word like “LOVE” or “MOM” from several letters could turn this project into a treasured gift.
The letter's surface could be filled with images of your family, especially if the letter stands for the crafter's surname. Or you could center the project around an interest or historical era, whether it’s antique bicycles, 19th-century fashion or the Renaissance. Whatever your focus, the customized letter is sure to add high style to an entry table, interest to a bookshelf or pizzazz to a gallery wall.
Advertisement
Materials
- Three-dimensional decorative letter of the alphabet
- Black and white or color photocopies of your favorite small photographs and images from books and magazines (about 20 to 30)
- Scissors
- Mod Podge (matte finish)
- Foam paintbrush
- Three-dimensional decorative letter of the alphabet
- Black and white or color photocopies of your favorite small photographs and images from books and magazines (about 20 to 30)
- Scissors
- Mod Podge (matte finish)
- Foam paintbrush

DIY Everywhere

DIY Everywhere

DIY Everywhere

DIY Everywhere
1. Cut out each of the small photocopied pictures with the scissors. The photos should have no white border around them at all.
2. Coat the letter with Mod Podge, using the foam paintbrush.
3. Place the photographs, collage-style, on top of the Mod Podge layer. Don’t worry if the corners or edges of the photos overlap each other or exceed the letter's edges.
4. Cut any photo edges and corners that are easy to trim if they're protruding outside the outline of the letter.
5. Apply Mod Podge to the top, bottom and side edges of the letter with the paintbrush.
6. Fold any excess photo edges that were left untrimmed and flatten onto the thin side edges of the letter.
7. Apply a coat of Mod Podge on top of the collage layer of photographs.
8. Allow the Mod Podge to dry.
9. The piece is now ready for display.
Have fun with this one-of-a-kind accessory that is sure to draw interest — and compliments. This is a super-cool project to share on Facebook too!
Advertisement
