
On the never-ending quest for more household storage, the bathroom can seem daunting. If your bathroom is on the smaller side, it can be difficult to find space for bathroom linens, toiletries, and other necessities. Many storage options available may be functional but don't suit your personal style or budget. If this struggle sounds familiar, this is the tutorial for you.
These rustic bathroom crates are both functional and stylish. They are affordable, easy to make and completely customizable. Stencil your initials on the side as an added touch for shared bathroom spaces. This also makes for a great housewarming gift and can be used outside the bathroom as well.
Advertisement
Materials
-Two unfinished wooden crates
-Wood stain in a color of your choice (Varathane is the brand used in this video.)
-Electric sander
-Rag to wipe off access stain
-Hot glue gun
-Hot glue sticks
-Jute twine
-Stencil letters
-Tape
-Paint brush
-Black Acrylic paint (Americana is the brand used in this video.)
-Bowl or cup to squeeze paint into
-Four small screws
-Screwdriver
-Scissors
-Wood clamp
Instructions
1. Sand down the wooden crates to create a smooth surface. Wipe them clean to remove any dust.

DIY Everywhere
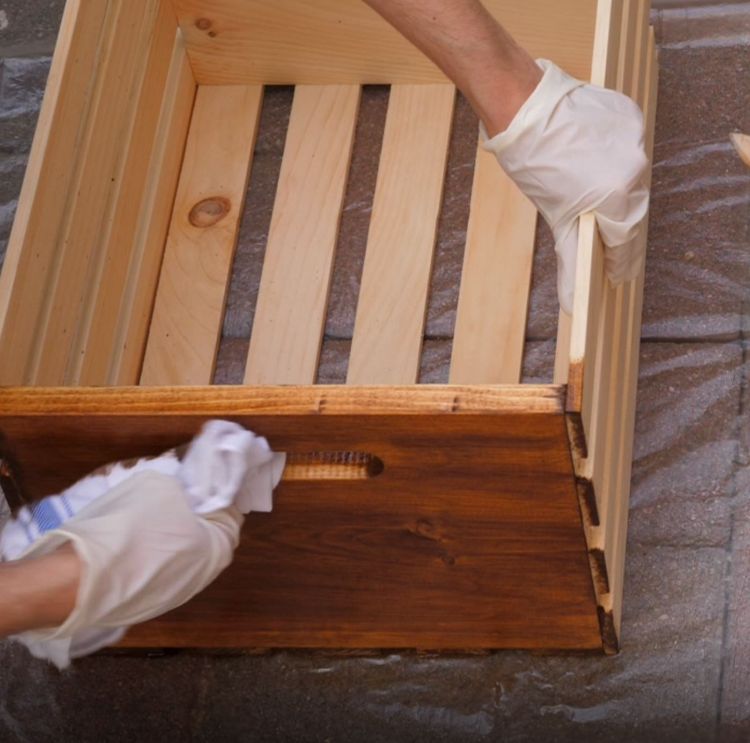
2. Stain the wood crates one side at a time using a paint brush.

DIY Everywhere
While the stain is still wet, wipe off access stain with a rag.
DIY Everywhere
More coats can be applied for a deeper finish.

DIY Everywhere
3. Turn crate on its side, and tape down the stencils so that the letters you are going to paint are centered on the side of the crate without the wooden slats.

DIY Everywhere
4. Pour a small amount of black acrylic paint in a cup or bowl. Stencil your initials on each of the crates with a paint brush and black acrylic paint.

DIY Everywhere
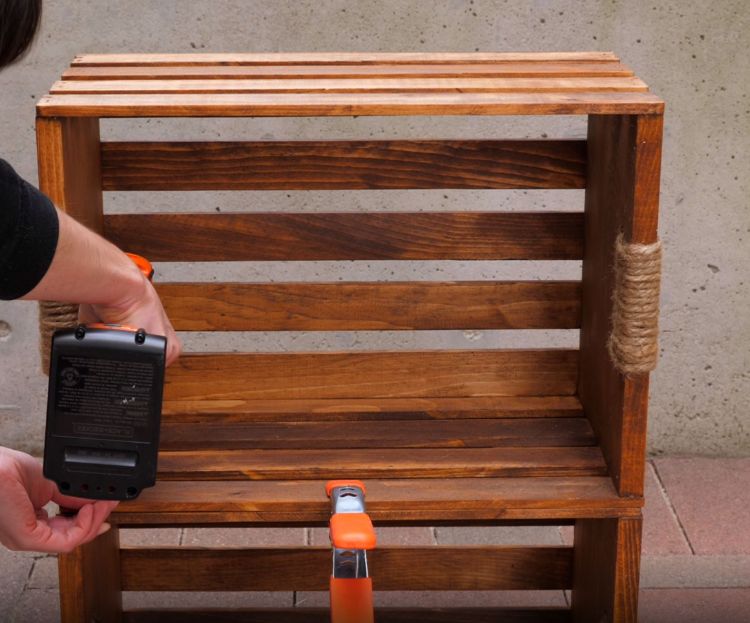
5. Wrap jute twine around crate handles.

DIY Everywhere
Secure the ends of the twine with a hot glue gun.

DIY Everywhere
Trim the excess twine with scissors.
4. Stack the crates on top of each other. Secure them with a wood clamp or ask someone to assist by holding them together while you use the screwdriver to connect them.
DIY Everywhere
5. Attach the crates to each other by putting a screw into each corner of the base of the upper crate. Make sure the screws go all the way through to the lower crate.

DIY Everywhere
Advertisement
6. Hang your crate in desired location.

DIY Everywhere