
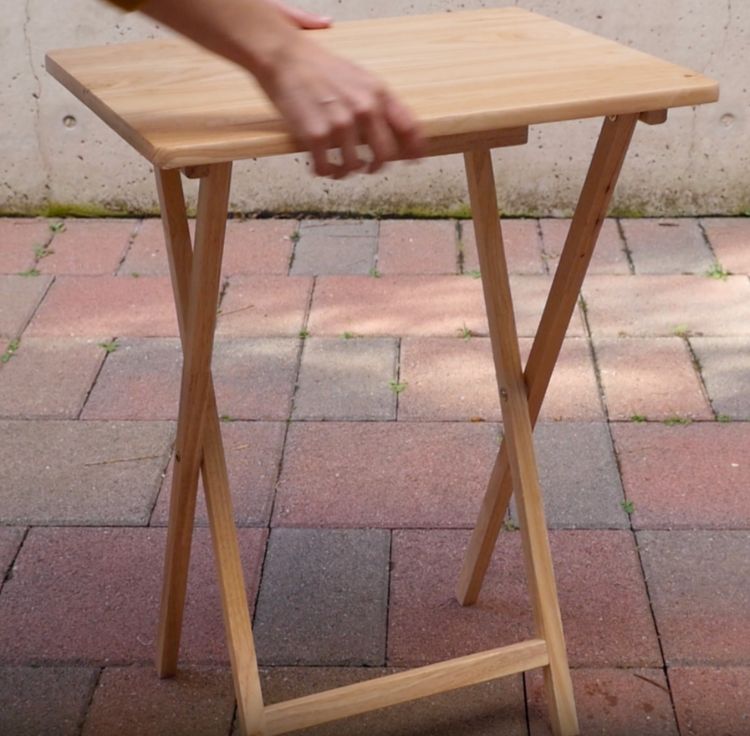
This DIY project takes your most useful living room accessory — a TV tray — and makes it even more practical with a bit of chalkboard paint. The chalkboard paint works as an eye-catching place to leaves notes and memos. Children would also love having a play surface they can draw or write on over and over. You could even use it as a place to leave instructions for how to use a remote with complicated features.
Aside from its many uses, this chalkboard TV tray effortlessly complements any living room decorated with neutral colors. The tray’s shabby-chic style would match just as well with farmhouse decor in any color. If desired, use a different color paint instead of white and create a tray that’s more aligned with your aesthetic. To forgo the distressed finish, simply paint two even coats with the same color.
Advertisement
Materials
- Wooden TV tray
- Electric sander
- Brown chalk paint
- White chalk paint
- Paintbrush
- Painter’s tape
- Black chalkboard paint
- Foam brush
- Flower stencil
- Chalk marker
- Electric sander
- Brown chalk paint
- White chalk paint
- Paintbrush
- Painter’s tape
- Black chalkboard paint
- Foam brush
- Flower stencil
- Chalk marker

DIY Everywhere
Instructions
1. Sand all of the surfaces of the TV tray.
2. Paint the entire tray brown with the paintbrush. This will act as the base, so don’t worry about applying an even coat. Allow the paint to dry.
3. Clean the brown paint off the paintbrush or use a new brush to paint the entire tray white. To achieve the shabby-chic or distressed look, don’t apply too much paint at once. You’ll want a little bit of the base color to show through. Allow the paint to dry.
4. Use the painter’s tape to mark off a border around the top of the tray that’s about 2 inches wide on all sides. There should be a rectangle in the center of the tray created by the painter’s tape.
5. Use the foam brush to paint the rectangle with the black chalkboard paint. Apply an even coat. Allow the paint to dry.
6. Center the flower stencil along one side of the tray. Paint the stencil with the chalkboard paint. Repeat for all four sides of the tray. Allow the paint to dry.
Advertisement
7. Remove the painter’s tape. Write a welcoming message on the chalkboard paint using a chalk marker. Enjoy!