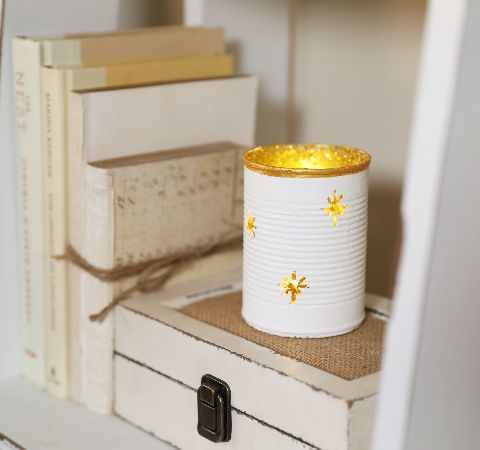
Nothing beats sitting outside and looking up at the stars on a clear summer night, but having this pretty night light in your home is almost as good! Even if no one in your home is afraid of the dark, it's a stunning piece of decor.
It's also an effective way to make something out of nothing and upcycle old tin cans. Check out the video and the instructions to learn how to make this lovely night light.
Advertisement
Materials
- Tin can
- Thick black Sharpie
- Cordless rotary tool
- Sanding block
- Painter's tape
- Gold glitter
- Spray adhesive
- White paint
- Paintbrush
- Metallic acrylic paint
- Fairy lights
- Tin can
- Thick black Sharpie
- Cordless rotary tool
- Sanding block
- Painter's tape
- Gold glitter
- Spray adhesive
- White paint
- Paintbrush
- Metallic acrylic paint
- Fairy lights

DIY Everywhere
Instructions
1. With a black Sharpie, place a few dots on the tin can where you want the stars.
1. With a black Sharpie, place a few dots on the tin can where you want the stars.
2. Use the rotary tool to cut 8-point stars at the black dots. Sand off any jagged bits with the sanding block.
3. Cover all of the stars with painter's tape, and spray the inside of the can with spray adhesive.
4. Pour the glitter into the can, cover the top with your hand and shake until the inside is completely coated. Dump out any remaining glitter.
5. Peel off the painter's tape and cover the entire outside of the can in white paint. Let dry.
6. Place a line of painter's tape around the top of the can, leaving a small bit of the rim exposed. Paint this exposed area withe the metallic acrylic paint and remove the tape.
Advertisement
7. Place a strand of fairy lights into the can and enjoy the new night light.
