
Garlic has been a staple food for as long as civilizations have been formed, dating way back to the Egyptian cultures. So it's no surprise that its appearance in home gardens today is increasing. Almost all savory recipes call for garlic as a staple ingredient, making it a well-used item in most kitchens. Growing your own allows you to try numerous varieties unavailable for purchase in the grocery store.
Unbeknownst to many, garlic is quite simple to cultivate. It's planted in the fall and harvested the following summer, providing gardeners with a flavorful, aromatic bounty that has many culinary as well as medicinal uses. Read on to learn some helplful tips to ensure a successful crop!
Advertisement
1. Choose the right type for your growing zone
There are two popular types of garlic: softneck and hardneck. Mother Earth News recommends that gardeners grow softneck varieties where winters are mild, although some can handle cold to growing zone 5. Hardneck varieties are more suited for cold, winter climates.

Shutterstock
2. Plant in the fall
With fall planting, the goal is to get roots to form and start establishing themselves before the soil freezes for the winter. Aim to plant mid-October through mid-November in zones 5 through 8, timing the planting to occur about 6 weeks before the hard frost in your area.

Shutterstock
3. Find a sunny site in your garden
Even though garlic likes cool temperatures and cool soils, it still likes plenty of sunlight for growth. Scope out a spot that receives a minimum of 6 to 8 hours of direct, unfiltered light during the day.

Shutterstock
4. Avoid spots that had onions recently
Both onions and garlic are members of the allium family. To avoid the increased risk of disease, choose a garden spot that hasn't been planted in onions (or other allium family members) in the last few years. They do well in close proximity to plants such as tomatoes, spinach and beets.

Shutterstock
5. Work the garden bed to 12 inches
As with any root crop, it's incredibly important the garden bed is worked extensively before planting. Remove all rocks and till the garden to a depth of 12 inches to break up large soil clods or hardpan layers that have formed.

Shutterstock
6. Add in 1 to 2 inches of finished compost or manure
Garlic likes well-amended soil. Work in a couple of inches of finished compost or decomposed manure a couple of weeks before planting.

Shutterstock
7. Purchase high-quality garlic seed
The garlic you purchase from the grocery store has likely been treated with chemicals to inhibit sprouting, making it unusable for planting. While more expensive, it's best to buy high-quality garlic seed from a local nursery/garden center or from a reputable online retailer.

Shutterstock
8. Separate cloves without removing paper covering
A day or so before you're going to plant, separate the individual cloves from the bulb. Choose the largest ones to plant but keep the protective paper covering on them. This skin acts as a seed coat, and according to GrowVeg, it deters harmful microbes and prevents the clove from sprouting until after roots have formed.

Shutterstock
9. Plant pointy side up
Garlic cloves should be spaced about 4 to 6 inches apart, and planted about 2 inches deep with the pointy sides facing up toward the sky. Recommendations for row spacing varies from source to source, with most falling within the 8- to 12-inch range.

Shutterstock
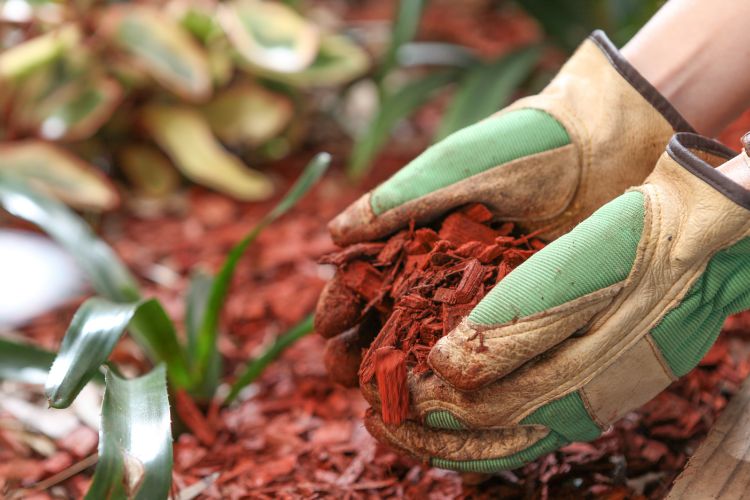
10. Mulch well after planting
Now it's time to protect those new plantings through the cold winter months. Add 6 inches of mulch to the garden bed — Grey Duck Garlic recommends straw mulch, bark chips or compost. Mulch will also help to retain soil moisture, prevent weeds and keep the soil cooler come spring.
Advertisement
Shutterstock