Wreaths don't have to be just for Christmas. Hang a wreath anywhere in a room for a colorful conversation piece. Depending on the season, make a wreath to match the weather outside. Otherwise, add embellishments to complement the pine cones in this project.
Add leaves for a fall wreath or pastel flower blooms for a spring decoration. When Halloween comes around, paint the pine-cone ends bright green or orange and hang small plastic spiders in lieu of berries.
Advertisement
Materials
- Grapevine wreath, 10-inch diameter
- Fake eucalyptus leaves on vine
- Floral wire
- Wire cutters
- Pliers
- Fake holly berries or cherries with stems
- Fabric scrap, 4 by 4 inches
- Small bowl
- 6 pine cones with long wire stems
- White chalk paint
- Bristle paintbrush, 1½ inches
- Grapevine wreath, 10-inch diameter
- Fake eucalyptus leaves on vine
- Floral wire
- Wire cutters
- Pliers
- Fake holly berries or cherries with stems
- Fabric scrap, 4 by 4 inches
- Small bowl
- 6 pine cones with long wire stems
- White chalk paint
- Bristle paintbrush, 1½ inches
Instructions
1. Wrap the eucalyptus garland around the wreath’s circumference.
1. Wrap the eucalyptus garland around the wreath’s circumference.

DIY Everywhere
Wrap the leaves around the wreath like pictured below.
DIY Everywhere
Cut off 4-inch pieces of colored wire. You want to choose a color that is natural and blends in with your DIY.

DIY Everywhere
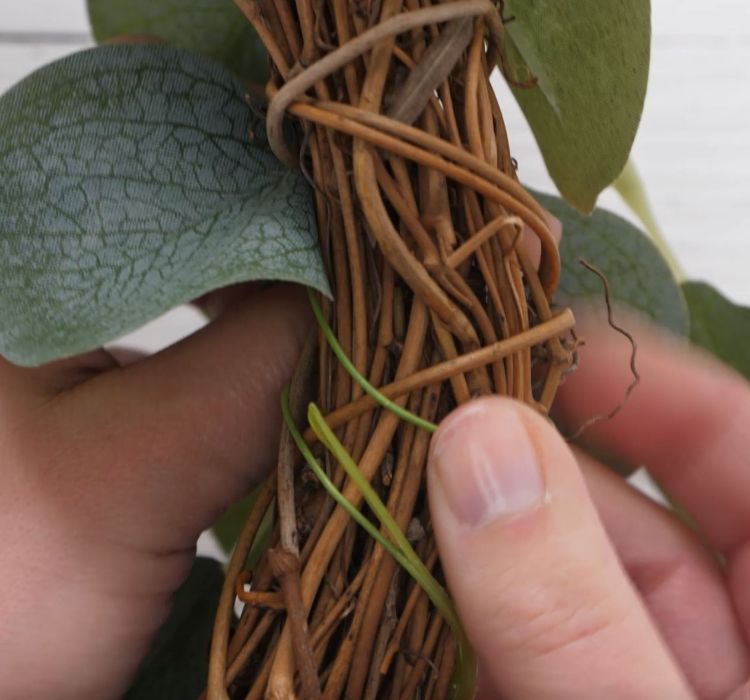
Weave the wire through the garland and wreath in various places to secure them.

DIY Everywhere
Twist each wire piece a few times and trim off the excess.

DIY Everywhere
2. Wrap the pairs of berries along the wreath’s circumference and twist to secure them in the front.

DIY Everywhere
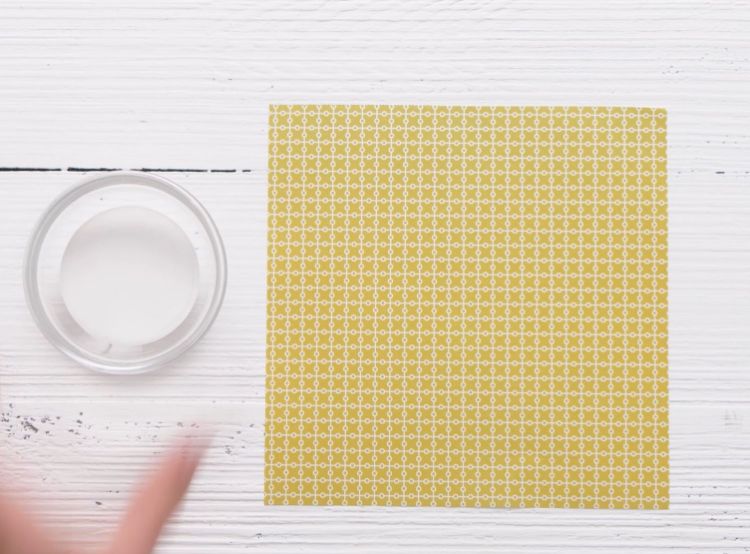
3. Place the fabric scrap on the work surface. Pour chalk paint into the bowl.
DIY Everywhere
Insert wire stems into pine cone.
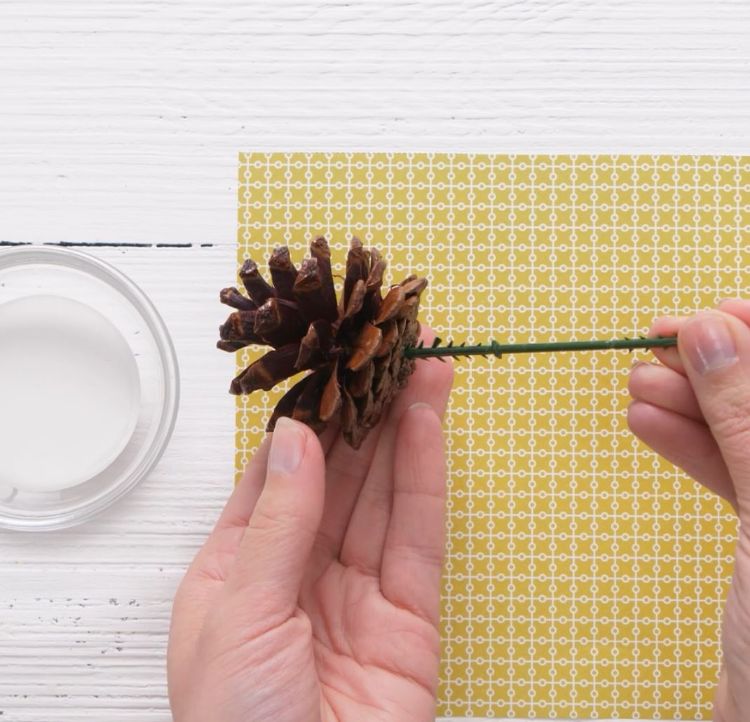
DIY Everywhere
Dip the paintbrush in the paint and apply it to the tips of a pine cone’s scales.

DIY Everywhere
Paint each pine cone this way. Let the paint dry.

DIY Everywhere
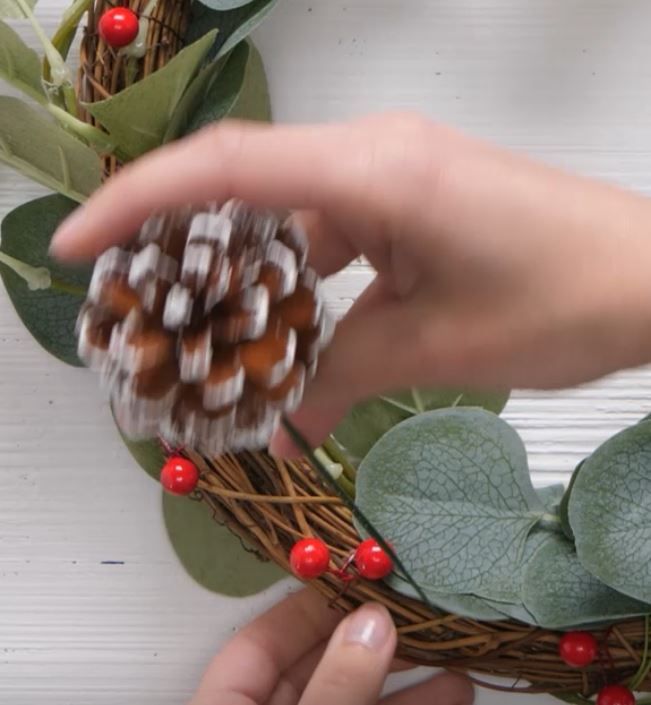
4. Weave the pine-cone stems equidistant from one another through the wreath and out the wreath’s back.
DIY Everywhere
Flip the wreath to trim off excess stems.

DIY Everywhere
Get ready to hang!

DIY Everywhere

DIY Everywhere
Advertisement