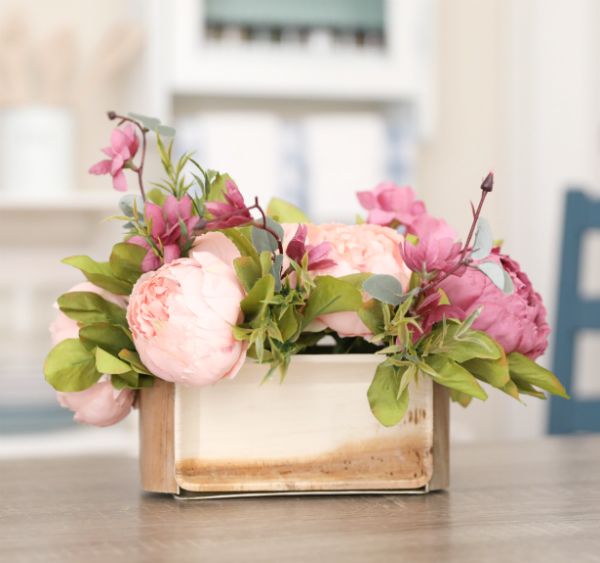
A vase can be any shape or size. It can also be made out of a wide range of materials. Nevertheless, the fact that this rectangular flower vase is crafted from a humble paper plate is a surprise that will delight even the most experienced DIY crafters.
The trick is to choose the right shape and size for the paper plates that form the project's foundation. Then all you need is hot glue, scissors and a little bit of time on your hands. This is one of the simplest, yet most effective paper plate projects you'll ever come across.
Advertisement
Materials
- 4 rectangular paper plates with wooden-inspired design such as palm leaf
- Hot glue
- Scissors
- 4 rectangular paper plates with wooden-inspired design such as palm leaf
- Hot glue
- Scissors
DIY Everywhere
Instructions
1. Select the right paper plates for the project. They should be rectangular in shape. The length should be exactly twice as long as the width. Wooden-inspired designs such as recycled palm leaf paper plates, are ideal choices for this project.
1. Select the right paper plates for the project. They should be rectangular in shape. The length should be exactly twice as long as the width. Wooden-inspired designs such as recycled palm leaf paper plates, are ideal choices for this project.
2. Turn the first paper plate over so that the part you would normally eat from is flat on a table or work surface.
3. Draw a line of hot glue along one of the long sides of the plate, covering the rim with the glue.
4. Press the long end of a second plate to the hot glue to adhere the two plates together, so that the second plate stands up vertically from the base plate, with the "food side" facing outwards.
5. Repeat steps 3 and 4 on the other long side of the base plate, using a third plate for this second "wall" of the vase.
6. Find the midway point of the fourth paper plate. Measure along the long edge. Then cut the plate in half using the scissors.
7. Draw a line of hot glue along one of the short sides of the plate, bringing the glue up the two vertical walls on either side of it.
8. Press one paper plate half to this glue, with the "food side" of the plate facing in toward the center of the vase. In other words, the short walls of the vase will have their bases visibly pointing out, while the long sides have the front of the plate pointing out.
9. Repeat steps 7 and 8 on the remaining open wall of the vase.
10. Allow the vase to dry completely. Then fill it with decorative flowers and enjoy.
Advertisement
Share on Facebook.