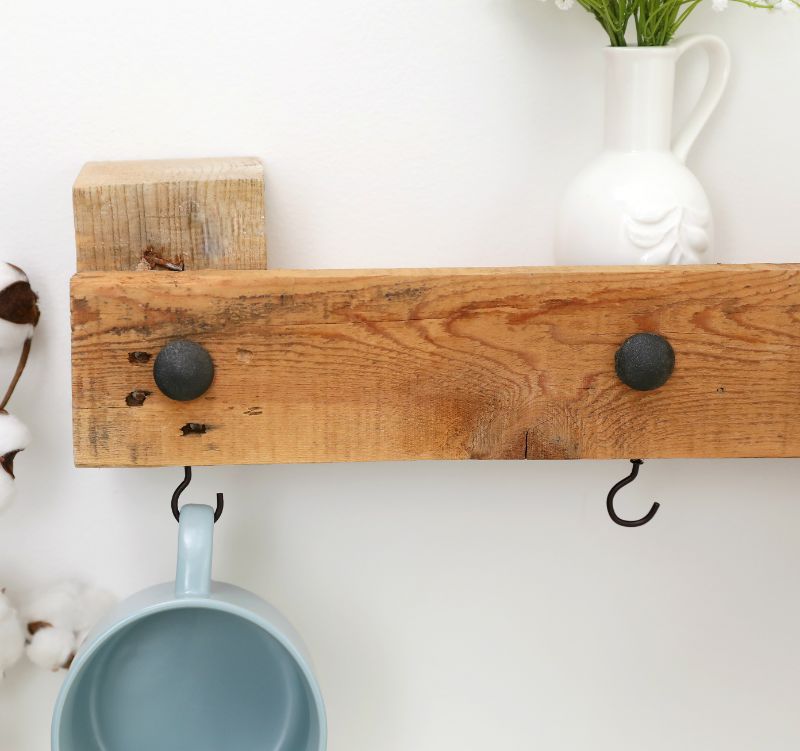
If you have even part of a wooden pallet, you can create this warm, farmhouse-style shelf. By adding a row of retro-looking cup hooks, you gain even more potential for storage.
This piece takes up little room, yet can easily hold a container full of cooking utensils, kitchen canisters, baking supplies, or a row of pretty drinking glasses. You can hang teacups, serving spoons, and dish towels from the hooks. It would also work well in an entryway. The hooks could hold key rings and purses, and you could stow a dog leash, mail, or an umbrella on the upper part of the piece. A coat of spray paint could add color-coordinated pizzazz, as could glued-on decorations like beads or buttons. This “little shelf that could” proves that the design possibilities are endless, even with a project this simple.
Advertisement
Materials
- One board that has been cut from a larger wooden pallet
- Electric drill
- Screws
- Screwdriver (if needed)
- Rubber mallet
- 5 rubber head nails
- Teacup hooks
- One board that has been cut from a larger wooden pallet
- Electric drill
- Screws
- Screwdriver (if needed)
- Rubber mallet
- 5 rubber head nails
- Teacup hooks

DIY Everywhere
Instructions
1. If any sections or boards are missing, reattach them with the drill and screws or tighten loose ones with a screwdriver, so the shelf is strong and secure enough to hold anything, even fragile objects.
1. If any sections or boards are missing, reattach them with the drill and screws or tighten loose ones with a screwdriver, so the shelf is strong and secure enough to hold anything, even fragile objects.
2. Position the piece so that the long board that runs the length of the piece is facing upward.
3. Hammer five evenly spaced rubber head nails into this board with the rubber mallet.
4. Flip the piece so that the surface you were just working on is backward facing, away from you. Screw five black cup hooks into the top of the board that’s connected but perpendicular to the one with the rubber head nails in it. The cup hook insertion points should correspond with where the rubber head nails are placed.
5. The shelf is now ready to be hung. The wood strip that contains the rubber head nails will be facing outward and the cup hooks will be directly below them.
Advertisement
