
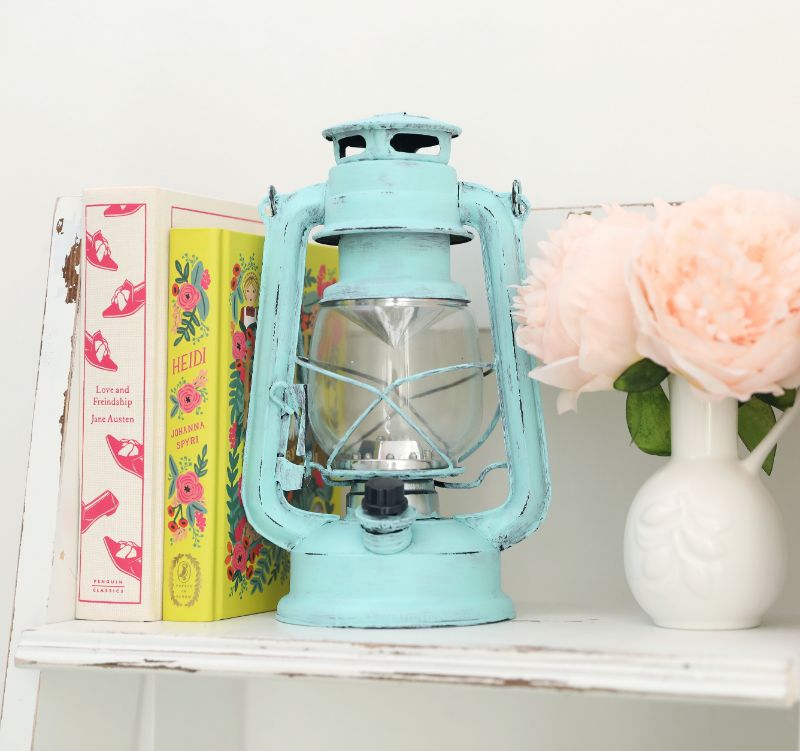
You may very well have an old oil lantern, often used for camping, hiding in your attic or basement somewhere. Dig it out and give it new life! A coat of pretty chalk paint that’s slightly sanded for a weathered effect creates a whole new and rejuvenated decorative accent.
This DIY takes barely any time at all and, depending on what color chalk paint you select, you can make the lantern harmonize subtly, since it’s a matte finish paint, with whatever spot you choose for it. An upcycled old- school lantern adds an antique charm to your bookshelf, table centerpiece, or an outdoor end table. By quickly running a sanding sponge over it, you reveal just a hint of the original finish and add a shabby chic touch.
Advertisement
Materials
- Wallpaper remnant or sheet of newspaper
- Old fashioned metal oil lantern
- Jar of chalk paint
- Fine art paintbrush
- Sanding sponge
- Spray can of Mod Podge clear acrylic sealer
- Old fashioned metal oil lantern
- Jar of chalk paint
- Fine art paintbrush
- Sanding sponge
- Spray can of Mod Podge clear acrylic sealer
DIY Everywhere
Instructions
1. Lay the lantern on its side on the material you’ve chosen to protect the work surface.
2. Coat the exposed half of the lantern’s metal body with chalk paint, but don’t paint the glass.
3. Stand the lantern up and coat the other side with paint.
4. Paint the wire that surrounds the glass, the thin wire handle, and the base piece that the glass sits on.
5. Allow the paint to dry.
6. Rub the sanding sponge over the sides, top and bottom painted lantern parts to reveal the metal and give the lantern a distressed look.
Advertisement
7. Spray the lantern with a coat of Mod Podge clear acrylic sealer.
8. Allow the Mod Podge to dry.
9. The lantern is now ready to be displayed.