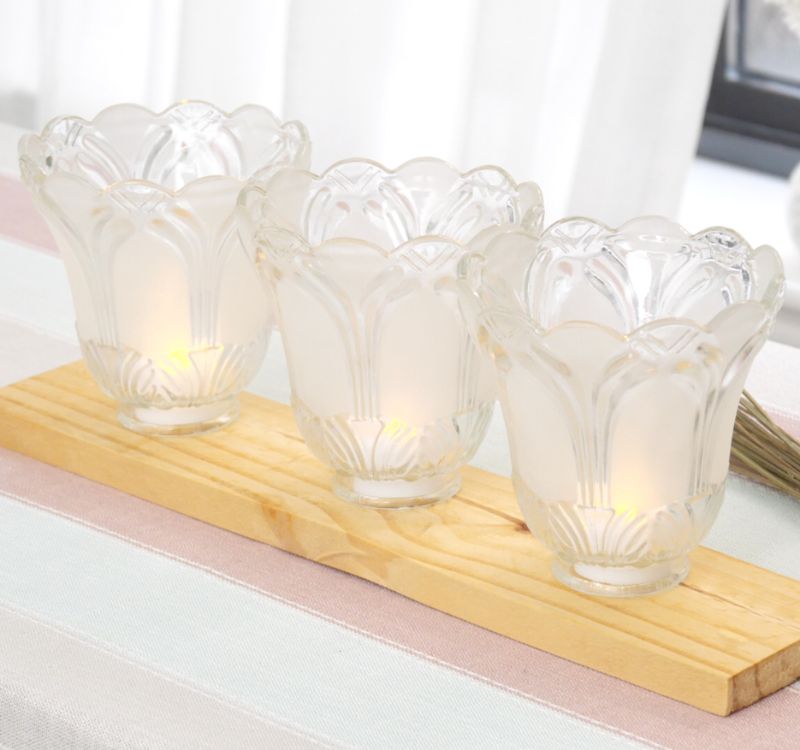
To light up your dining table with little to no effort, look no farther than this votive centerpiece. It’s made with a wood board and a few ceiling fan shades for a candleholder replete with rustic charm. Place it on your breakfast table in the kitchen as a shabby-chic accent or on the coffee table in your living room for a touch of ambient lighting. It’s so adorable, no one will know it’s made from an old ceiling fan — until you tell them, of course.
This centerpiece is so easy to assemble that you could have it completed in under 20 minutes, glue-drying times aside. The main thing you need is an old ceiling fan, which you can find in online classifieds, a thrift store or an architectural reuse center. Once it's finished, you'll place wax votives inside the holders for a natural glow, or if you prefer to get more longevity out of your lights, opt for battery-powered candles instead.
Advertisement
Materials
- Wood board
- Natural Danish oil
- Paper towel
- Gloves
- Drop cloth
- Ruler
- Pencil
- Ceiling fan shades, 3
- Gorilla Super Glue
- Battery-powered votive candles, 3
- Wood board
- Natural Danish oil
- Paper towel
- Gloves
- Drop cloth
- Ruler
- Pencil
- Ceiling fan shades, 3
- Gorilla Super Glue
- Battery-powered votive candles, 3

DIY Everywhere
Instructions
1. Place the wood board on a work surface protected with a drop cloth. While wearing gloves, pour a small amount of Danish oil onto a paper towel, then rub all the sides and edges of the board.
1. Place the wood board on a work surface protected with a drop cloth. While wearing gloves, pour a small amount of Danish oil onto a paper towel, then rub all the sides and edges of the board.
2. Once the board's dry, measure the length. Divide the length into fourths, then make three markings in the center of the board. For example, if your board is 16 inches long, you would make one mark every 4 inches.
3. Put super glue around the bottom of a ceiling fan shade, then place the shade over the middle marking. Repeat by gluing the other two shades on either side of the center shade. Don’t worry if the outside shades aren’t perfectly centered over their respecting markings, as the top of the shades are wider than the bottom. Allow the glue to dry.
4. Turn on or light your votive candles, then place them in the shades. Your centerpiece is ready to enjoy!
Advertisement
