Bored with your plain picture frames? This DIY upgrade adds personality to any frame in just five easy steps. All you need are eight clothespins, your favorite paint color and a few common tools. Once you're done, all eyes will be on your beloved photos adorned by these charming frames.
From the clothespins to old picture frames, this project is a fun and fabulous way to make use of materials you already have. Consider decorating several frames with this same technique but painting each in a different color. When arranged in a group on top of a living room shelf or on a gallery wall in the hallway, the frames come together for a bright, eclectic style that your guests can’t help but smile at. No one will know that you decorated them with things anyone could find in a junk drawer.
Advertisement
Materials
- Picture frame
- Clothespins, 8
- Pencil
- Wire cutters
- Sanding sponge
- Folk Art Home Decor Chalk Paint in “Salmon Coral”
- Small paintbrush
- High-temperature glue gun
- Hot glue sticks
- Picture frame
- Clothespins, 8
- Pencil
- Wire cutters
- Sanding sponge
- Folk Art Home Decor Chalk Paint in “Salmon Coral”
- Small paintbrush
- High-temperature glue gun
- Hot glue sticks
DIY Everywhere
Instructions
1. Remove and discard the spring from eight clothespins. Place the wooden pieces on top of the picture frame with the notch facing up. Arrange the pieces so the notches don’t align.
1. Remove and discard the spring from eight clothespins. Place the wooden pieces on top of the picture frame with the notch facing up. Arrange the pieces so the notches don’t align.
2. Use a pencil to mark where to cut the excess wood off some of the clothespins. There should be four pieces that you need to trim: two on the top side of the frame and two on the bottom.
3. Cut off the excess wood with wire cutters. Sand the edges with a sanding sponge.
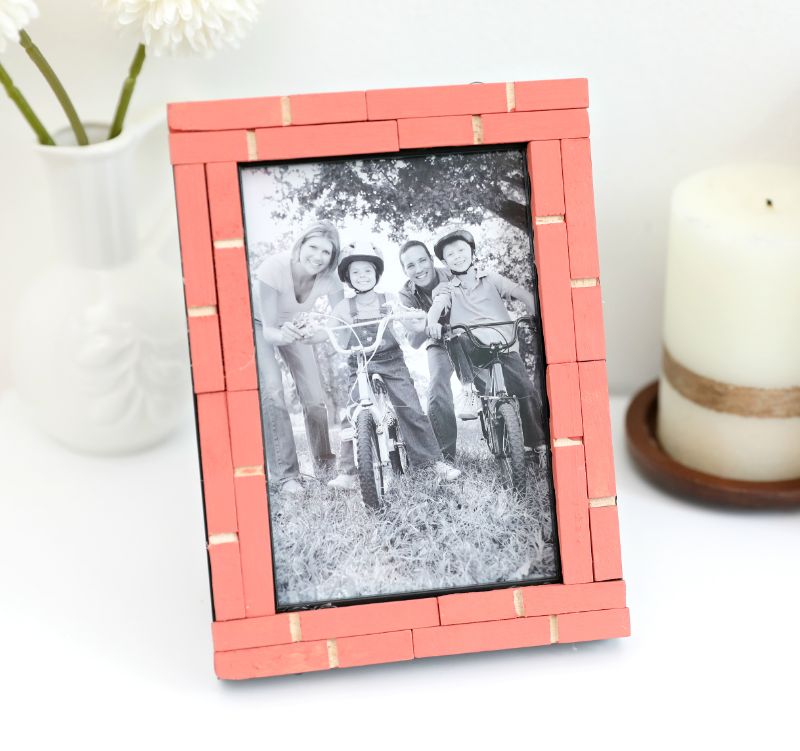
4. Paint the clothespins with “Salmon Coral,” but don’t paint the notch on top of the pins. Allow the paint to dry.
5. Hot glue the pins to the frame. Remember to arrange the pieces so that the notches don’t align.
Advertisement
6. Your picture frame is complete. Place your photo inside, display and enjoy!