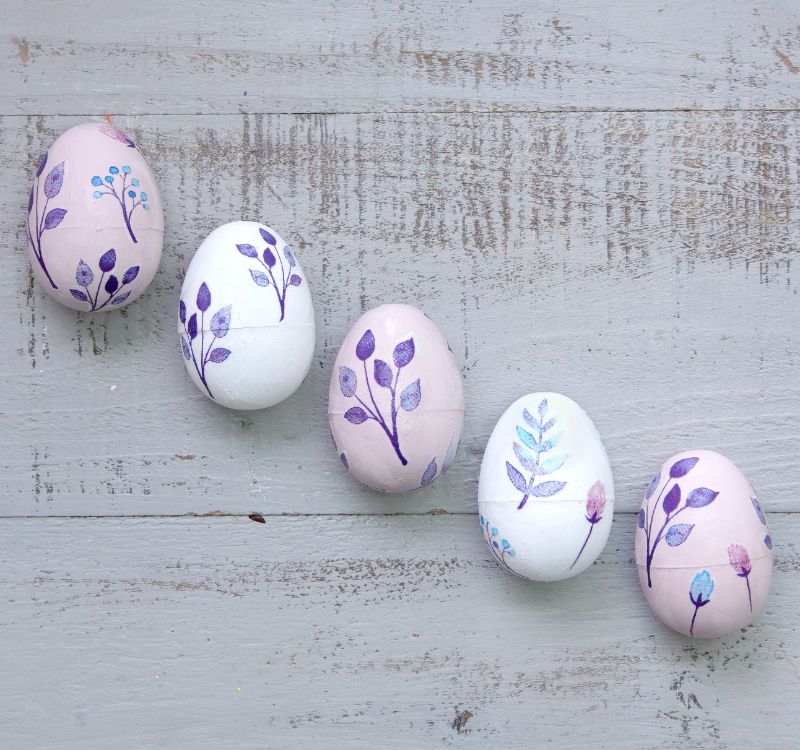
If you love Easter or spring, but can’t stand the bright pastels of traditional decor, don’t despair. These decoupage eggs let you celebrate the season in style. Create a bevy of them to fill a centerpiece on your dining room table, or hide them for the kids to find on Easter morning.
The art of decorating objects by gluing paper cutouts to their surface dates back to ancient China, but these decoupage eggs have a more modern look. You can customize them using any napkins or thin, decorative paper that you have on hand. Choose chalk paint that complements your design or paint the eggs to match the decor in your home. There are endless ways you can shake these eggs up to suit your style.
Advertisement
Materials
- Plastic egg
- Folk Art Home Decor Chalk Paint in “Willow Mist”
- Paintbrush
- Floral-printed napkin
- Scissors
- Mod Podge
- Folk Art Home Decor Chalk Paint in “Willow Mist”
- Paintbrush
- Floral-printed napkin
- Scissors
- Mod Podge

DIY Everywhere
Instructions
1. Paint the outside of a plastic egg with “Willow Mist” or light gray chalk paint. Allow the egg to dry, and then apply a second coat if you want a more opaque look. Allow the egg to dry completely before decoupaging.
2. Separate the printed layer of a napkin from the plain layer. Discard the plain layer. Carefully cut out some of the floral designs from the printed layer. Cut as close to the design as possible for a more seamless look. Repeat until you have several cutouts.
3. Paint a small amount of Mod Podge directly onto the egg. Place a cutout on the Mod Podge, then paint more on the edges of the design to firmly hold it in place. Repeat until you’ve covered the egg in cutout designs.
Advertisement
4. For an elegant centerpiece, create several decoupage eggs, and then display them in a bowl on your table. Enjoy!

