Ready to say goodbye to blasé picture frames? This DIY upgrade transforms a plain frame into a head-turning accessory that puts all eyes on your beloved photos and art. If you have tissue paper and Mod Podge, then you can start giving all of your frames a much-needed face-lift. In as little as an afternoon, every wall and shelf in your home will have a stunning new adornment that costs next to nothing.
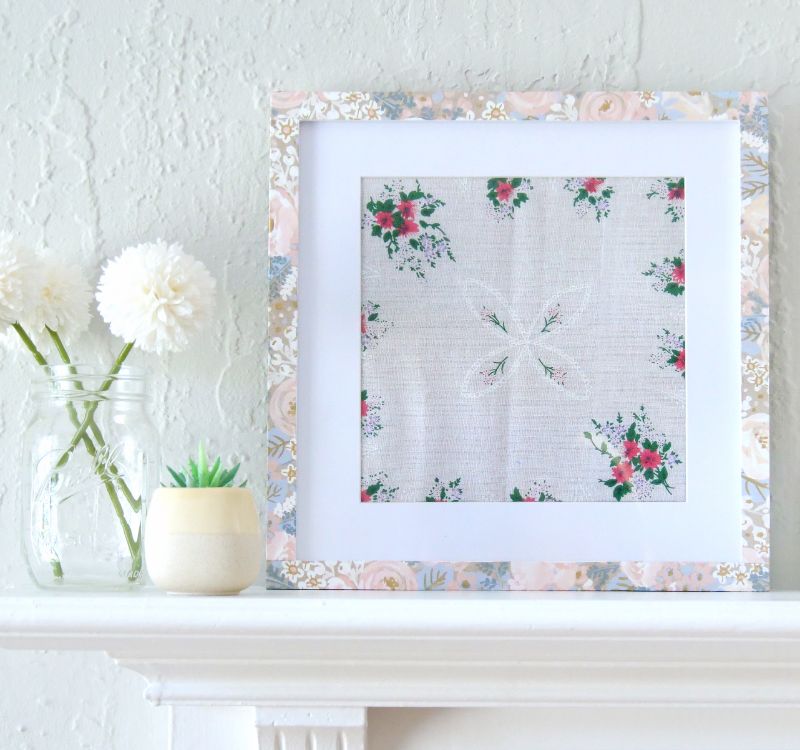
Charming picture frames can instantly take any room from run-of-the-mill to unparalleled. To get the most out of the look, choose tissue paper that complements what you’re framing and the decor in the room. A floral paper with subtle shades is perfect for shabby chic style and flowery art, whereas a rich, paisley paper is an appropriate fit for boho-lovers and travel photographs. Whatever look you settle on, it’s sure to inspire a few oohs and aahs from visitors.
Advertisement
Materials
- Empty picture frame
- Ruler
- Tissue paper with a pattern
- Pencil
- Scissors
- Mod Podge Matte
- Artist's brush
- Empty picture frame
- Ruler
- Tissue paper with a pattern
- Pencil
- Scissors
- Mod Podge Matte
- Artist's brush
DIY Everywhere
Instructions
1. Measure the length, height and depth of one side of the frame, and transfer those measurements to a piece of tissue paper.
1. Measure the length, height and depth of one side of the frame, and transfer those measurements to a piece of tissue paper.
2. Cut out a strip of tissue paper that matches the length of the frame plus 1 inch. The strip's width should equal the depth of the side of the frame.
3. Paint the side of the frame with Mod Podge.
4. Place the strip over the Mod Podge. There should be some overhang on the left and right sides of the frame.
5. Wrap the strip around the bottom of the frame. Fold the excess bit of tissue paper at the corner, and apply more Mod Podge to adhere it to the frame.
6. Repeat steps 1 through 5 for the other three sides of the frame.
7. Paint over the entire frame with Mod Podge.
Advertisement
8. Allow the frame to dry before placing anything inside.