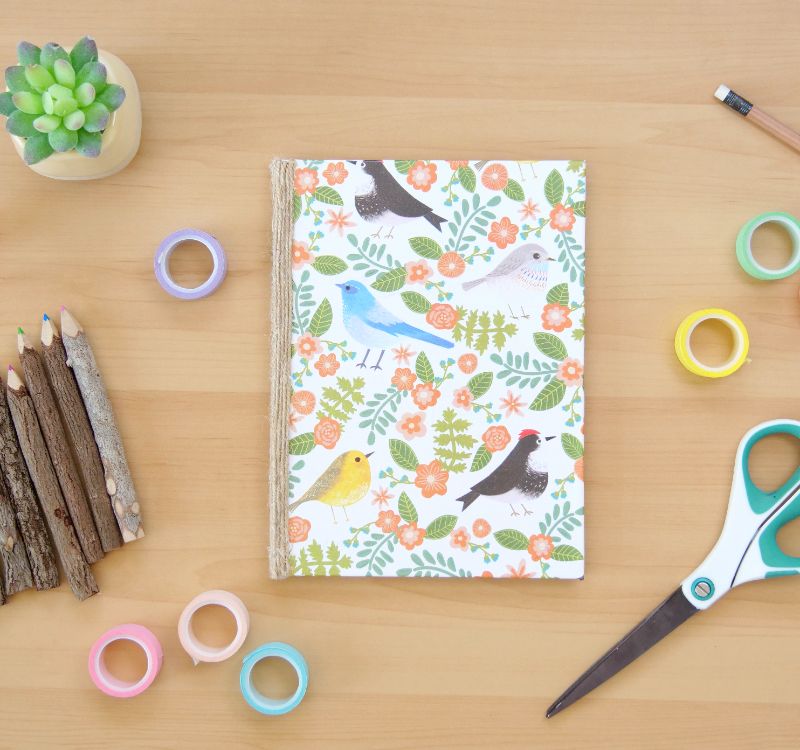
Every craft lover knows that you can never have too many notebooks. This easy DIY project upgrades any notebook into a miniature work of art. A sheet of decorative tissue paper and some twine are all it takes to give beloved notebooks or journals a complete one-eighty. Never again will you head out with your diary when you meant to grab your planner, nor will anyone mistakenly grab your journal when they meant to pick up their own blasé book.
A bound or spiral notebook will work well for this project, although you can skip step 6 if you choose to use a spiral notebook. Don’t have any twine to wrap the binding in? Add a pop of personality by accenting it with Washi tape in a contrasting color. For a final functional (and optional) detail, cut a length of thin ribbon to use as a bookmark, and secure the end beneath the twine or Washi tape.
Advertisement
Materials
- Notebook
- Ruler
- Pencil
- Tissue paper
- Scissors
- Mod Podge Matte
- Paintbrush
- Long piece or spool of twine
- High-temperature glue gun
- Hot glue sticks
- Scissors
- Notebook
- Ruler
- Pencil
- Tissue paper
- Scissors
- Mod Podge Matte
- Paintbrush
- Long piece or spool of twine
- High-temperature glue gun
- Hot glue sticks
- Scissors

DIY Everywhere
Instructions
1. Measure the width and height of the notebook’s cover not including the binding. Cut out a piece of tissue paper with the same dimensions, plus 1/4 inch on each side.
1. Measure the width and height of the notebook’s cover not including the binding. Cut out a piece of tissue paper with the same dimensions, plus 1/4 inch on each side.
2. Paint part of the cover with Mod Podge. Place the tissue paper on the Mod Podge.
3. Continue applying Modge Podge until the paper is fully attached to the cover.
4. Open the cover. Fold the excess paper around the edge, and use Mod Podge to glue the paper in place. Repeat for the other two edges of the cover.
5. Seal the tissue paper on the cover with a coat of Mod Podge.
6. Repeat steps 1 through 5 for the back cover.
7. Apply a strip of hot glue along the binding on the front, and press the twine onto it.
8. Continue applying strips of hot glue along the binding on the front and pressing the twine onto it until the front is covered.
9. Keep applying strips of hot glue on the edge of the binding and pressing the twine onto them until the entire edge is covered by twine.
10. Turn over the notebook. Apply strips of hot glue to the back of the binding and press twine onto it until the binding is covered. Cut the twine.
Advertisement
