Cleaning out a closet is a helpful way to evaluate what apparel still works and what needs to go. During the process, it’s likely that an old necktie or two makes its way into the toss pile. Instead of throwing these formal accessories out, transform an old one into a new statement piece for your pooch.
Those same necktie patterns and colors that popped against a dress shirt work well as decorative additions to a DIY dog collar. Once you've cut the necktie to size, the soft fabric can be sewn over secure webbing to create a one-of-a- kind collar that takes a dog’s style factor up a notch. Durable and handsome, this DIY dog collar takes little time to create and gives a once-loved necktie a second chance at fashion.
Advertisement
Materials
-Necktie
-Webbing
-Scissors
-Seam ripper
-Disappearing ink pen
-Ruler
-Sewing pins
-Sewing machine
-Tri-glide slide buckle
-Parachute clip
-D-ring
-Parachute clip connector
-Webbing
-Scissors
-Seam ripper
-Disappearing ink pen
-Ruler
-Sewing pins
-Sewing machine
-Tri-glide slide buckle
-Parachute clip
-D-ring
-Parachute clip connector
DIY Everywhere
Instructions
1. Select a necktie, and place it flat on a work table.
1. Select a necktie, and place it flat on a work table.
2. Cut a length of webbing to size which will vary depending on the dog. In most cases, measurements are the size of the dog’s neck plus wearing ease and 4 additional inches.
3. Position the length of webbing on top of the necktie, and cut the necktie to match at both ends.
4. Open the tie with a seam ripper, and remove the interfacing.
5. Smooth the necktie material flat on the table, and place the length of webbing horizontally through the center.
6. Mark the necktie fabric from one end to the other using a ruler and disappearing ink pen at 1 inch above and below the webbing before cutting the length of fabric out.
7. Place the length of fabric on top of the webbing, and fold the edge under so they match the webbing edges below.
8. Pin the fabric edges in place along the webbing.
9. Sew the fabric down each side of the webbing, and trim away any excess at the ends.
10. Slide the tri-glide slide buckle onto one end of the webbing, and pin the end in place approximately 1 inch below the plastic.
11. Sew at the pin line, and trim away excess thread.
12. Thread the parachute clip onto the opposite end of the webbing, and loop the excess webbing through the tri-glide slide so the two pieces of hardware are about 2 inches apart at one end of the collar.
13. Slide the D-ring onto the opposite end of the webbing before threading the parachute clip connector through as well.
14. Pull the webbing up and over the D-ring before pinning it in place on either side of the ring.
15. Sew along the two pin lines using a zipper foot to keep close to the clip.
Advertisement
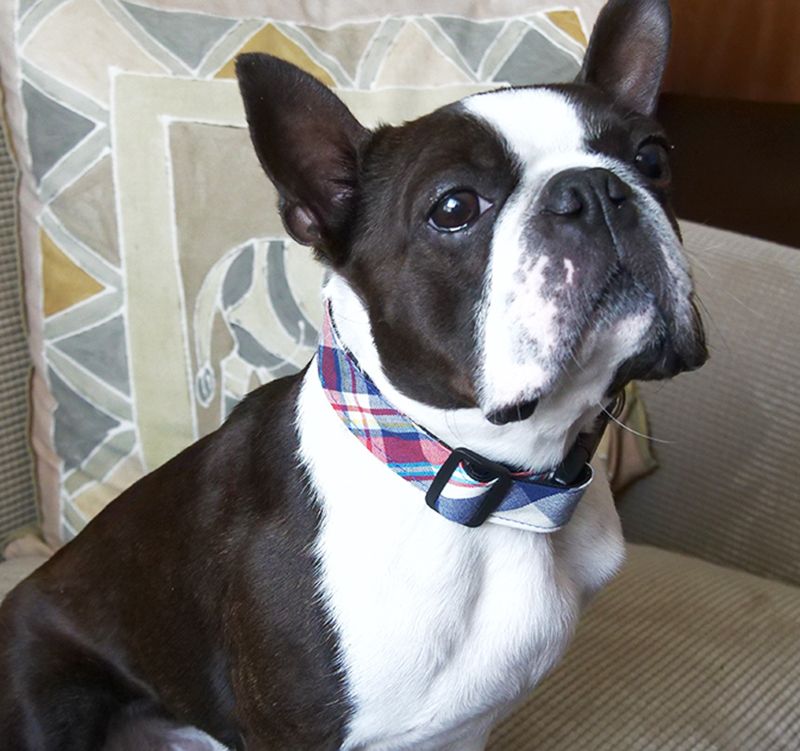
16. Now your pooch's collar is all set for stylin'!