
When jetting off to a faraway place — or maybe a shorter trip to see the family — the last thing you want to worry about is losing your luggage. Standing at the baggage carousel and waiting for your bags can be anxiety producing, especially when they all look so similar. There are plenty of hacks online for ways to make your luggage more identifiable, some people going so far as to print their face on their luggage!
If you don’t want to spend your vacation fund on new luggage but also don’t want to possibly lose your luggage in the sea of same-colored bags, grab an old necktie and your sewing machine. This easy, beginner-level sewing project will give you a unique luggage tag you can update anytime you want and will give you the stand-out feature to look for when you get to your final destination.
Advertisement
Materials
- Necktie
- Fabric-marking tool
- Fabric scissors
- Ruler
- Pins
- Seam ripper
- Sewing machine
- Page protector
- Tri-glide slide
- Fabric-marking tool
- Fabric scissors
- Ruler
- Pins
- Seam ripper
- Sewing machine
- Page protector
- Tri-glide slide
DIY Everywhere
Instructions
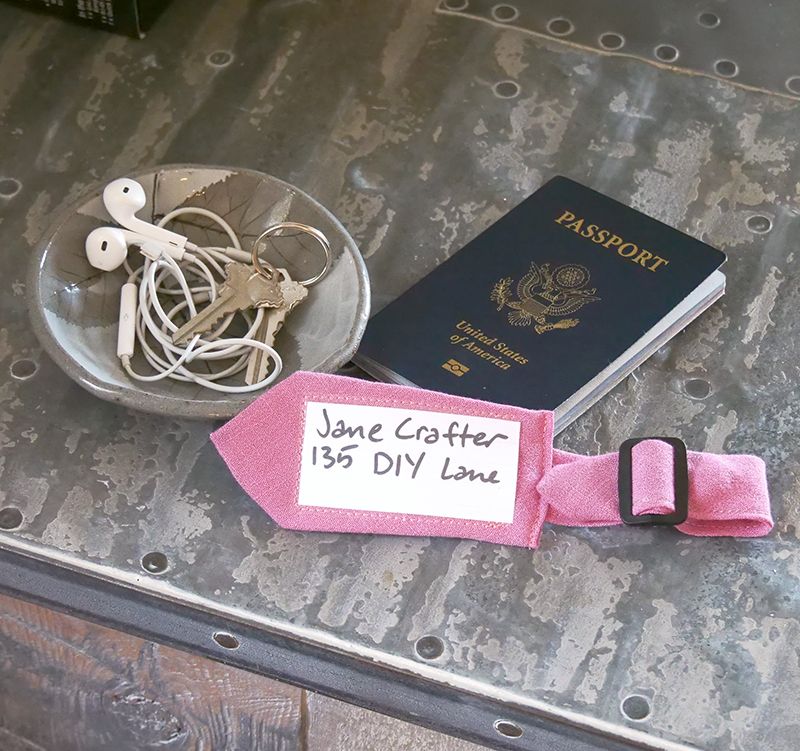
1. Lay out your necktie on a flat surface. Measure and cut 5 inches off the thick end of the tie, removing pieces from the back if necessary. On the skinny end, measure and cut 8 inches, again removing pieces from the back if necessary.
2. Use a seam ripper to open the skinny end and remove the interfacing. Refold it and sew it, so the piece is thin enough to fit through the tri-glide slide.
3. Pull up and trim some of the interfacing from the fat piece, so the fabric can be folded over on the flat end. Fold the fabric in to create a nice, finished look. If you have to use your seam ripper to open up the tie to trim the interfacing, you’ll need to re-sew it. Start the vertical stitching about 1/2 inch away from the top flat edge.
4. Insert the flat edge of the skinny piece into the top flat edge of the fatter piece, and sew along the top.
5. Cut a rectangle out of a page protector that will fit on your tag. To get the best results, make sure to measure the tag, and use a ruler for straight edges.
Advertisement
6. On the fatter piece, pin the plastic to the front, and sew the plastic down, making sure to pin only where you plan to sew. All holes in the plastic will be permanent. Remember to sew on just three sides of the plastic piece to allow you to insert your information.
7. Attach the tri-glide slide on the skinny side.
8. Your new luggage tag is now ready to fly!