Creating a stunning decor piece for your home can be both fun and budget-friendly. This DIY project uses pumpkins and Dollar Tree terracotta pots to craft an enchanting autumnal decoration that stands out. Perfect for adding a touch of fall charm to your home, this eye-catching display is easy to make and customizable to fit any color scheme or style.
This DIY pumpkin and terracotta pot stack can be placed on your porch, entryway, or living room to enhance the autumn ambiance in your home. Complementing neutral tones or vibrant fall colors will make this piece pop. You can place it beside lanterns, rustic wooden signs, or a cascade of fairy lights for a more festive look. Pairing it with natural elements like hay bales, corn stalks, or acorns can add an extra layer of seasonal charm.
Advertisement
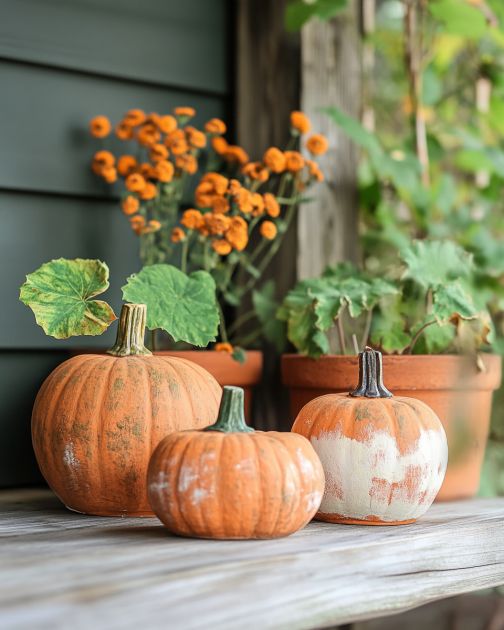
Stacked Pumpkin and Terracotta Pot Showstopper
Materials
3 artificial pumpkins (small, medium, large)
3 Dollar Tree terracotta pots (different sizes to nest inside each other)
Acrylic paint (white, orange, green)
Paintbrushes
Hot glue gun and glue sticks
Leaf garlands or artificial leaves
Floral foam or vase filler
Optional: twine, ribbon, or burlap for additional decoration
3 Dollar Tree terracotta pots (different sizes to nest inside each other)
Acrylic paint (white, orange, green)
Paintbrushes
Hot glue gun and glue sticks
Leaf garlands or artificial leaves
Floral foam or vase filler
Optional: twine, ribbon, or burlap for additional decoration
Directions
Start by painting the terracotta pots in your chosen colors. You can go with classic fall colors like white, orange, and green or customize them to match your home décor.
Allow the paint to dry completely before handling the pots.
Next, stack the terracotta pots inside each other, starting with the largest at the bottom and the smallest at the top. Adjust them until they are stable.
Using the hot glue gun, secure the pots together by placing small dabs of hot glue at the contact points where each pot touches another.
Place the largest pumpkin on top of the stacked pots, securing it with hot glue.
Repeat the process with the medium and small pumpkins, stacking them on top of each other and securing each layer with hot glue.
Take the leaf garlands or artificial leaves and arrange them around the base of the bottom pumpkin, securing with hot glue in desired locations. This will add a natural and cohesive look to your display.
For an extra touch, you can wrap twine, ribbon, or burlap around the terracotta pots or the base of the pumpkins.
Finish by placing floral foam or vase filler around the base to stabilize your creation and give it a polished look.
Final Looks


Advertisement
Variations & Tips
There are endless variations you can try with this DIY project. Experiment with different colors of paint to match your home decor or opt for metallic shades for a more glamorous look. Instead of artificial pumpkins, you could use real ones for a more authentic, rustic feel. Add extra elements such as fairy lights for a warm glow or small figurines to reflect your personal style. For a winter adaptation, consider painting the pots in icy blues or silvers and swap the pumpkins for a stack of white, glittery ornaments.