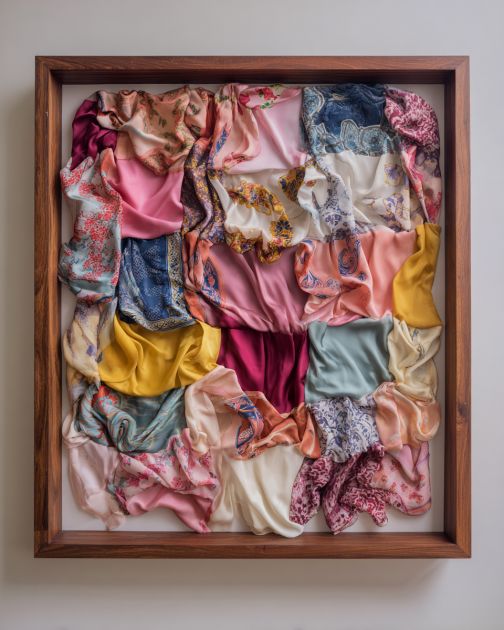
In today's world of sustainable living and creative expression, repurposing old items into something new and beautiful is both environmentally friendly and personally rewarding. This DIY project focuses on transforming old scarves into chic fabric wall art. Scarves often hold sentimental value or feature unique patterns and colors, making them perfect candidates for a decorative piece that can add a personal touch to your home. By turning these textiles into wall art, you give them a second life while enhancing your living space with a custom-made piece.
This fabric wall art can be styled in various ways to complement your home's interior design. Hang it above a sofa or bed to create a focal point in the room. Pair it with minimalist furniture and neutral walls to let the vibrant colors and patterns of the scarves stand out. For a more eclectic look, combine multiple pieces of fabric wall art in a gallery-style arrangement. Consider matching the colors of the scarves with other decor elements, such as throw pillows or rugs, to create a cohesive look.
Advertisement
Fabric Wall Art
Materials
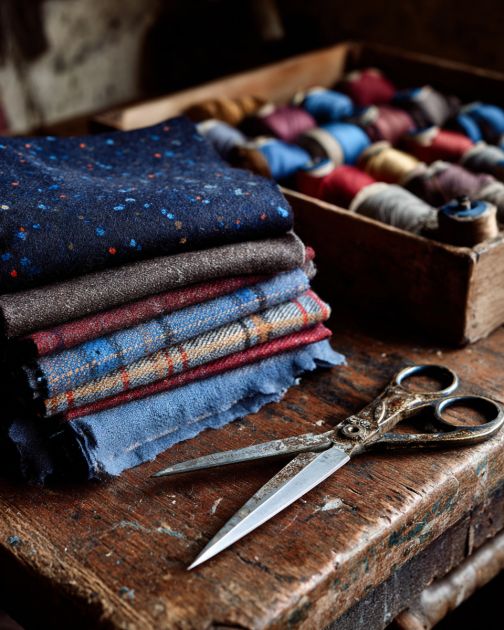
Old scarves (1 or more, depending on desired size)
Wooden frame or canvas stretcher bars (size to match scarf)
Staple gun and staples
Fabric scissors
Measuring tape
Optional: fabric glue or sewing kit for finishing edges
Wooden frame or canvas stretcher bars (size to match scarf)
Staple gun and staples
Fabric scissors
Measuring tape
Optional: fabric glue or sewing kit for finishing edges
Directions
Choose a scarf that you would like to use for your wall art. Consider the pattern, color, and size of the scarf in relation to where you plan to hang it.
Measure the dimensions of your wooden frame or canvas stretcher bars to ensure they fit the scarf. If necessary, trim the scarf with fabric scissors, leaving an extra inch on all sides for wrapping.
Lay the scarf flat on a clean surface, with the patterned side facing down. Place the wooden frame or stretcher bars on top of the scarf, centered.
Begin wrapping the scarf around the frame, starting with one side. Pull the fabric taut and secure it to the back of the frame using a staple gun. Repeat for the opposite side, ensuring the fabric is smooth and wrinkle-free.
Continue stapling the remaining sides, pulling the fabric tight as you go. Fold the corners neatly and secure them with additional staples.
Trim any excess fabric from the back of the frame. If desired, use fabric glue or a sewing kit to finish the edges for a cleaner look.
Hang your new fabric wall art in your desired location using appropriate wall hooks or nails.
Advertisement
Variations & Tips
To add variety to your fabric wall art, consider using multiple scarves in a patchwork design. Sew or glue different pieces together before stretching them over the frame for a more eclectic look. You can also experiment with different frame sizes and shapes, such as circular or oval frames, to create a dynamic display. For a more textured appearance, layer sheer scarves over solid ones, or add embellishments like beads or embroidery. If you prefer a more rustic look, use a wooden embroidery hoop instead of a frame, allowing the edges of the scarf to hang freely.