
I love a garden project that looks tailored and expensive but is built from humble, easy-to-find materials, and this scalloped concrete edging is exactly that kind of win. By using stacked plastic cups as simple molds, you can make repeating curved sections that frame a flower bed or walkway with that neat, old-fashioned border shape people usually assume came from a garden center.
What makes this version especially useful is the secret ingredient: a little acrylic fortifier mixed into the cement. It helps the finished pieces cure stronger and hold up better outdoors, which matters in a Midwest climate where freeze-thaw cycles can be rough on anything left in the yard. If you’re comfortable mixing pancake batter, you can handle this project.
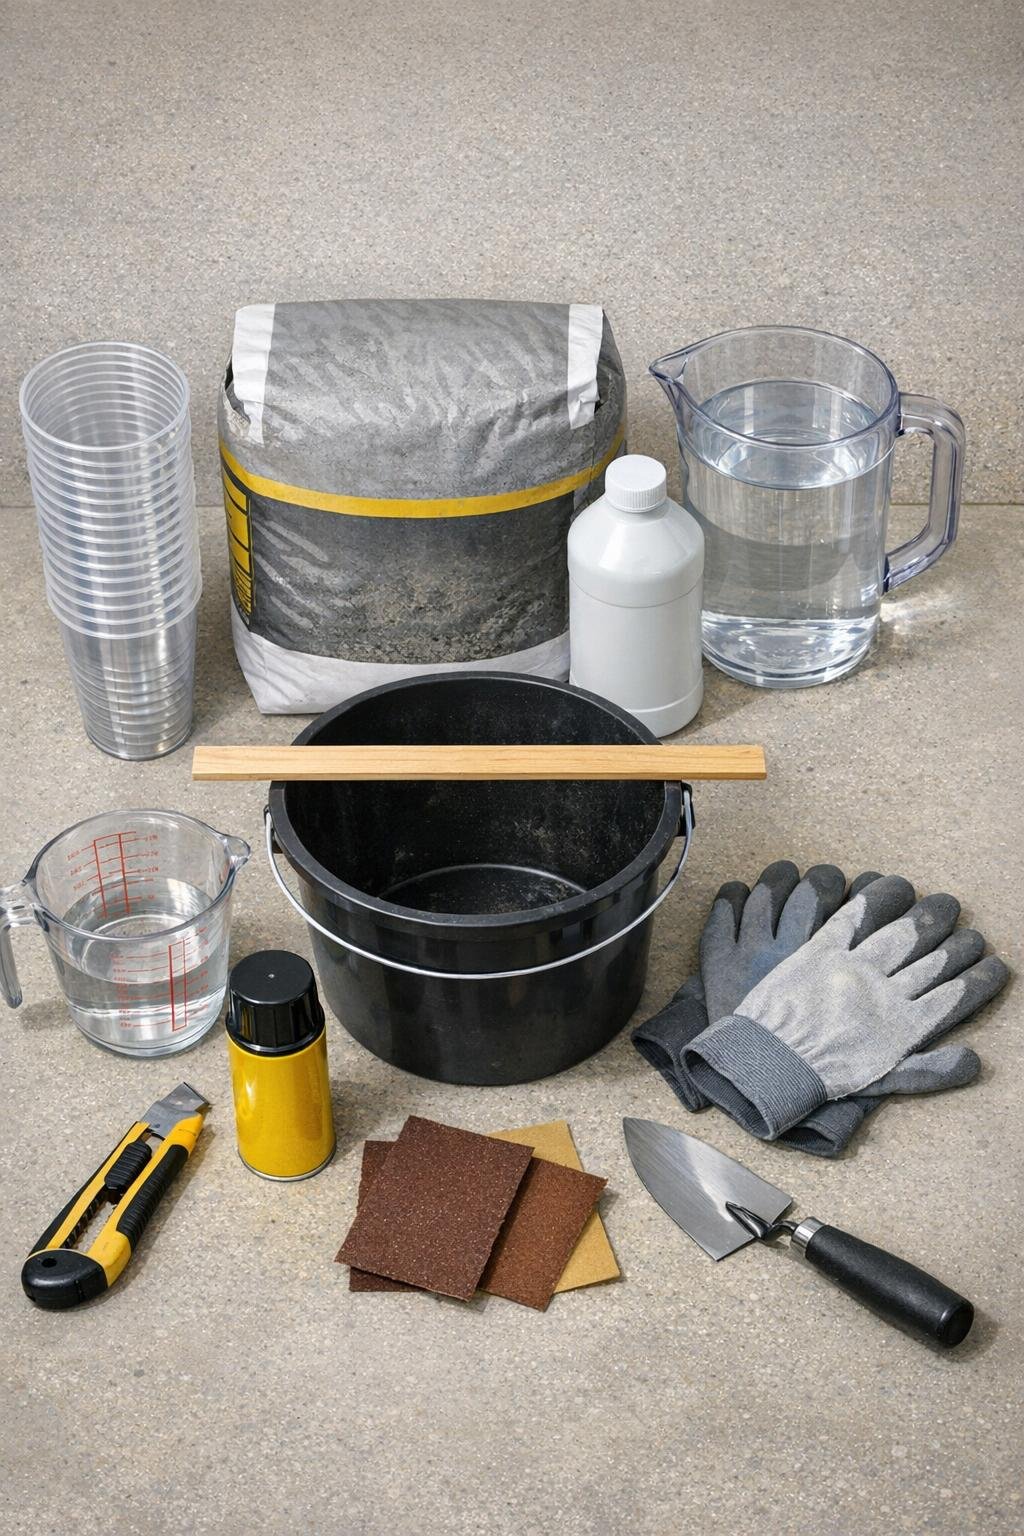
Materials
Instructions
1. Set your drop cloth or cardboard on a flat surface outdoors or in a well-ventilated work area, and gather all materials within reach. A level setup is important so the edging pieces cure with even bottoms.
2. Lightly spray the insides of the 16-ounce cups and the outsides of the 12-ounce cups with cooking spray. This quick release layer makes demolding much easier later.
3. Center one 12-ounce cup inside each 16-ounce cup to create a ring-shaped mold with an open scalloped top. If the inner cup wants to float later, be ready to hold it down as you fill.
4. In the bucket, mix the concrete according to the bag directions, replacing part of the water with acrylic fortifier. I usually use about 1 part fortifier to 3 parts water for small cast pieces, which gives a thick, smooth mix about the texture of oatmeal.
5. Let the mix sit for 2 to 3 minutes, then stir again to remove dry pockets. This short rest helps the concrete hydrate evenly and makes it easier to spoon into the molds.
6. Fill each cup mold about three-quarters full with concrete, tapping the sides as you go to release trapped air. Hold the inner cup centered so the concrete wall stays fairly even all around.
7. Tap each filled mold firmly on the work surface several times and smooth the top with a stir stick or small trowel. A flat top becomes the bottom edge that will sit in the soil, so this step is worth doing neatly.
8. Let the pieces set undisturbed until firm, usually 24 hours for fast-setting mix or a little longer in cool weather. Don’t rush demolding; concrete chips easily when it is still green.
9. Peel away the outer cups first, then carefully twist and remove the inner cups. If a cup sticks, slice it gently with the utility knife instead of forcing the concrete.
10. Sand any rough edges lightly with 120-grit sandpaper, especially around the rim and base. Wear gloves, and aim only to knock off sharp bits rather than reshape the pieces.
11. Cure the concrete for another 3 to 5 days, lightly misting once or twice a day if the weather is hot and dry. Slow curing gives small pieces better strength, a lesson I learned after rushing a batch years ago and watching corners crumble in one season.
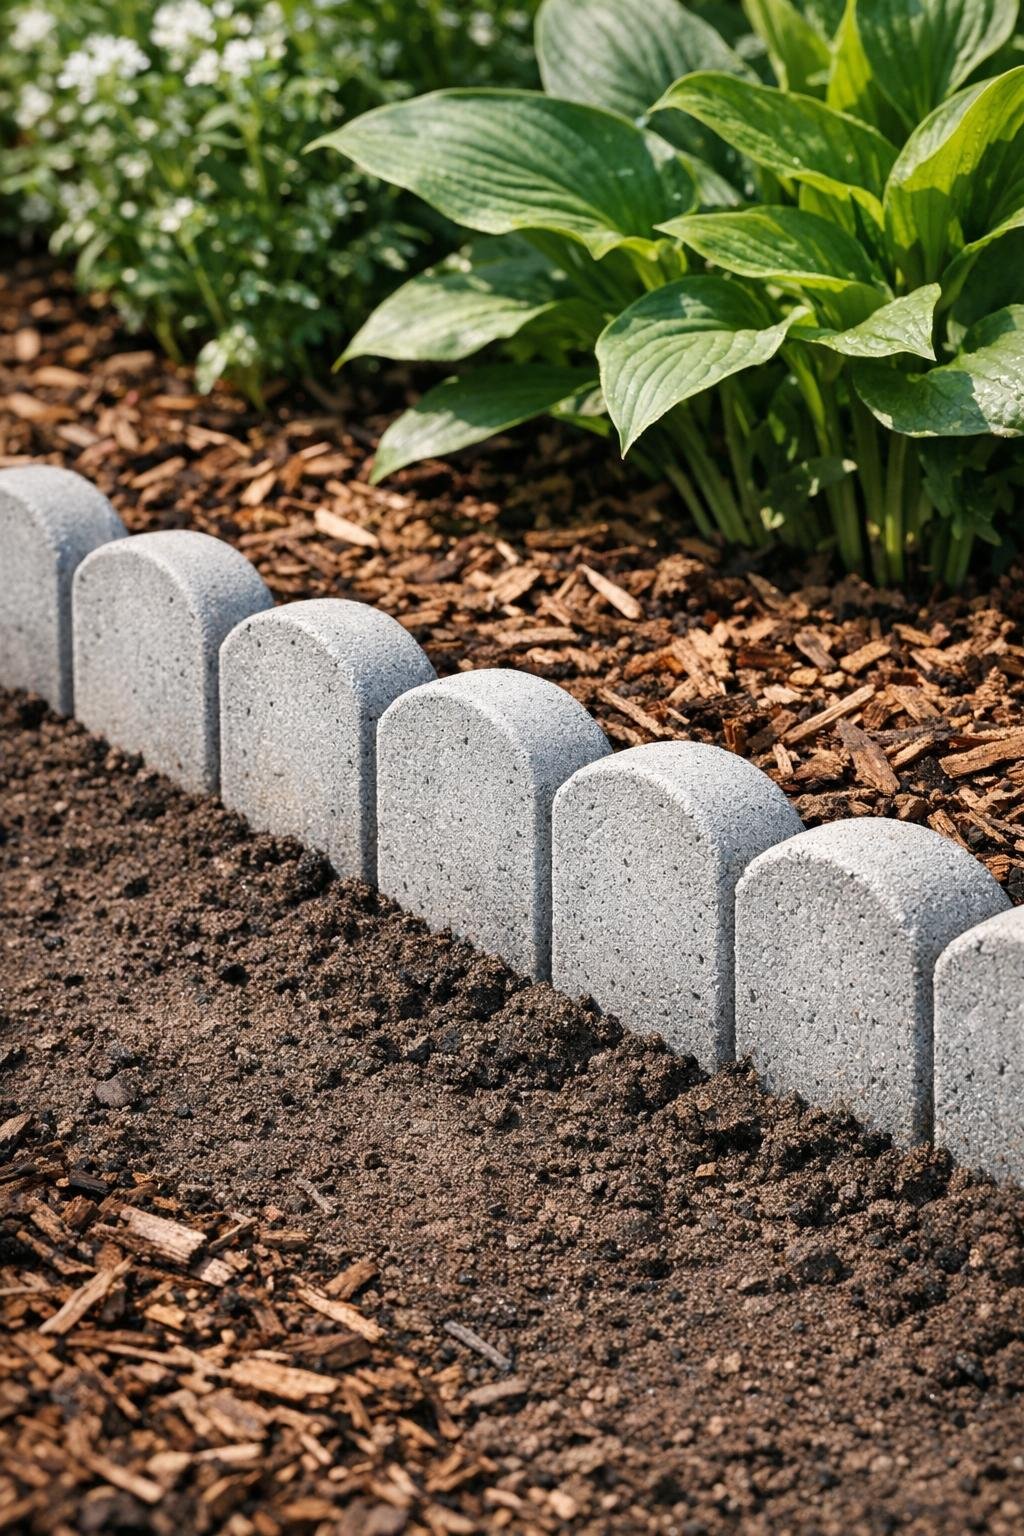
12. Dig a shallow trench along the garden bed, then set the concrete scallops side by side with about one-third of each piece buried for stability. Backfill with soil and press firmly so the curved tops create a continuous decorative border.
Variations & Tips
For a larger border: Use bigger paired cups or small plastic bowls if you want chunkier scallops. Just keep the spacing between the inner and outer mold even so the walls are not too thin.
For added strength: You can stir in a handful of fiberglass concrete fibers if you already have them on hand. I still use the acrylic fortifier because it noticeably improves durability in outdoor castings.
For a smoother finish: Shake and tap the molds a little longer than you think necessary. Air bubbles are the main reason small concrete pieces look rough or develop weak spots.
For color: Add a small amount of masonry pigment to the wet mix for a terra-cotta, charcoal, or sandstone look. Integral color tends to wear better than surface paint on items that sit in soil.
For curved beds: Make several extra pieces. The slight flexibility in spacing lets you follow gentle curves much more easily than trying to force a perfect count.
Cold-weather tip: Avoid pouring and curing these when temperatures are near freezing. Concrete gains strength best in mild weather, ideally above 50 degrees Fahrenheit.