
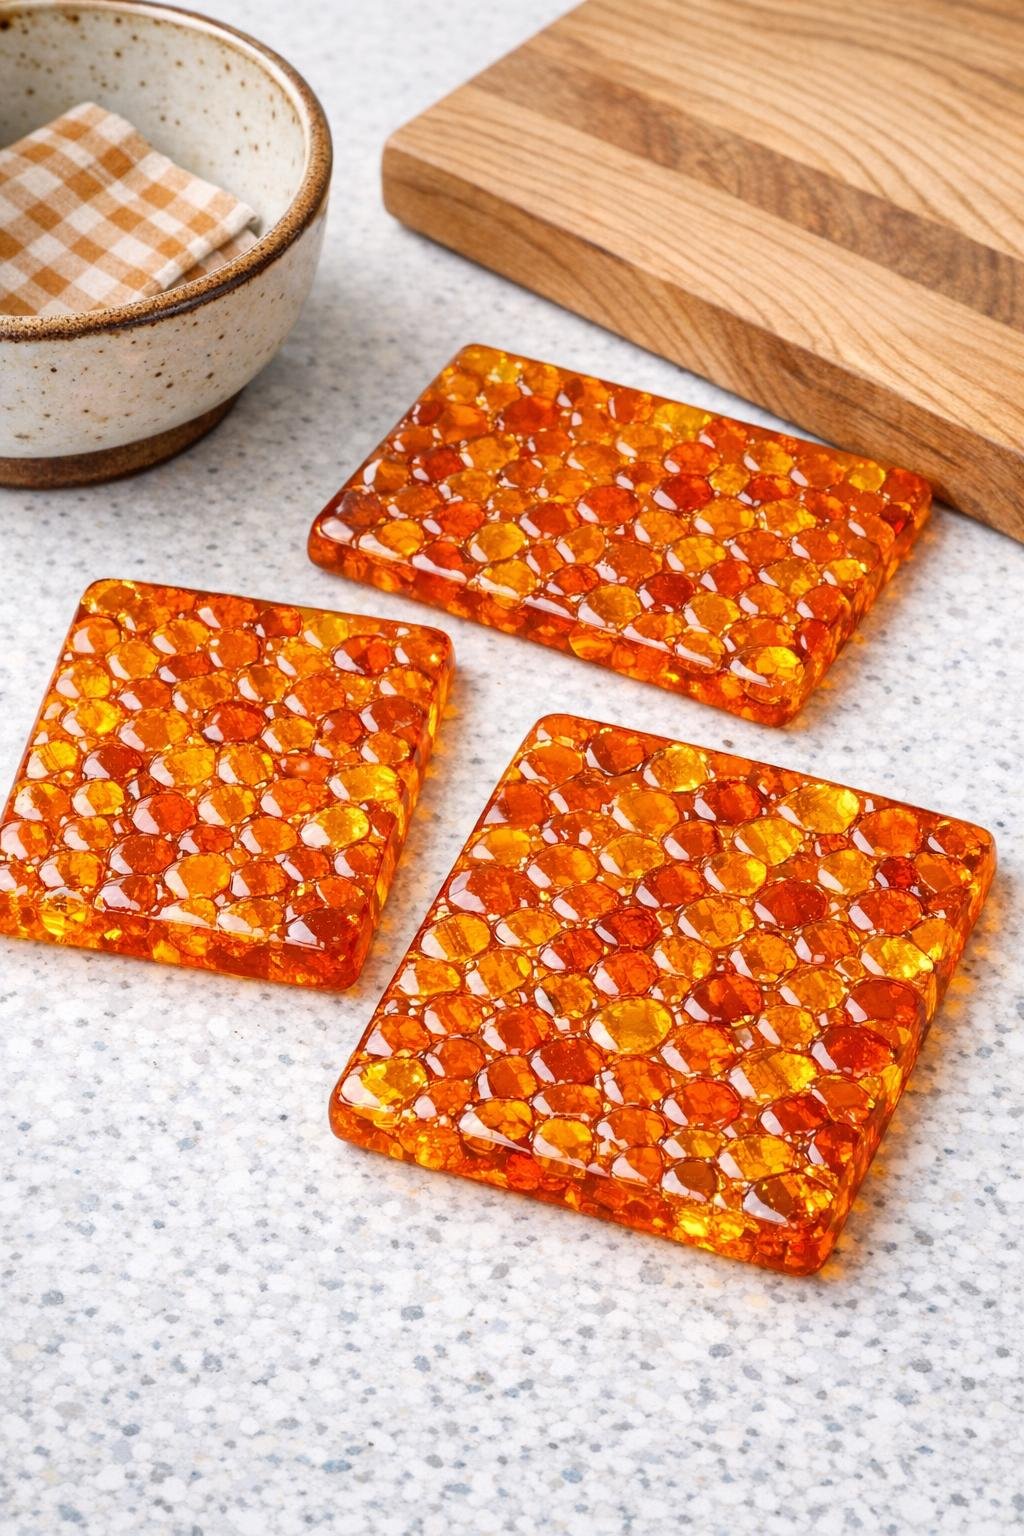
I love a project that lands right between practical and conversation-starting, and these amber-look trivets do exactly that. By melting orange pony beads in a loaf pan and using two simple pantry staples to help with release and cleanup, you can make a set of three glossy heat-resistant pads that look surprisingly similar to vintage resin or pressed glass. They’re affordable, fast, and especially satisfying if you enjoy transforming humble materials into something that looks far more polished than its origin suggests.
This is a good beginner craft if you’re comfortable using an oven and want a small home décor project with a useful end result. I’m always drawn to warm, harvest-inspired tones in my kitchen, and these trivets fit right in beside wooden boards, stoneware, and copper-colored accents without feeling fussy.
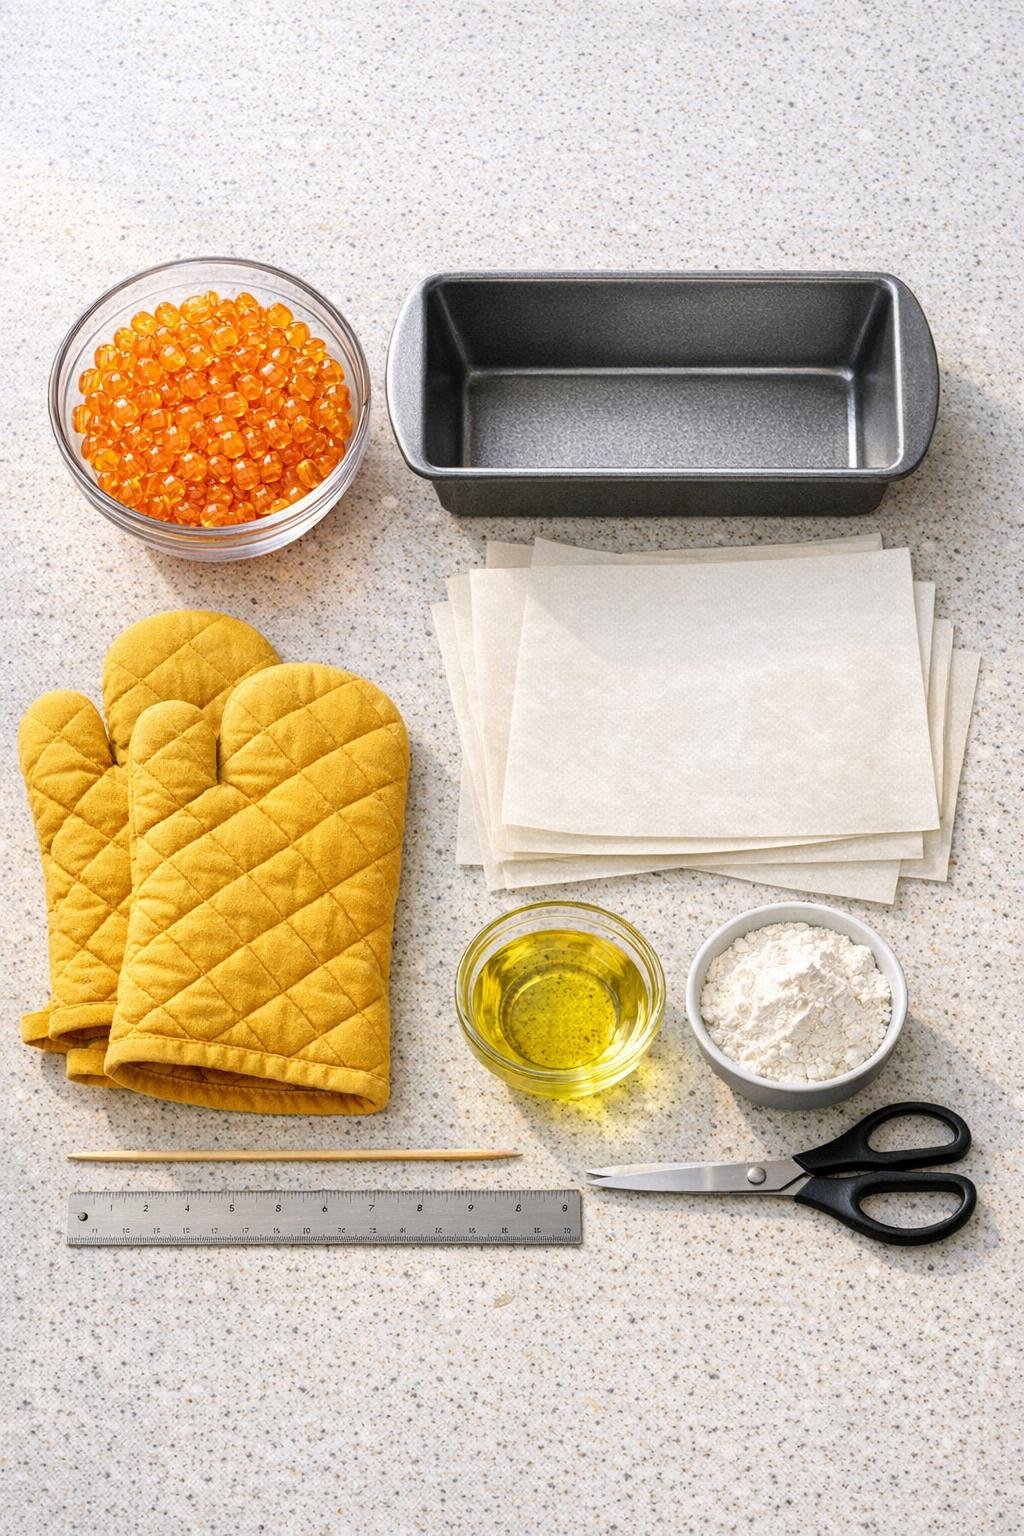
Materials
Instructions
1. Preheat your oven to 400°F and place a rack in the center position. Open a window or turn on the vent fan, since melting plastic can have a noticeable smell.
2. Cut a strip of parchment to fit the length of the loaf pan with extra overhang on the long sides so you can lift the sheet out later. Lightly coat the parchment and the exposed pan ends with the vegetable oil, then dust very lightly with flour and tap out any excess.
3. Pour in enough orange pony beads to create an even layer about 3/8 inch thick across the base of the pan; for most standard loaf pans, that’s roughly one-third of your total beads. Shake the pan gently so the beads settle into a flat, even layer.
4. Bake the beads for 18 to 22 minutes, watching closely after the 15-minute mark, until they soften and fuse into one sheet with only a few small surface dimples. If you see deep holes, nudge nearby softened beads into place with the wooden skewer and return the pan to the oven for 1 to 2 minutes.
5. Remove the pan carefully and set it on a cooling rack for 8 to 10 minutes, just until the fused plastic is firm but still slightly warm. Lift the sheet out using the parchment overhang and place it on a protected cutting surface.
6. Measure the length of the fused sheet and mark it into three equal sections, each about 2 3/4 to 3 inches wide depending on your pan’s interior length. Cut the sheet into three trivet pieces with a craft knife or heavy-duty kitchen shears while the plastic still has a little warmth.
7. Let the three pieces cool completely for 20 to 30 minutes. If any edge feels sharp, trim a sliver away or soften it with a few careful passes of the shears.
8. Wipe each trivet with a dry cloth to remove any flour residue, then test one under a warm serving bowl or teapot. Use them for hot dishes, but avoid direct stovetop contact or broiler-hot cookware.
Variations & Tips
Deeper amber look: Mix in a small handful of brown translucent pony beads with the orange beads for a richer, cider-like tone. I find this especially pretty in kitchens with darker wood cabinets.
Rounder edges: If you want a softer silhouette, trim the corners while the sheet is still slightly warm. That little adjustment makes the pieces look more intentionally store-bought.
Surface texture: Leave a few shallow dimples on top if you like the look of old pressed glass. For a smoother finish, give the pan another minute in the oven after nudging any open spots closed.
Gift set idea: Stack the three trivets with a length of twine and pair them with a loaf of quick bread or a jar of soup mix. As someone who cooks a lot, I can say useful handmade gifts are the ones people tend to keep within reach.
Heat-use note: These work best under serving bowls, casserole dishes, teapots, and warm bakeware set on the table. I would not use them under cookware straight from a grill, broiler, or open flame.
Cleanup tip: Let the pan cool fully before peeling away any stuck bits of parchment. A little oil and that light dusting of flour really help, which is why these two pantry items earn their place in the project.