
There’s something deeply satisfying about giving a tired old drawer a brand-new purpose, especially when the wood still carries a little character from the life it lived before. In this project, I turn an old dresser drawer upside down and use just three pieces of hardware to create a rustic serving tray with plenty of farmhouse charm. It’s a simple makeover, but the kind that looks far more impressive than the effort it takes.
I’ve always had a soft spot for old furniture parts—drawer fronts, table legs, even lonely cabinet doors—because around here, we were raised to see possibility in what others might toss aside. This tray is a wonderful beginner project if you enjoy upcycling, and it’s especially nice for anyone who wants a useful handmade piece for coffee tables, ottomans, or carrying drinks out to the porch.
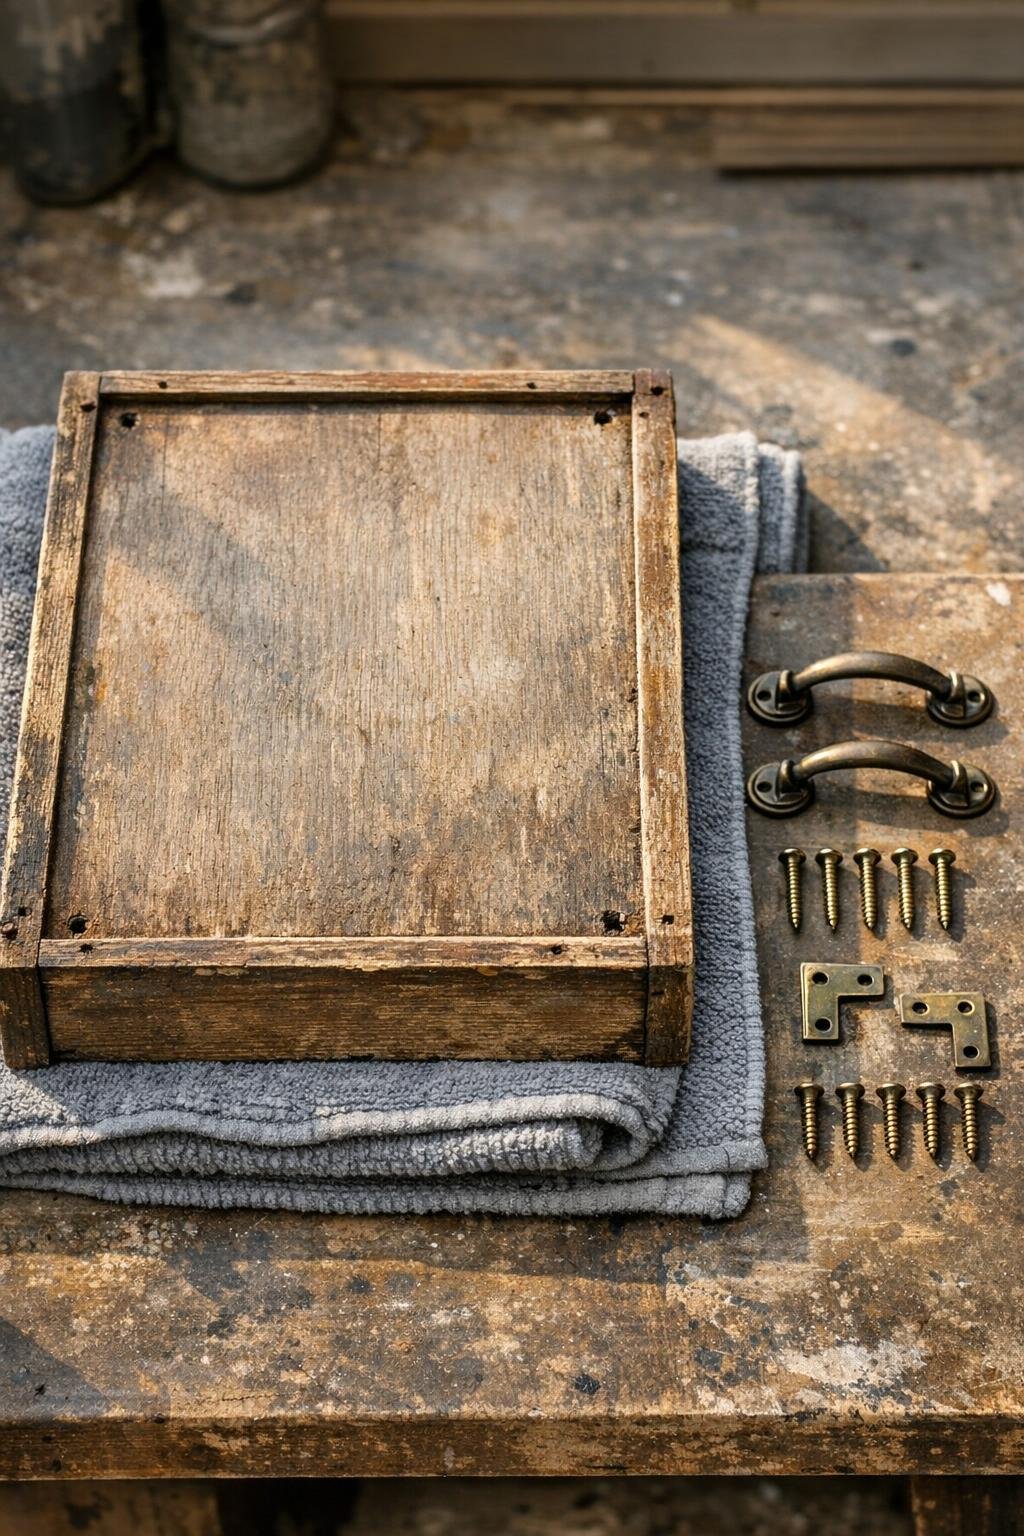
Materials
Instructions
1. Set the old drawer upside down on a folded gray towel so the original drawer front faces the table and the flat drawer bottom becomes the top of your tray. Check that the drawer feels sturdy and tighten or reglue any loose joints before moving on.
2. Remove any old hardware, nails, or rough debris from the drawer, then sand the outer sides and the new tray top with 80-grit followed by 150-grit sandpaper. Wipe away all dust with a clean rag.
3. If the drawer has damaged spots or unwanted holes on the outside, press in a little wood filler and let it dry fully. Sand those patched areas smooth so the tray looks finished instead of patched together.
4. Decide which two opposite sides will become the tray handles, then mark the handle placement centered on those sides. Keep both handles at the same height so the tray feels balanced in your hands.
5. Drill the handle holes if needed, then attach the two drawer pulls firmly with their machine screws. Give each handle a gentle tug to make sure it’s secure before you continue.
6. Turn the tray slightly and fasten one small corner brace inside each of two weak interior corners if the drawer needs extra support. These little braces are one of those practical fixes I learned years ago—hardly noticeable, but they make an old piece feel trustworthy again.
7. Apply wood stain, furniture wax, or a clear topcoat if you want to deepen the color or protect the finish. Let it dry completely, then buff lightly with a clean rag for a soft rustic sheen.
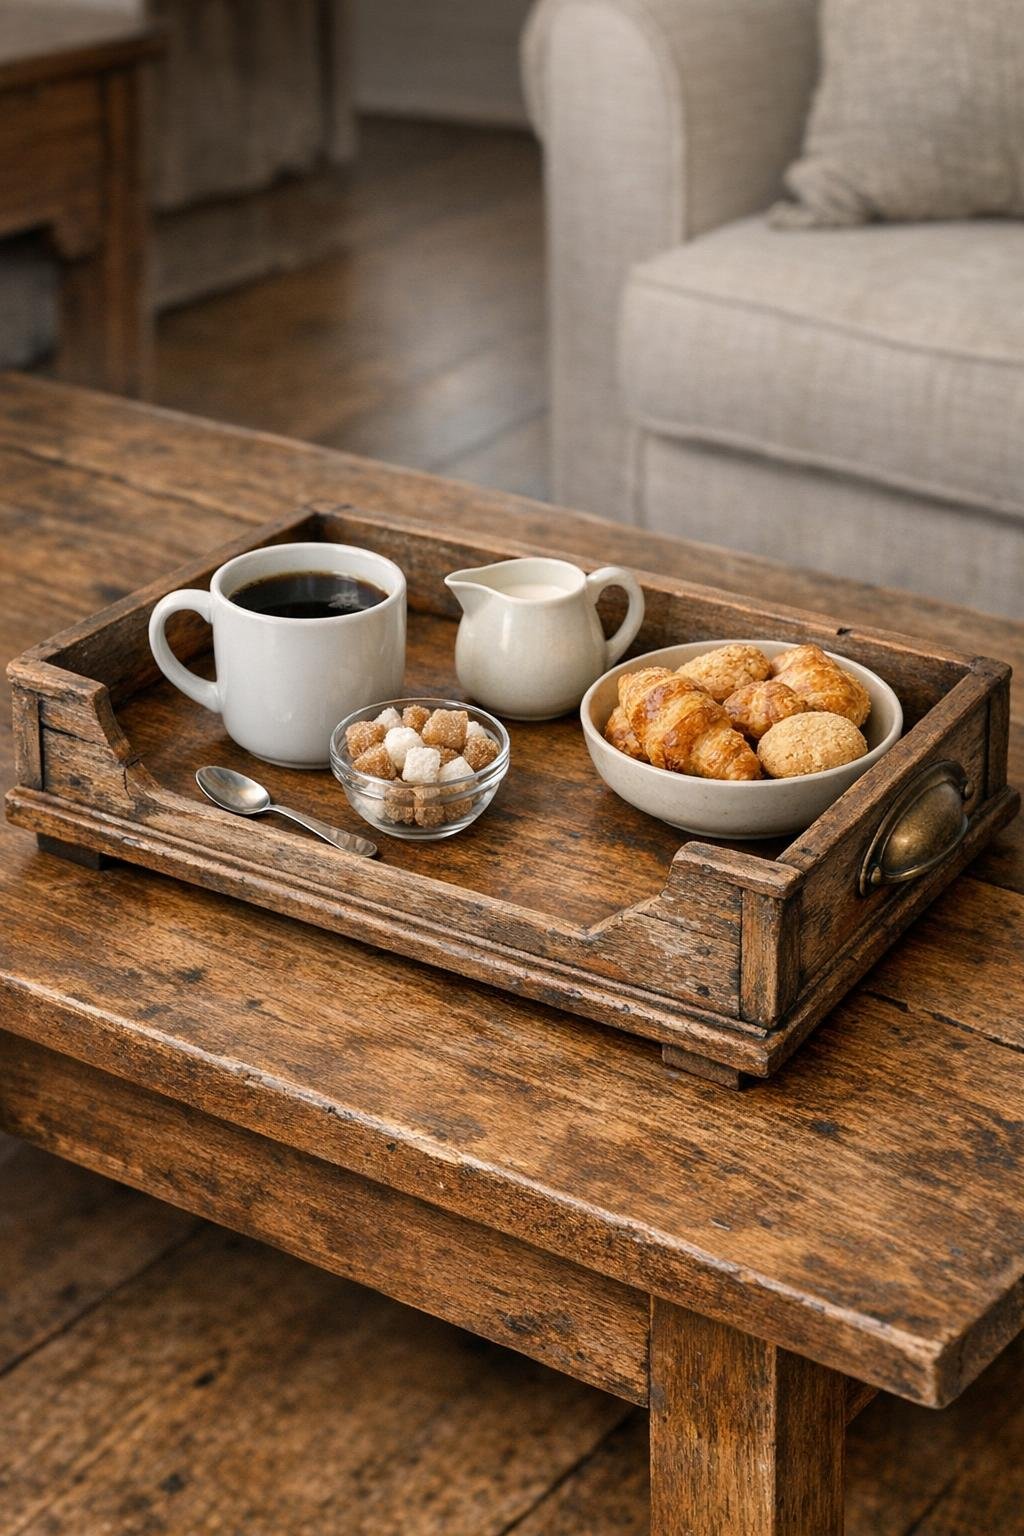
8. Once everything is dry, test the tray by lifting it from both handles and setting a few lightweight items on top. If it sits level and feels solid, it’s ready for serving or display.
Variations & Tips
Keep the patina: If the old paint or worn wood is stable, leave some of that age showing. I think a tray like this is prettiest when it still remembers where it came from.
Add felt feet: Small self-adhesive felt pads on the drawer front side will help protect your table or ottoman when the tray is set down.
Try a wax finish: For a softer, more old-fashioned look, use clear or dark furniture wax instead of polyurethane. It won’t build as much shine, but it suits rustic wood beautifully.
Use it beyond serving: This tray works just as nicely for corralling candles, holding salt and pepper on the table, or organizing mail on a sideboard.
Check weight before carrying: Old drawer bottoms can vary quite a bit in strength, so I recommend using this for drinks, napkins, books, or décor rather than very heavy loads unless you’ve reinforced it well.