
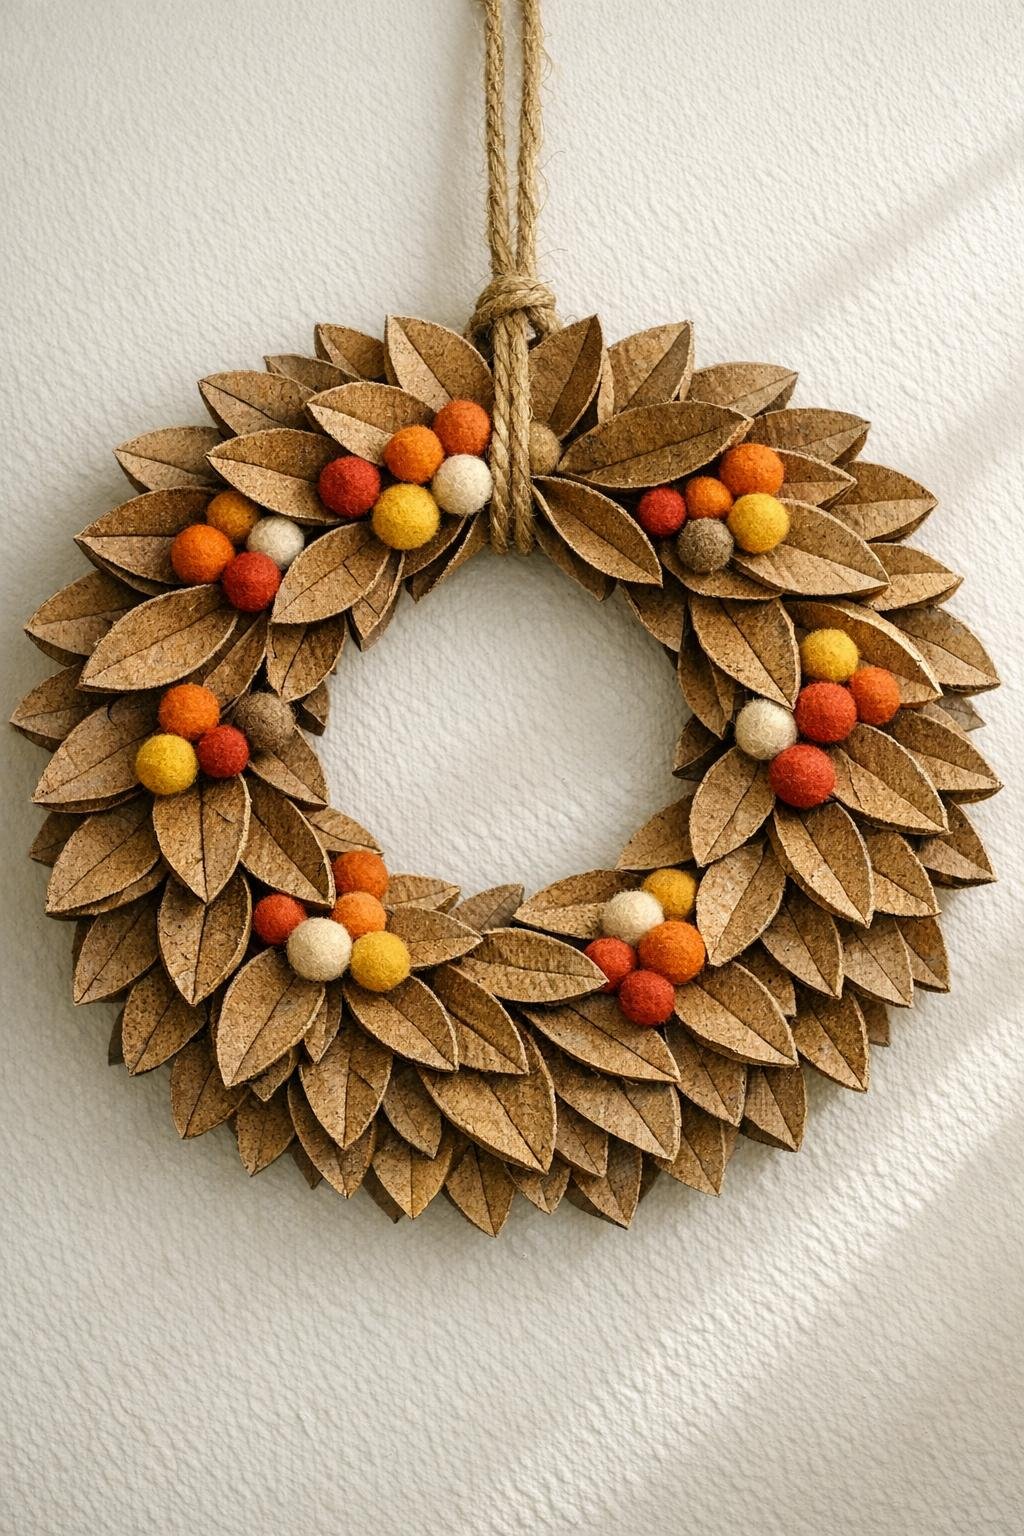
There’s something especially satisfying about turning everyday “recycling bin” items into décor that looks warm, intentional, and perfect for the season. This rustic fall wreath uses empty paper towel rolls sliced into rings, then shaped and finished with just a couple of basic craft-drawer staples to create a full, leafy wreath that feels right at home on a front door, mantel, or kitchen wall.
I love projects like this because they’re inexpensive, forgiving, and easy to make in stages while dinner is in the oven or the kids are working on homework at the table. If you enjoy simple seasonal decorating and want a fall craft that looks far fancier than the materials suggest, this one is a lovely afternoon project.
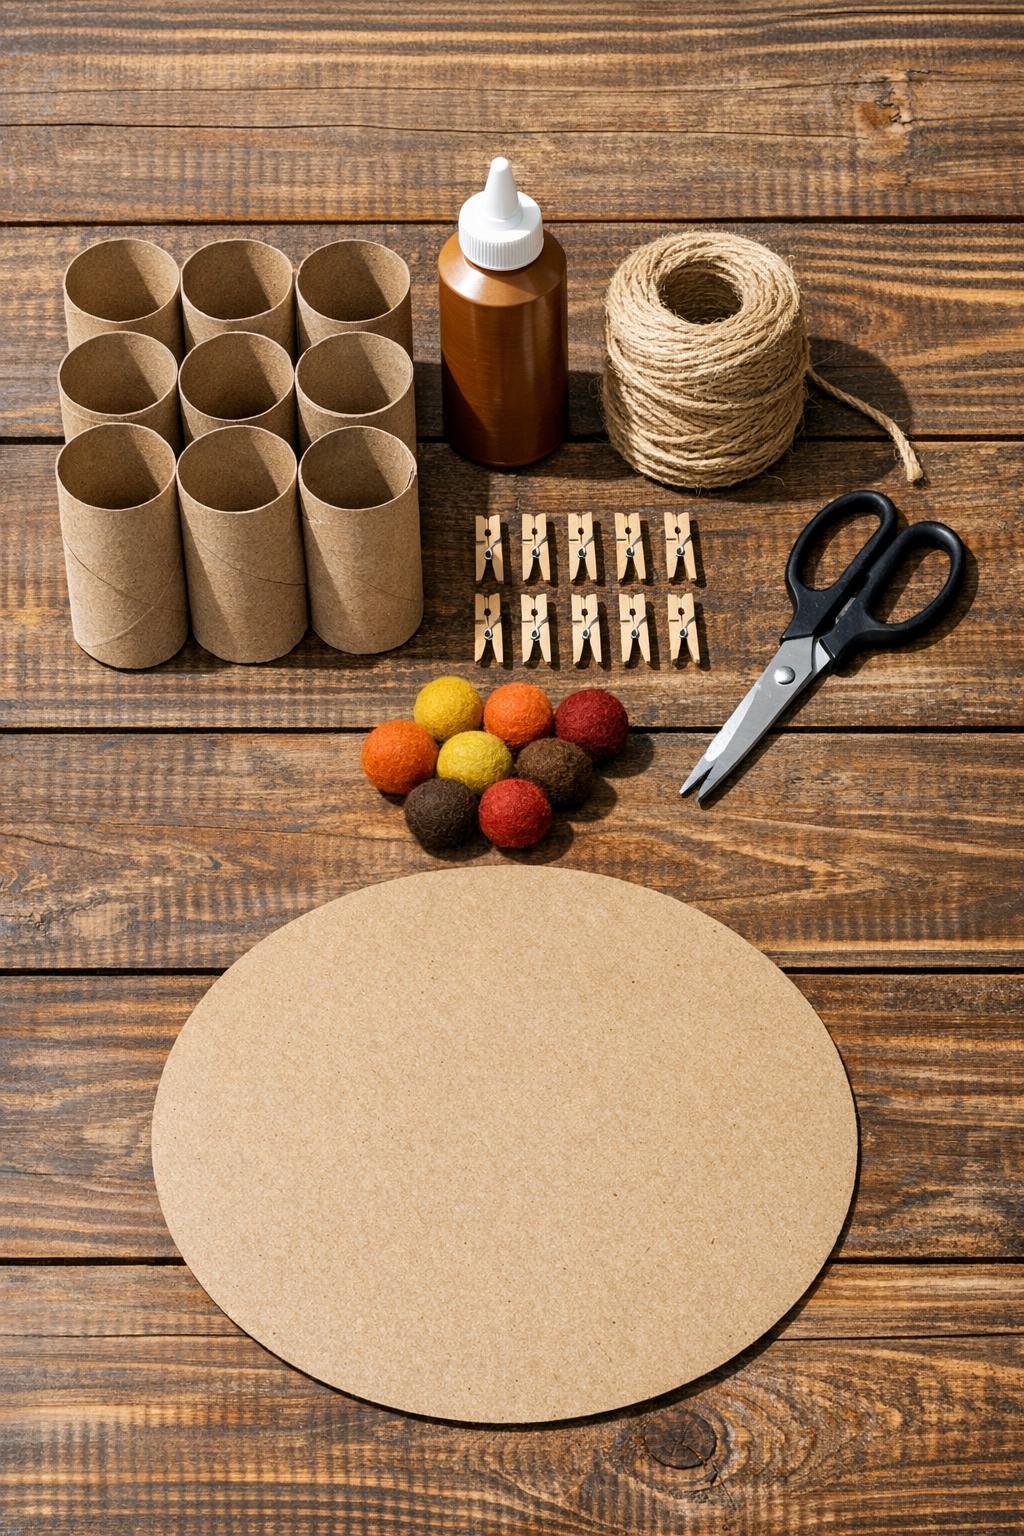
Materials
Instructions
1. Flatten each empty paper towel roll gently with your hands so it is easier to mark and cut evenly.
2. Slice the rolls crosswise into thin rings about 1/2 inch wide; you’ll want roughly 80 to 96 rings total for a full 14- to 16-inch wreath.
3. Pinch each ring at one side to form a pointed leaf shape, then pinch the opposite side if you want a sharper petal; the natural crease helps them hold their shape.
4. Cut a backing ring from kraft paper or lightweight cardboard about 10 inches across with a 6-inch opening in the middle to support the wreath without showing much from the front.
5. Glue the first layer of folded rings around the backing ring, placing the points outward and slightly overlapping the bases so they fan out like leaves.
6. Add a second layer of folded rings between the first layer pieces to fill gaps and make the wreath look fuller; let the glue set for 10 to 15 minutes.
7. Clip mini wooden clothespins around a few sections of the wreath while the glue dries if any pieces want to lift; this little trick keeps everything snug without making a mess.
8. Glue the felt balls or pom-poms in small clusters of two or three around the wreath for a pop of fall color, spacing them out so the design still feels rustic and airy.
9. Wrap a 12-inch piece of jute twine into a loop, knot it securely, and glue or tie it to the back of the wreath for hanging.
10. Let the wreath dry completely for at least 30 minutes before hanging it on a door, wall hook, or over a mantel.
Variations & Tips
Painted finish: If you want a richer fall look, brush the rings lightly with acrylic paint in cream, rust, mustard, or brown before assembling. I like dry-brushing so a bit of the natural cardboard still shows through.
For picky decorators: If your family doesn’t love bold autumn colors, keep the wreath neutral with plain cardboard, tan twine, and cream pom-poms for a softer farmhouse style.
Fuller wreath: Use more rolls and add a third layer of leaf shapes if you want a denser, more dramatic piece for a large front door.
No pom-poms: You can swap the felt balls for buttons, acorns, wooden beads, or small fabric bows and still keep the same basic design.
Cleaner cutting: If the rings flatten too much while cutting, reshape them gently with your fingers before folding. They do not need to be perfect; slight variations actually make the wreath look more natural.
Kid helper tip: Older kids can help pinch the rings into leaf shapes or hand you pieces while you glue. It’s a nice way to turn recycled materials into something everyone feels proud to hang up.