
Turning a basic kitchen strainer into a crochet storage tote is exactly the kind of project I love: practical, a little unexpected, and satisfying to make in an afternoon. By flipping the metal strainer and working jute yarn through its diamond-shaped holes, you get a sturdy basket-style tote with wonderful texture and structure built right in.
This is a good project for anyone who knows a few basic crochet stitches and wants to try something creative without starting from scratch on shaping. The metal strainer does a lot of the structural work for you, and the jute gives the finished piece a natural, rustic look that feels right at home in a kitchen, pantry, craft room, or entryway.
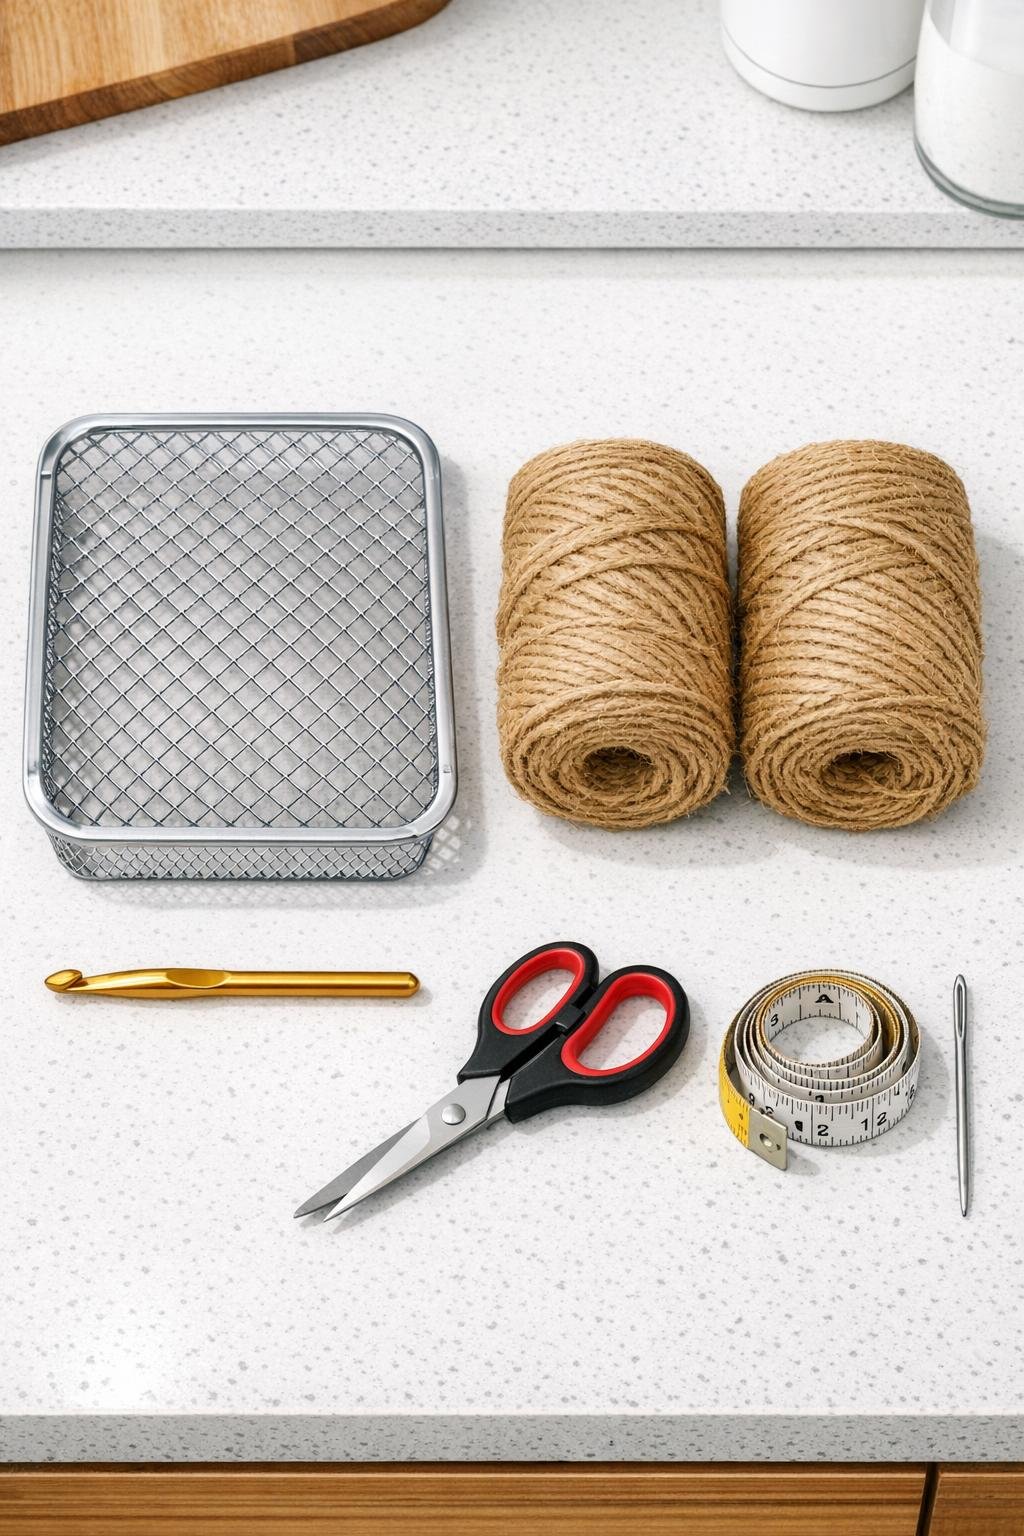
Materials
Instructions
1. Turn the metal strainer upside down on your work surface so the rounded base becomes the bottom of the tote. Check that the rim sits level and decide whether you want to keep the handle area as the back or side of the finished piece.
2. Cut a starting length of jute about 24 inches long and tie it securely to one hole near the rim from the inside of the strainer. This anchor keeps the first round from slipping while you begin crocheting through the metal openings.
3. Insert your crochet hook through a diamond hole near the rim, pull up the jute, and work single crochet stitches through each opening around the strainer. I like to keep the tension firm but not tight, because jute has very little stretch and can make the edge pull in if overworked.
4. Continue adding one single crochet stitch in every hole around the body of the strainer, working in even rows or spirals as the shape allows. Let the metal guide the structure and simply fill the openings so the silver mesh gradually becomes wrapped in jute.
5. When you reach the lower curved area, add an extra stitch in every third or fourth hole if the work starts to pucker. That small adjustment helps the crochet fabric sit smoothly against the changing curve of the strainer.
6. Crochet until all of the side holes are filled and the jute reaches the top edge of the strainer. If your strainer has a long handle, stop the body stitches where the handle begins and fasten off neatly on each side of it.
7. Join jute at the rim and work one full round of single crochet evenly around the top edge, placing stitches around the metal rim itself to soften and finish it. This creates a cleaner border and makes the tote more comfortable to carry.
8. To make handles, chain 18 to 24 stitches on one side of the rim, skip about 4 to 5 inches of edge, and attach the chain on the opposite side with a slip stitch. Repeat for a second handle, or make one long handle if you prefer a hanging basket style.
9. Work 1 more round of single crochet over the rim and across each chain handle to strengthen them. For extra durability, add a second pass of slip stitches just over the handles.
10. Weave in all loose ends with the yarn needle and trim any stray fibers with scissors. Set the tote upright, shape it gently with your hands, and make sure the base sits flat and the sides look evenly covered.
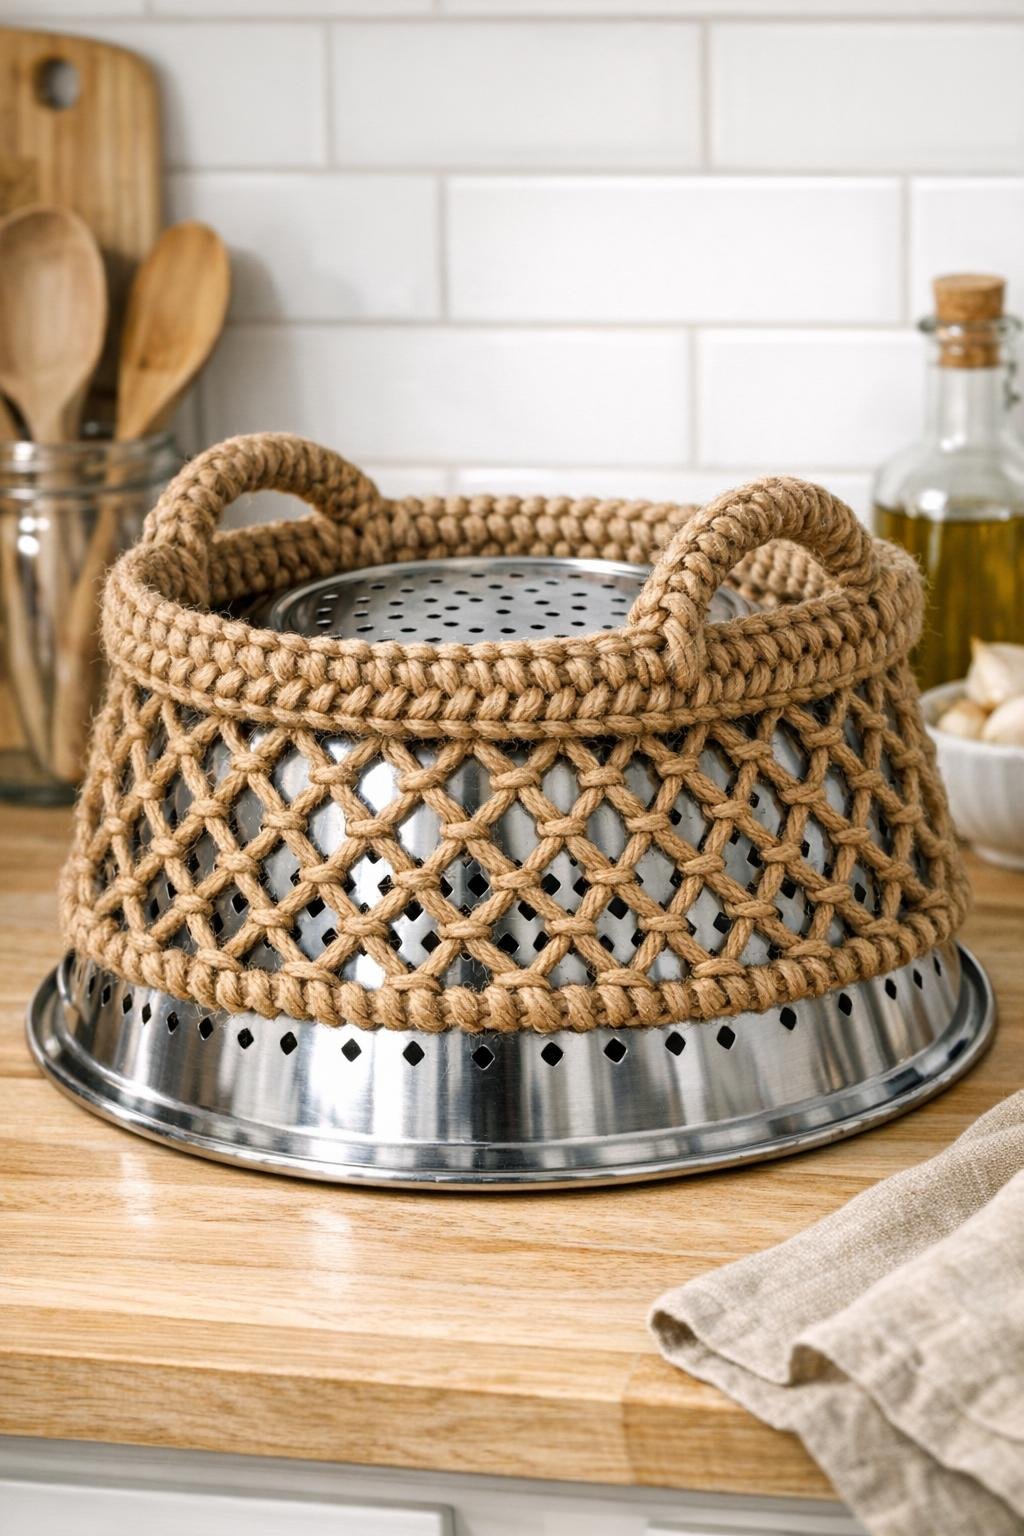
11. If desired, leave the silver metal visible at the handle attachment points for an industrial look, or cover those spots with a few extra stitches. The finished piece should still clearly read as the original flipped metal strainer, only now it functions as a sturdy crochet tote.
Variations & Tips
For a softer look: Swap one roll of jute for cotton rope yarn in a similar thickness. You will lose a bit of stiffness, but the tote will feel gentler on the hands.
For kitchen storage: I like this size for onions, garlic, rolled dish towels, or packets that tend to clutter a counter. Because the base is already ventilated, it works especially well for dry goods that benefit from airflow.
If the jute feels too rough: Wear a small adhesive bandage on your yarn-tension finger or crochet in short sessions. Jute is wonderfully sturdy, but it can be a bit abrasive compared with wool or cotton.
Handle option: If your strainer has one long metal handle and one helper loop, use those existing points as your handle anchors. That usually gives the finished tote a balanced shape and preserves the character of the original kitchen tool.
Tension tip: Keep your stitches consistent rather than tight. In cooking and in crochet alike, uniformity matters more than force, and even tension is what makes this project look polished.
Decorative variation: Add a final round in a contrasting yarn such as black, olive, or cream around the rim. That little border gives the tote a more finished design without changing the simple construction.