
This is one of those little budget projects that looks wildly more expensive than it is. I’m taking a plain dollar store canvas and turning it into modern textured wall art using bathroom caulk, but the make-or-break detail is this: the caulk must be paintable acrylic latex. If you accidentally grab 100 percent silicone, the paint will peel right off later, and that’s the number-one way this project goes wrong.
I love this kind of project when I want something calm and pretty for a room without spending boutique prices. It’s especially nice for beginners because the design stays simple: one continuous pencil line, then one steady bead of caulk, then paint everything the same matte color for that soft plaster look. The whole thing comes in at about $8, which is a lot easier on the family budget than the $150 versions I’ve seen in stores.
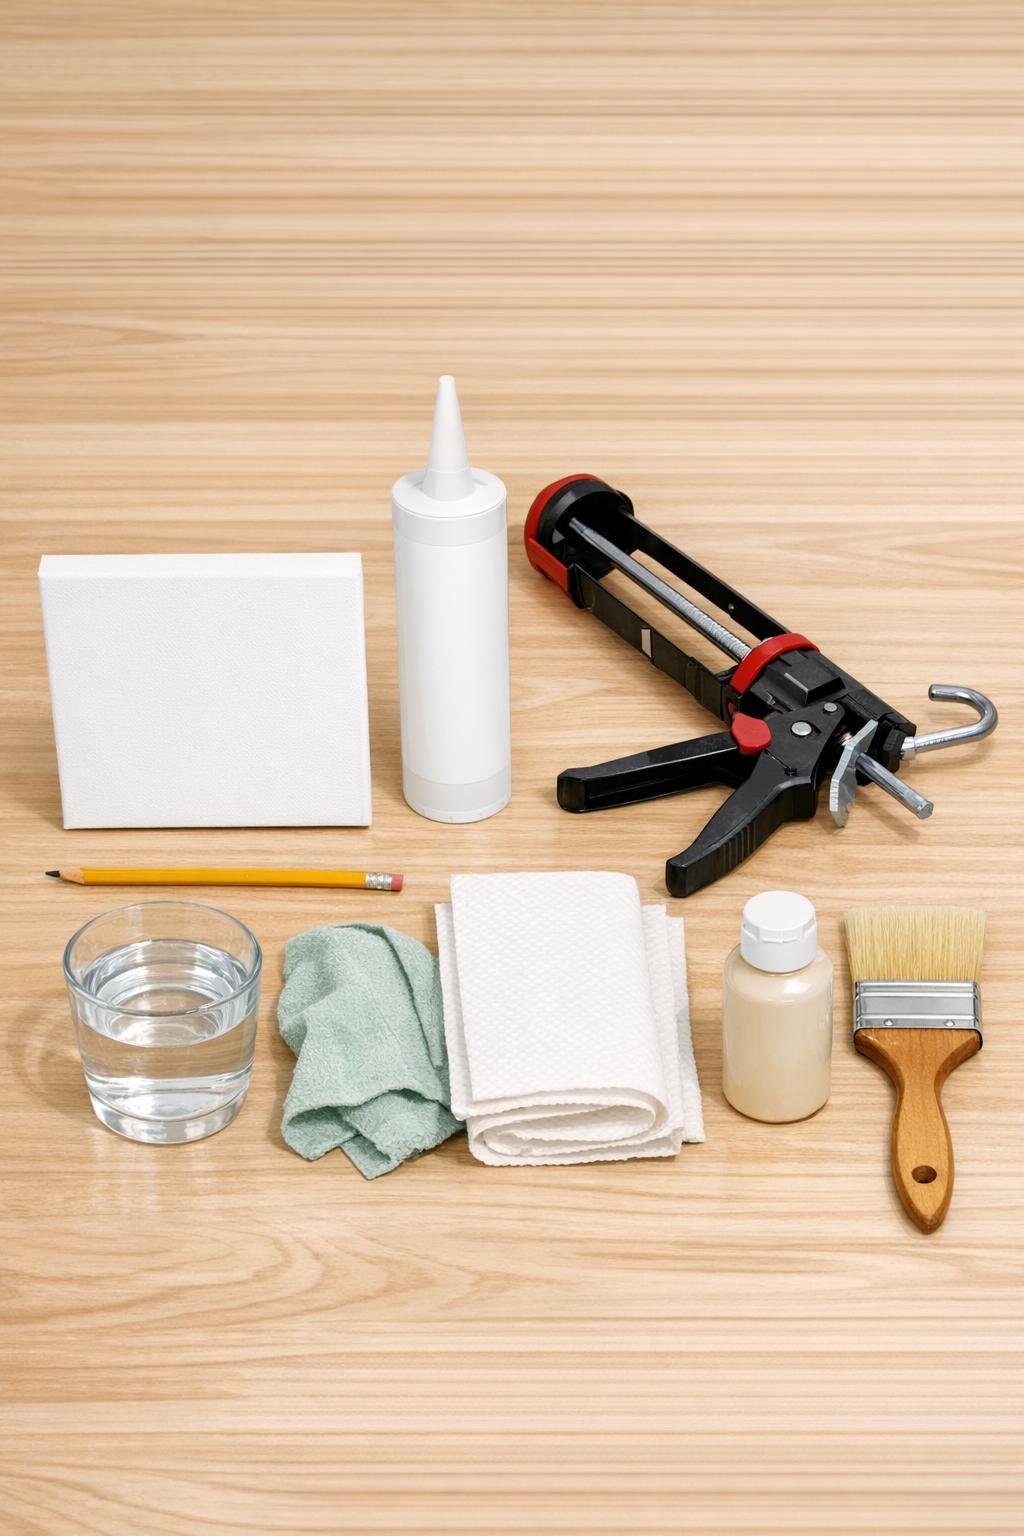
Materials
Instructions
1. Set your canvas on a flat table and double-check the caulk tube before you start; it needs to say paintable acrylic latex, not 100 percent silicone. That one choice decides whether your paint bonds properly or peels off later.
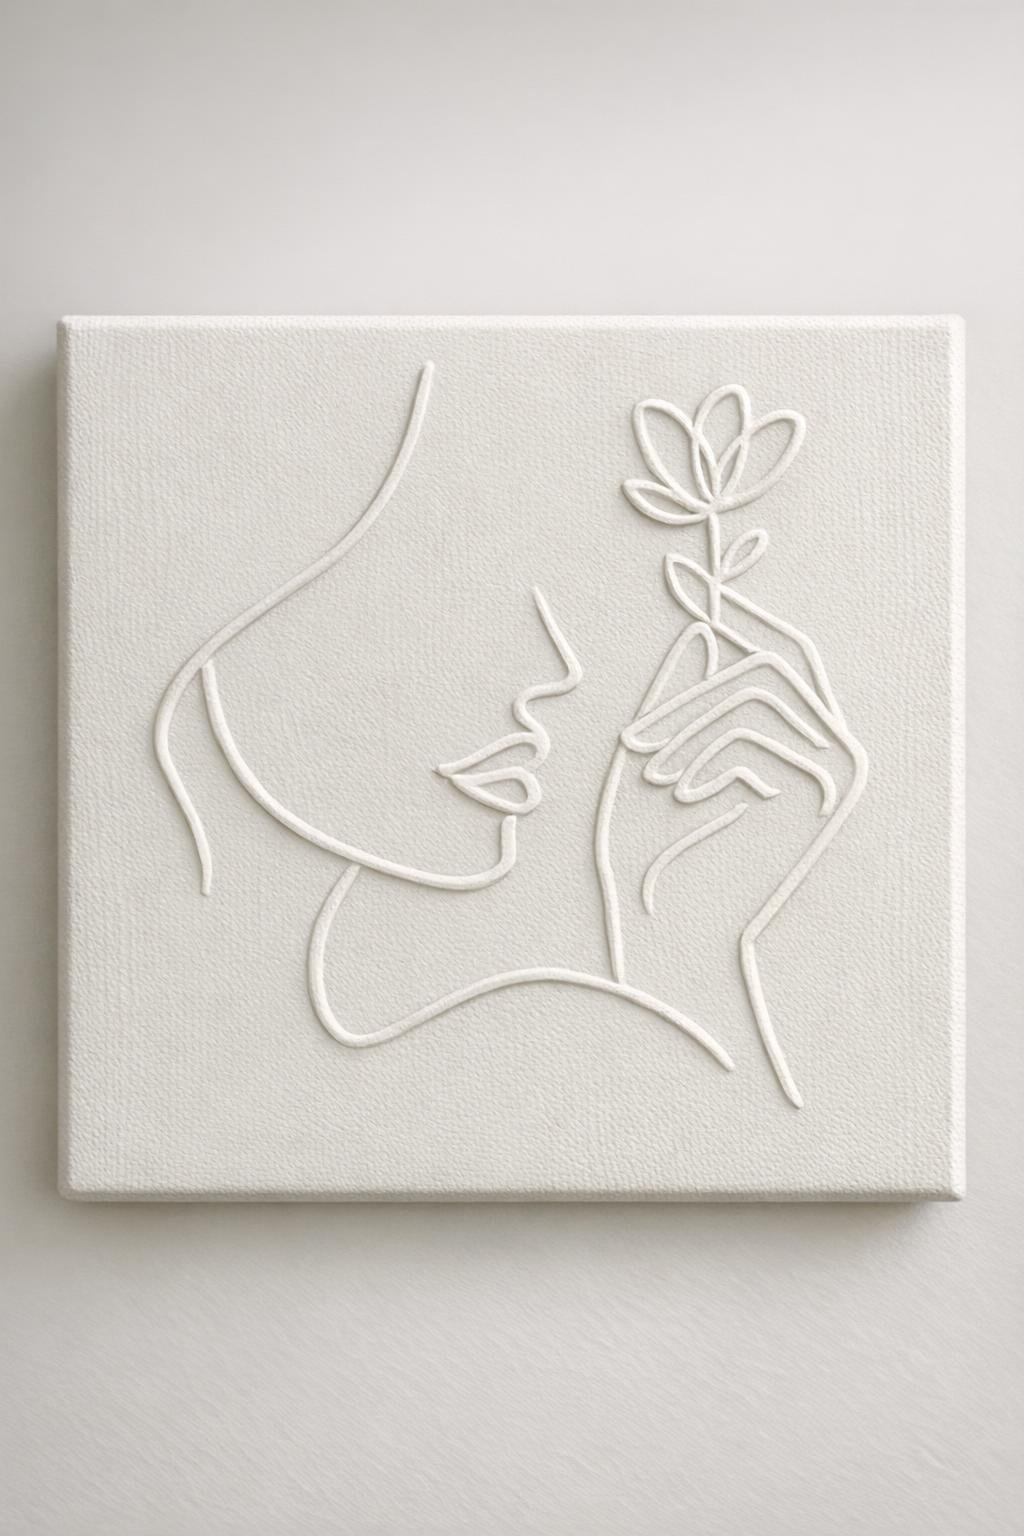
2. Lightly sketch a very simple one-continuous-line design with pencil. A face profile, a botanical stem, or a few abstract arches work best because one flowing line reads much better than lots of separate marks.
3. Cut a very small opening on the caulk tip so you can pipe a thin bead. Load the tube into the caulk gun and test one short line on scrap paper or a paper towel first.
4. Pipe the caulk slowly along your pencil line, keeping the gun moving at a steady pace. Try not to stop too long in one spot or the bead will get bulky.
5. If a section looks wobbly, smooth it immediately with a damp finger and keep going. Fast cleanup matters here because acrylic latex caulk starts skinning over pretty quickly.
6. Let the first pass dry enough to hold its shape, then add a second thin pass anywhere you want a little more height. Two thin passes look cleaner than one fat bead, and extra-thick lines can shrink or crack as they cure.
7. Leave the canvas flat and let the caulk cure for 24 hours. Don’t rush this part or the paint can drag the uncured caulk and ruin those crisp raised lines.
8. Paint the entire canvas in one matte color, including the caulk lines, until everything looks evenly coated. This all-one-color finish is what gives the piece that modern high-end plaster effect.
9. Let the paint dry completely, then lean or hang the canvas once the finish is fully matte and smooth-looking. If you can still see pencil marks, add one more thin coat in the same color.
Variations & Tips
Best design choice: Keep the drawing to one continuous line if you want that clean boutique look. A simple face outline, one stem with leaves, or a few soft arches always turns out better than a busy sketch.
Color tip: Matte white is the most classic plaster-style finish, but I also love soft beige, warm ivory, and pale greige if you want something cozier for a bathroom or bedroom.
Budget tip: If you already have paint and a brush at home, this project can cost even less than $8. That makes it a fun little weekend craft when you want fresh decor without a big shopping trip.
Beginner tip: Practice your line on scrap cardboard first so you get a feel for how fast to squeeze the trigger. Once your hands learn that steady motion, the canvas goes much more smoothly.
Mistake fix: If the line dries in a shape you don’t like, trim the rough spot gently with a craft knife after curing and repaint. I’ve had to do that before, and once everything is one color, the patch practically disappears.
Placement tip: This works beautifully on a bathroom shelf, over a dresser, or tucked into a gallery wall. I’d just avoid spots where it may get splashed often, since this is lightweight decor and not a sealed waterproof piece.