
There’s a certain kind of garden fix I love most: the sort made from what’s already out by the shed, costs next to nothing, and works so well folks think it came from a catalog. This little pre-frost drip irrigation extender is exactly that. We’re turning leftover green garden hose pieces into a slow-soaking watering line, using one other common yard item to carry water right where late-season beds, shrubs, or porch pots still need a drink.
Out here, I’ve always hated wasting those too-short hose offcuts that are too good to throw away but not useful enough to keep tripping over. This project is perfect for gardeners who want a simple watering helper before the ground hardens, especially if you’ve got mums, kale, fall planters, young shrubs, or a last row of greens still hanging on. It’s easy, sturdy, and handsome in that practical farmyard way.
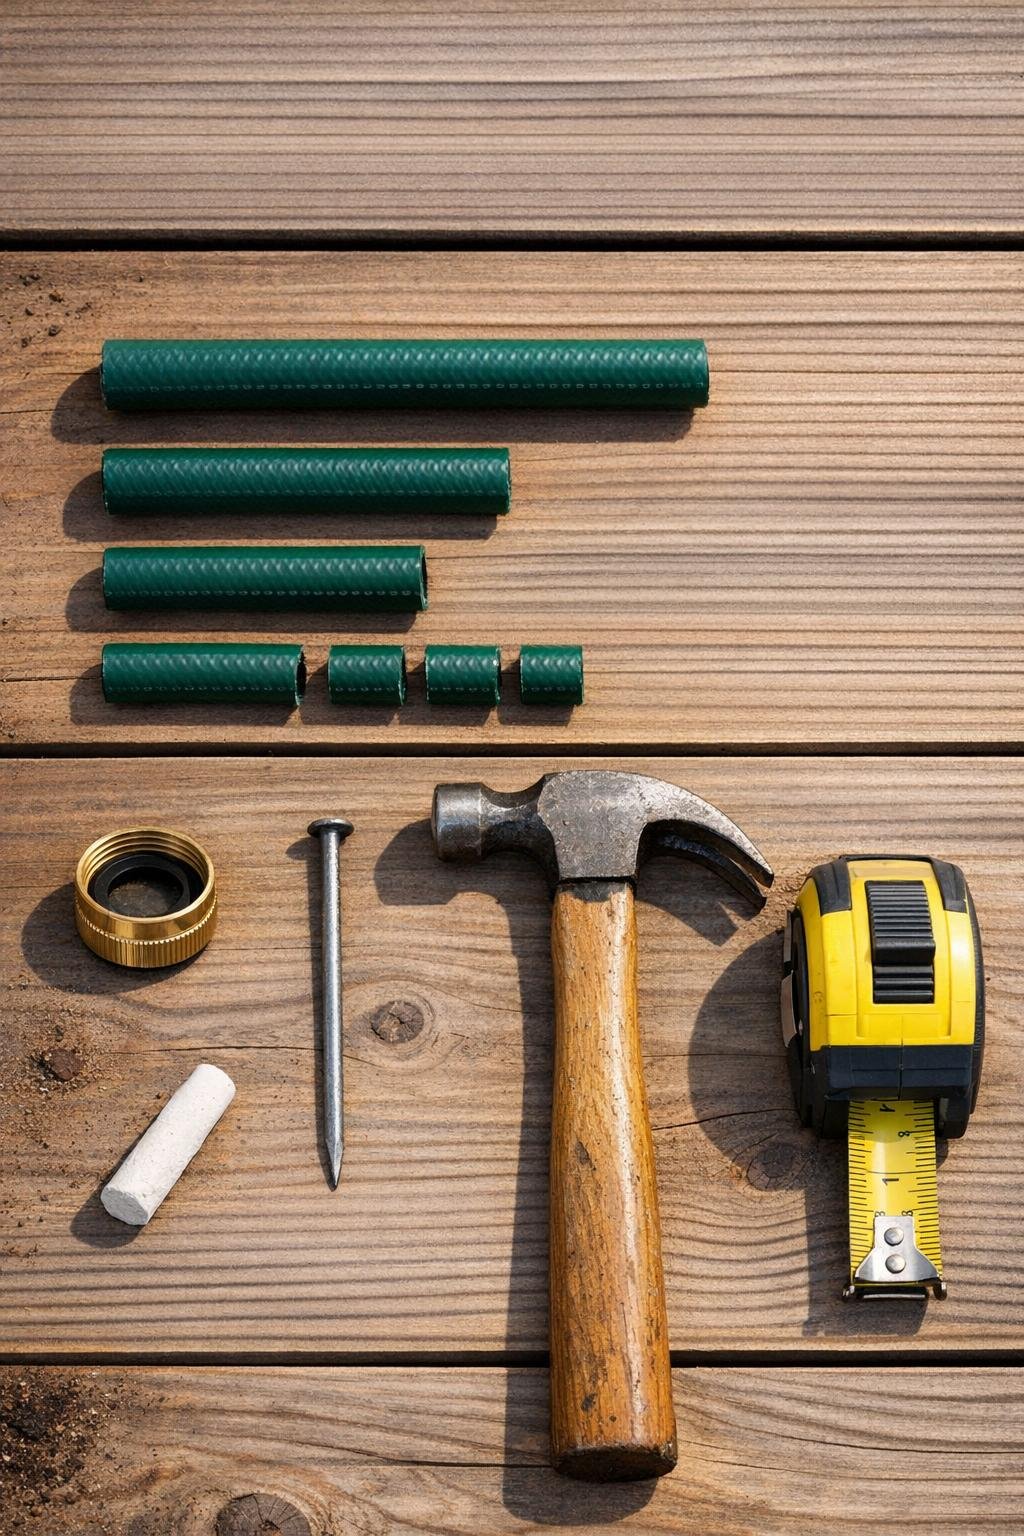
Materials
Instructions
1. Cut your hose offcuts into four 24-inch lengths and two 36-inch lengths, trimming the ends square so water will travel evenly through each piece.
2. Lay the six hose pieces side by side on a wooden bench and mark a straight line of drip points along each one, starting 3 inches from one end and spacing the marks 1 1/2 inches apart.
3. Set one hose piece on the bench and use the nail and hammer to punch small holes at each mark, keeping all the holes on the same side so the water will drip downward in a tidy line.
4. Make one extra hole near the far end of each hose piece, then screw the brass female hose-end cap onto that end of one 36-inch piece so it becomes your closed terminal section.
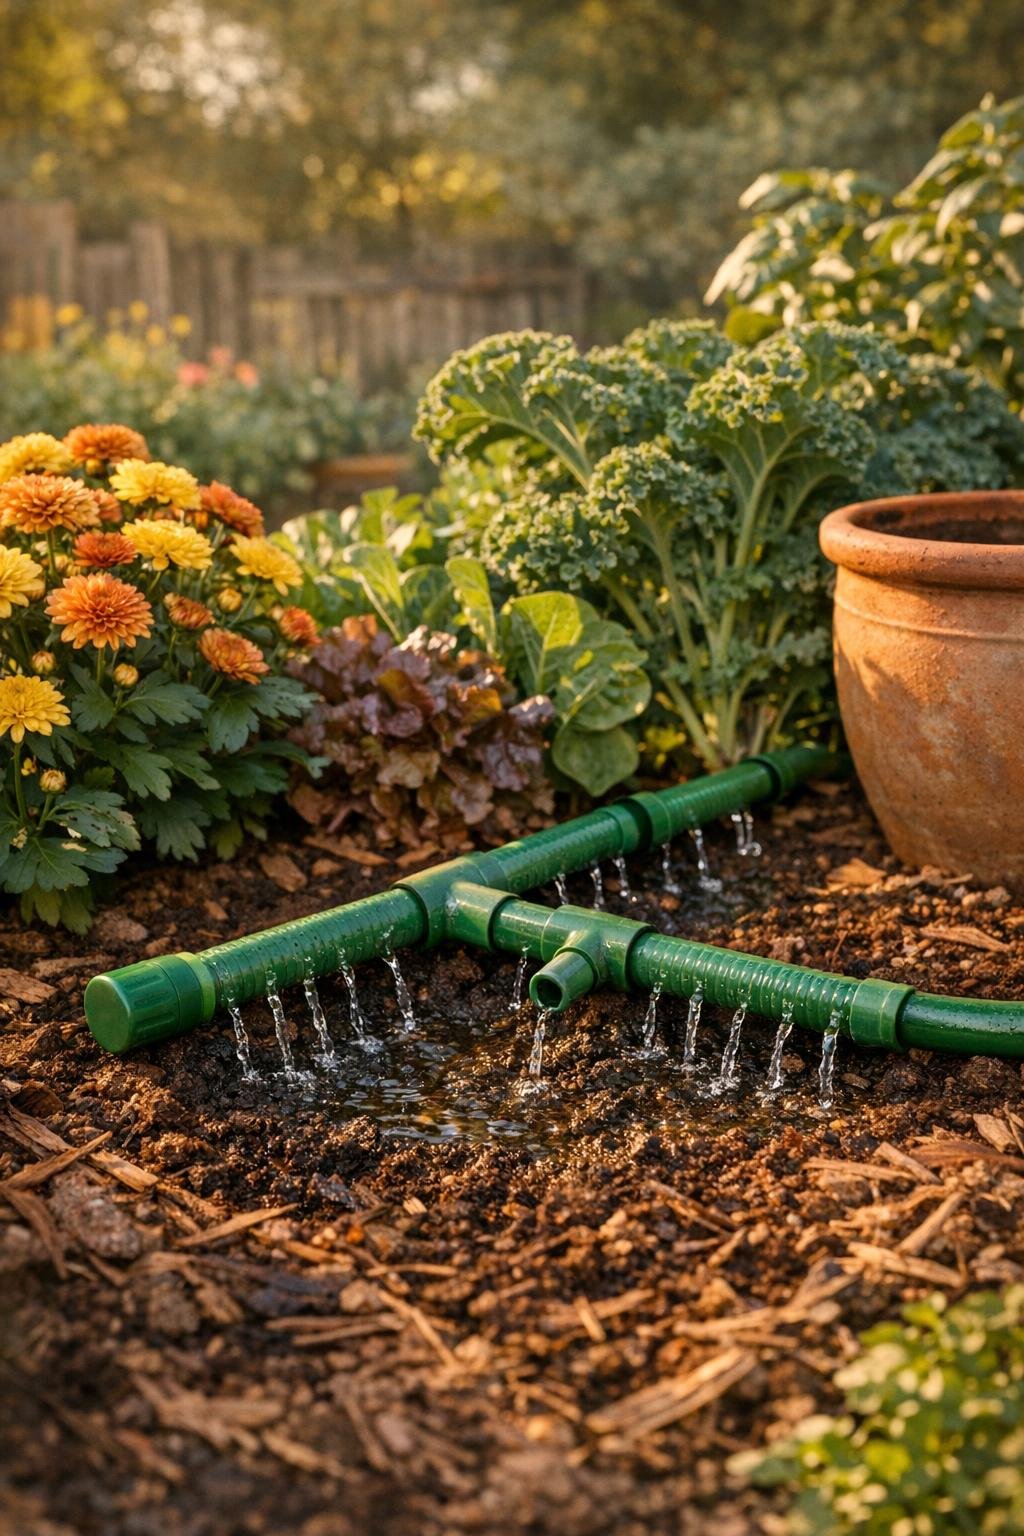
5. Test the hole size by attaching one punched hose section to your outdoor spigot or a full-size hose already on the ground, turning the water on just enough to see steady dripping instead of spraying.
6. If any hole spurts too hard, tap the hose flat around that spot with the hammer and make future holes a touch smaller; if the drip is too light, widen every third hole very slightly with a gentle twist of the nail.
7. Arrange the punched sections around the plants you want to protect before frost, placing the two 36-inch pieces along the longest stretch and the 24-inch pieces around the tighter curves of pots, shrubs, or bed edges.
8. Run the capped end to the farthest point, keep the punched side facing down, and feed water from the open end at very low pressure so the full line seeps slowly across the root zone.
9. Let the line run 15 to 30 minutes, checking once after the first 5 minutes to be sure the soil is dampening evenly instead of pooling in one spot.
10. When you’re done, drain the hose pieces fully and hang them in the shed before a hard freeze so they’ll be ready for spring seedlings and dry-weather watering too.
Variations & Tips
For porch containers: Shorten the pieces to 18 inches and snake them in a ring around big pots of mums, ornamental cabbage, or herbs so the water reaches the whole root ball instead of just the center.
For shrub rows: Use the 36-inch lengths end to end along the base of boxwoods, hydrangeas, or young evergreens and keep the drip holes pointed toward the trunk side, not outward into the path.
For gentler flow: Turn the spigot on only a crack. In my experience, slow seepage does a prettier job than a stronger flow, especially in cool autumn soil.
To keep holes clear: Before storing, run clean water through each piece for a minute and tap out any grit. A little garden soil can lodge in those tiny holes over time.
To make it look polished: Coil the extra supply hose neatly at the bed edge and tuck the punched sections under mulch just enough to hide most of the line while leaving the hose shape recognizable. It gives the whole thing that “where did you buy that?” look without any extra fuss.
My favorite use: I especially like this for those last thirsty weeks before frost when the days are dry but the nights turn sharp. It saves lugging a watering can at dusk, and that feels like a blessing to these old farm knees.