
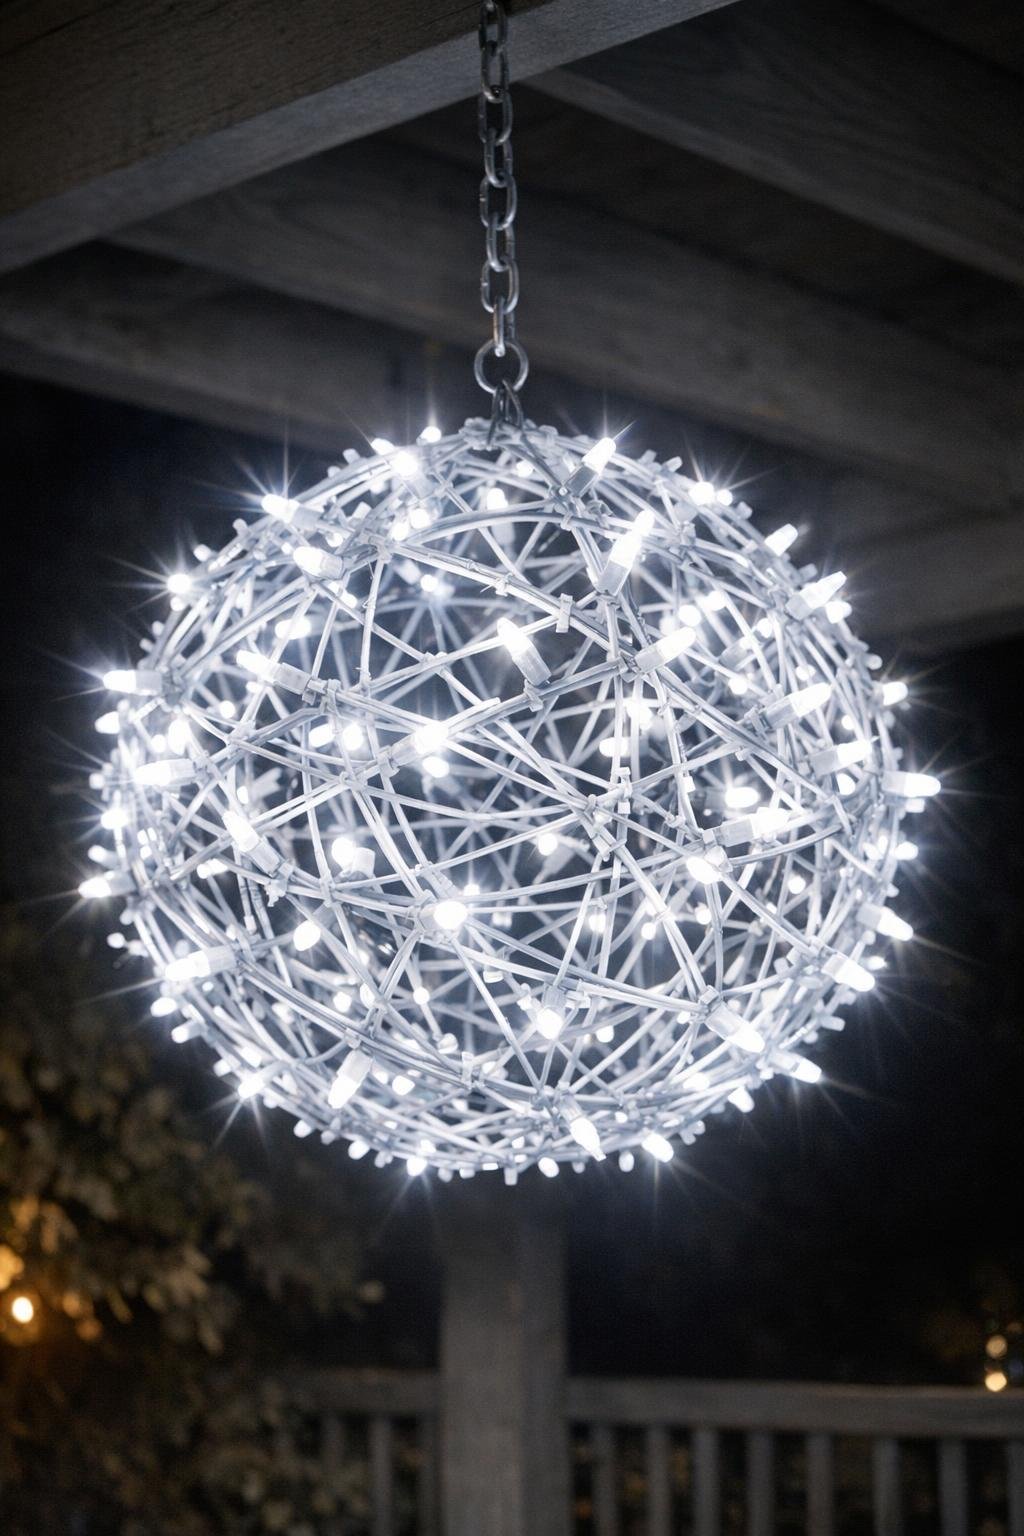
I love projects that look a little ridiculous halfway through and absolutely magical at the end, and this giant porch sparkle ball is one of my favorites in that category. You start with a mountain of plain wire hangers, a fistful of zip ties, and enough patience for a garage afternoon, and what you end up with is a glowing orb that floats outside after dark like a restaurant patio light display with a homemade soul.
This is a good project for anyone who doesn’t mind a bit of repetitive assembly and wants a dramatic porch decoration without fancy tools. I want to be honest right up front: in daylight, the frame really does look like a scrap-metal pile, and that is exactly how it’s supposed to look. Once dusk hits and the lights come on, the wire disappears and all you see is the sparkle.
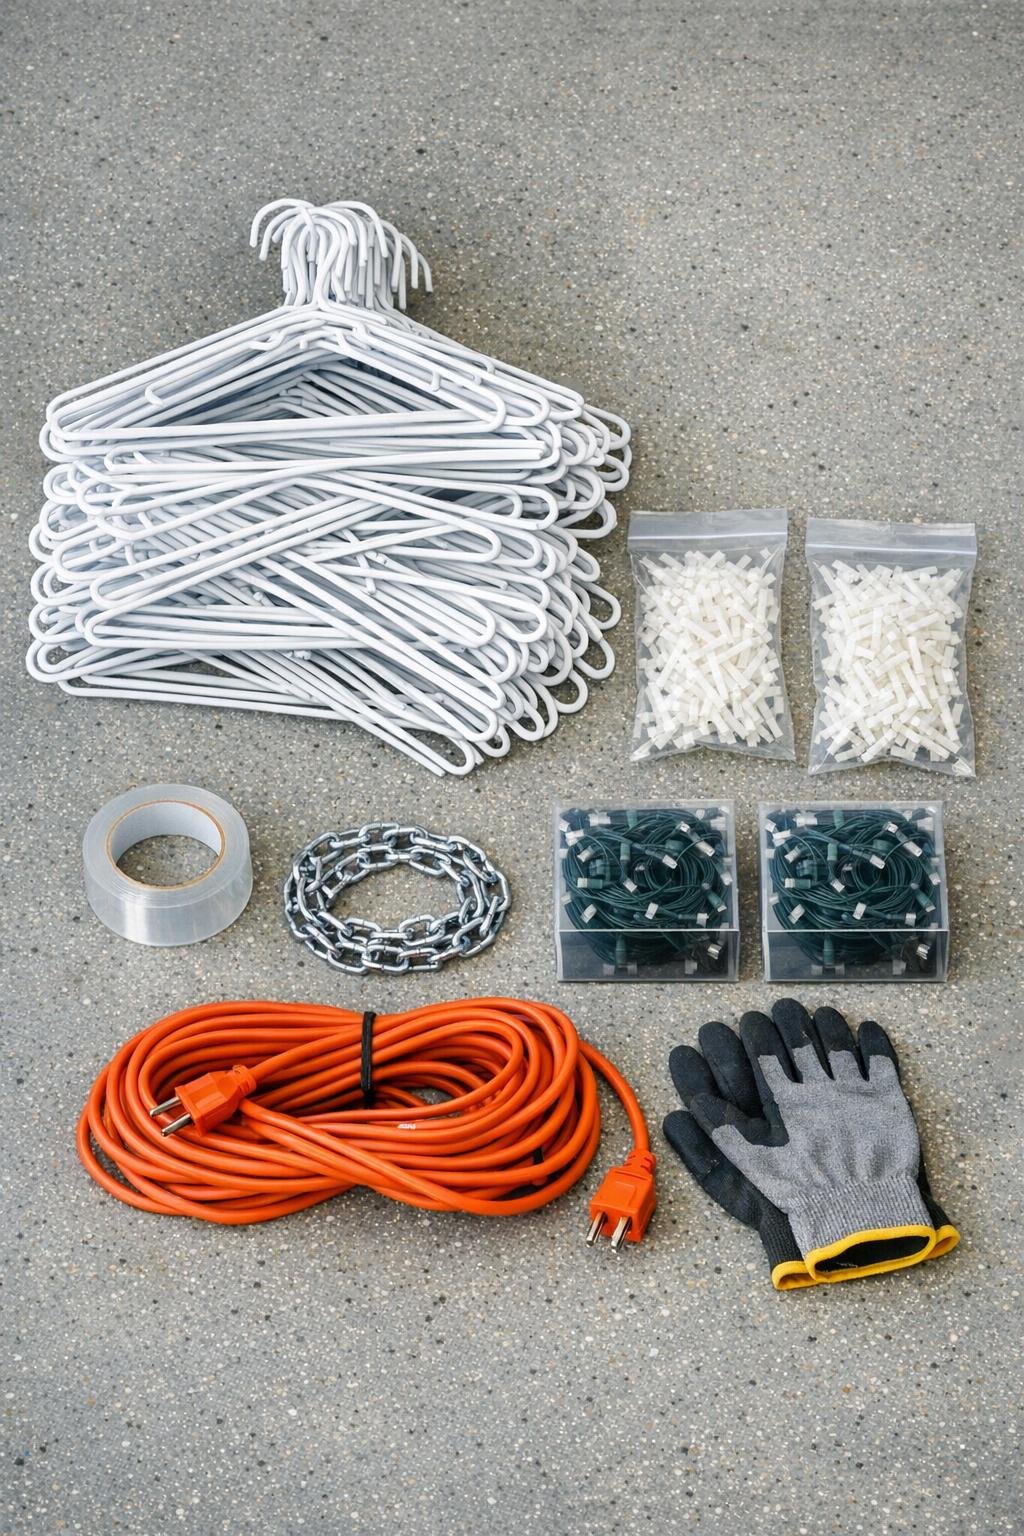
1. Put on work gloves and sort all 100 hangers into a single pile on the floor so they are easy to grab. Check for any broken or sharply cut ends and wrap those spots with tape before you start building.
2. Lay 8 to 10 hangers flat in a fan shape with the hooks and shoulder areas overlapping tightly at the center. Zip tie that overlap point in two directions so the fan holds its shape without wobbling.
3. Repeat the same fan assembly until you have about 10 separate hanger fans. Keep the centers snug and consistent, because these small units are much easier to control than one giant tangle.
4. Stand the fans upright around a common center point, almost like flower petals wrapping into a ball. Zip tie the spine of one fan to the next, working your way around until the hooks and corners splay outward into a rough globe.
5. Add extra zip ties anywhere the frame shifts too much, especially through the central overlap where the fan spines meet. Don’t chase perfection here; a slightly messy, airy sphere actually helps the finished light ball sparkle more evenly.
6. Trim the tails from the zip ties and cover any exposed sharp wire ends with tape. Give the frame a careful shake and reinforce any loose points before adding lights.
7. Weave the first strand of outdoor-rated LED lights through the frame, threading bulbs in and out so they land across the whole sphere instead of bunching in one area. Keep the wire tucked against the hanger frame and tape the plug end where you can reach it later.
8. Weave the second LED strand through the empty spots, spacing the bulbs as evenly as you can for full coverage. Tape the second plug beside the first one so both connections stay accessible and don’t disappear inside the frame.
9. Attach an 18- to 24-inch chain, or two doubled lengths of heavy wire, to the strongest points near the top of the sphere. This ball weighs several pounds, so hang it only from a solid porch joist or beam; fishing line will not hold it.
10. Plug the lights in while the ball is still on the ground and turn it slowly to check for dark patches. Reposition a few sections if needed, then hang the sparkle ball and wait until dusk for the real payoff.
Use matching hangers: White-coated wire hangers give the cleanest look with white LED strands. Mixed colors still work, but the frame is a little more noticeable before dark.
Choose warm or cool light on purpose: Warm white feels cozy and a little old-fashioned, while cool white reads crisper and more wintry. I usually choose warm white near a front door because it feels more welcoming.
Build smaller if you’re unsure: If 100 hangers sounds like too much for a first try, make a smaller version with 40 to 60 hangers and one light strand. The technique is exactly the same, just easier on your hands and garage floor space.
Don’t skip outdoor-rated lights: This is one of those places where the ingredient matters, a bit like choosing the right oil for frying. Use only outdoor-rated LED lights and outdoor-safe cords if the ball will live on a porch.
Expect an ugly middle stage: I’m saying this again because it helps: during assembly, it looks like a wiry laundry disaster. That messy structure is what lets the bulbs scatter in all directions and create that floating sparkle at night.
Secure the plug end thoughtfully: Tape both plugs near the top or side where you can reach them from a ladder or chair. It’s much easier than digging through the frame later when one strand comes loose.
Mind the sharp spots: Wire hangers can leave surprise pokes, especially where coatings crack. Gloves, trimmed zip ties, and a little tape over rough ends make the whole project much friendlier to handle.