
This is one of those little projects that feels almost too simple when you start, and then suddenly looks far more special than the effort suggests. With a handful of cheap dollar store forks, a pair of pliers, and a little patience, you can turn everyday flatware into sturdy winter decor that catches the light beautifully in a window or on a covered front door.
I want to say the most important part right up front: the trick is not just bending the fork, it’s curling the tips of the tines. Fan the outer tines outward, then curl the two inner tines away from each other in opposite directions with the pliers. That curled tip is what makes each fork read like a snowflake arm instead of just a bent fork. Use thin, inexpensive forks from the dollar store because they bend fairly easily by hand with a little pliers help; heavy hotel silver or thick real flatware is a wrestling match and not worth it for this project.
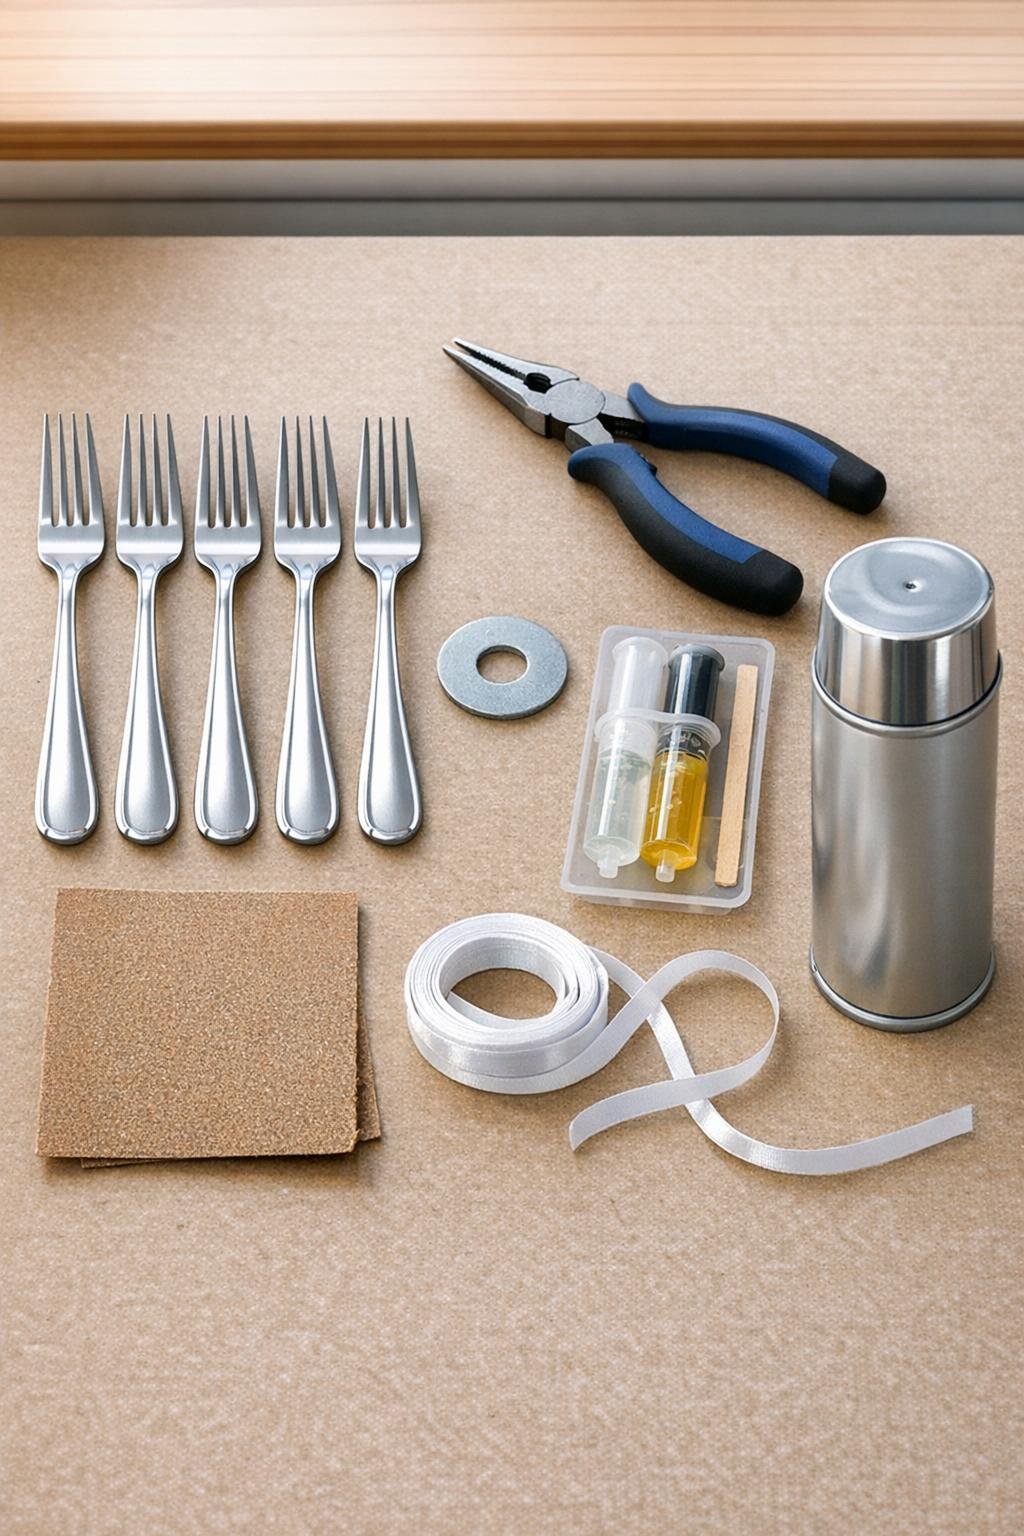
Materials
5 thin metal dollar store forks, matching if possible
Instructions
1. Wipe the forks and washer clean and dry them well so the glue will bond properly. If the forks have a slick factory coating, scuff just the handle areas and both sides of the washer lightly with fine sandpaper.
2. Start shaping the forks one at a time by fanning the two outer tines outward slightly with your fingers, then use needle-nose pliers to curl each outer tine tip gently away from center. Curl the two inner tines apart in opposite directions so the tips make mirrored little scrolls; this curl is what gives you a snowflake arm instead of a bent fork.
3. Bend three forks the same way first so you can check that your shape stays consistent, then finish the remaining two forks to match. Keep the handle straight and make your tine bends gradual so all five forks look like they belong together.
4. Lay the washer flat on your work surface and arrange the first three forks handle to handle around it in a star, spacing them evenly. Add the fourth and fifth forks between the first ones until you have a full five-point snowflake base with the decorative tine ends radiating outward.
5. Mix the epoxy according to the package directions and spread a small but generous layer where each fork handle meets the washer. Press the handles firmly into place on one side of the washer, let that set for a few minutes, then flip carefully and add epoxy to the back so the washer is bonded front and back for a much stronger ornament.
6. Let the glued piece cure completely on a flat surface without moving it. Once set, test the ornament by lifting it from the center rather than from one fork so you can make sure every handle is secure.
7. If your forks do not match in color or finish, spray the entire ornament with light coats of silver paint, letting each coat dry before the next. A final light coat of clear sealer adds a polished look and helps the finish hold up if you hang it on a covered door.
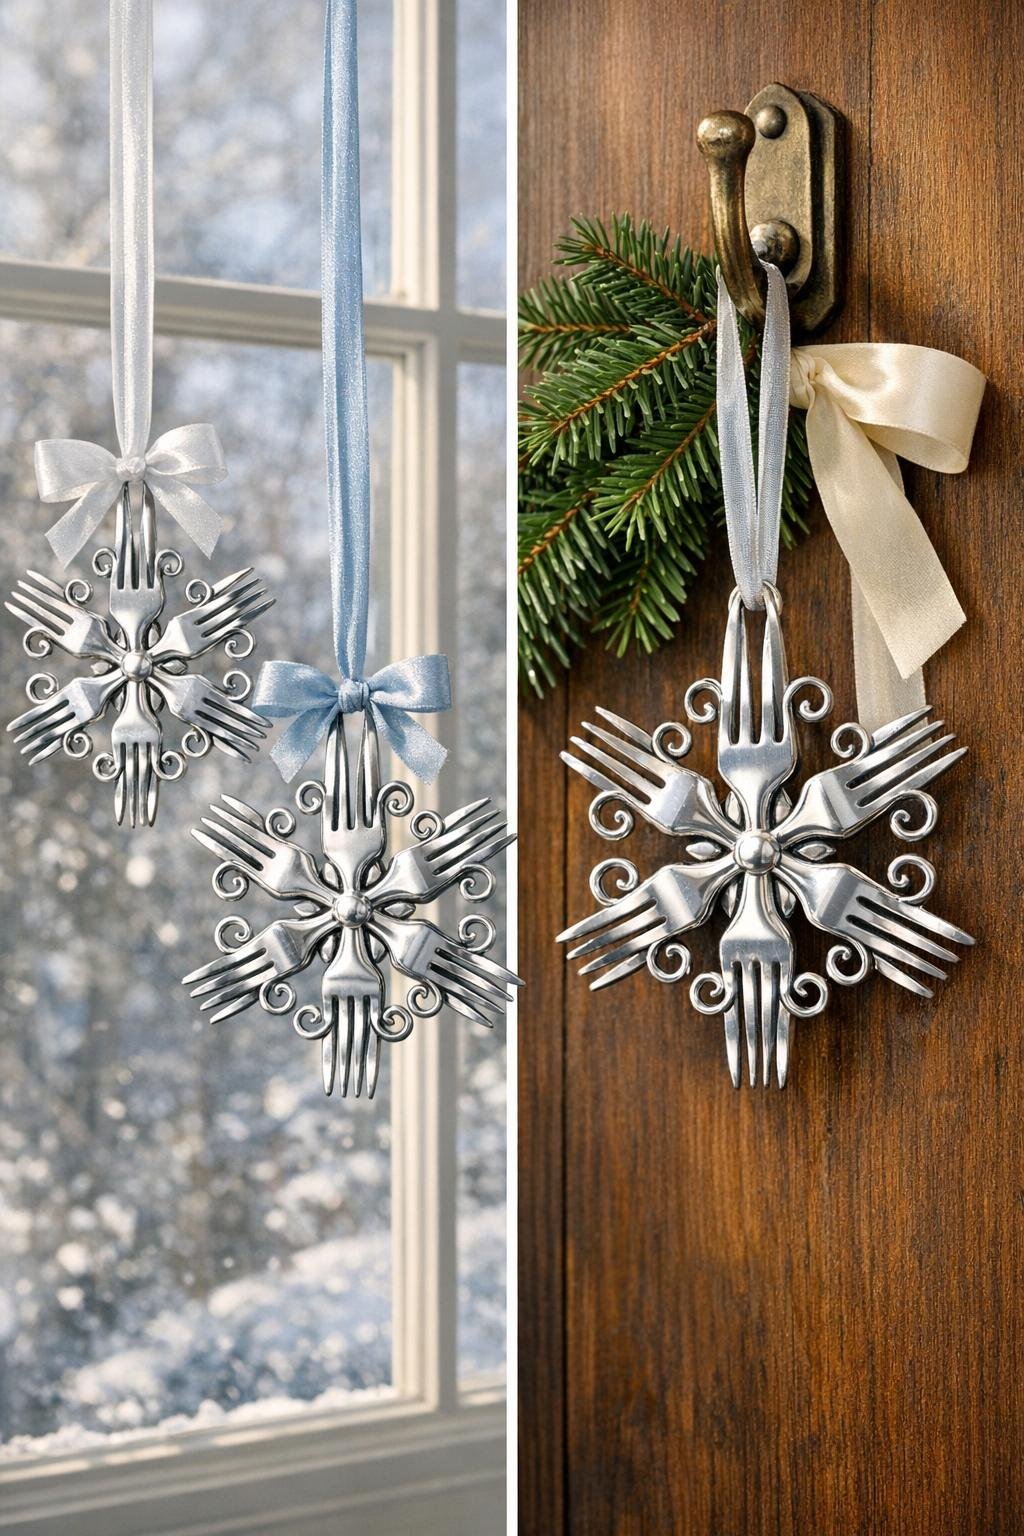
8. Thread the ribbon through one opening near the center or around one handle close to the washer, then knot it securely into a hanging loop. Hang the ornament in a window where it catches light, or group a set of three on a strong wreath hook or sturdy branch for a boutique-style winter display.
Variations & Tips
Use three forks for a simpler version: If you want a quicker project, use three forks arranged evenly around the washer. It still looks lovely, but five forks gives you the fuller, more dramatic snowflake shape promised here.
Choose the right forks: The best forks for this are the thin, inexpensive kind from the dollar store. If you pick thick, heavy restaurant-style silverware, it will be much harder to bend and you may not get those pretty curled tine tips.
Make matching sets: I love making these in groups of three for a front door or large window. Spray painting all the ornaments together helps everything look intentional and polished, even if your forks came from different packs.
For extra sparkle: After painting, you can dry-brush a tiny bit of pearl or icy white craft paint just on the curled tine tips. It gives a frosty shimmer without covering the fork shape.
Hanging safety: These are indestructible compared with glass ornaments, but they are not lightweight. Hang them from a strong branch, a solid hook, or a sturdy suction cup in the window rather than on a flimsy tree tip.
Family crafting note: Older kids can help with wiping, arranging, and ribbon tying, but I would keep the bending and epoxy steps for adults. The metal edges and strong glue make this one better as a grown-up craft with helpers nearby.
Gift idea: Tie one onto a wrapped loaf cake, cookie tin, or winter hostess gift. I’m always looking for ways to make simple gifts feel extra thoughtful, and this kind of handmade ornament does that so nicely.