
Every fall, I end up bringing in a few too many pretty leaves from the driveway “just in case I use them for something,” and this is exactly the kind of project that makes that little habit pay off. Pressing colorful fallen leaves inside wax paper is simple, fast, and surprisingly satisfying, and it turns a handful of everyday materials into something that looks much more special than the effort involved.
I especially love this project for busy weeks because it feels creative without taking over the whole evening. If you can use scissors, wrap paper around a jar, and keep an iron moving, you can make these. They’re great for a mantel, a dinner table, a front entry, or anywhere you want a warm fall glow without breaking out a bin of complicated seasonal decor.
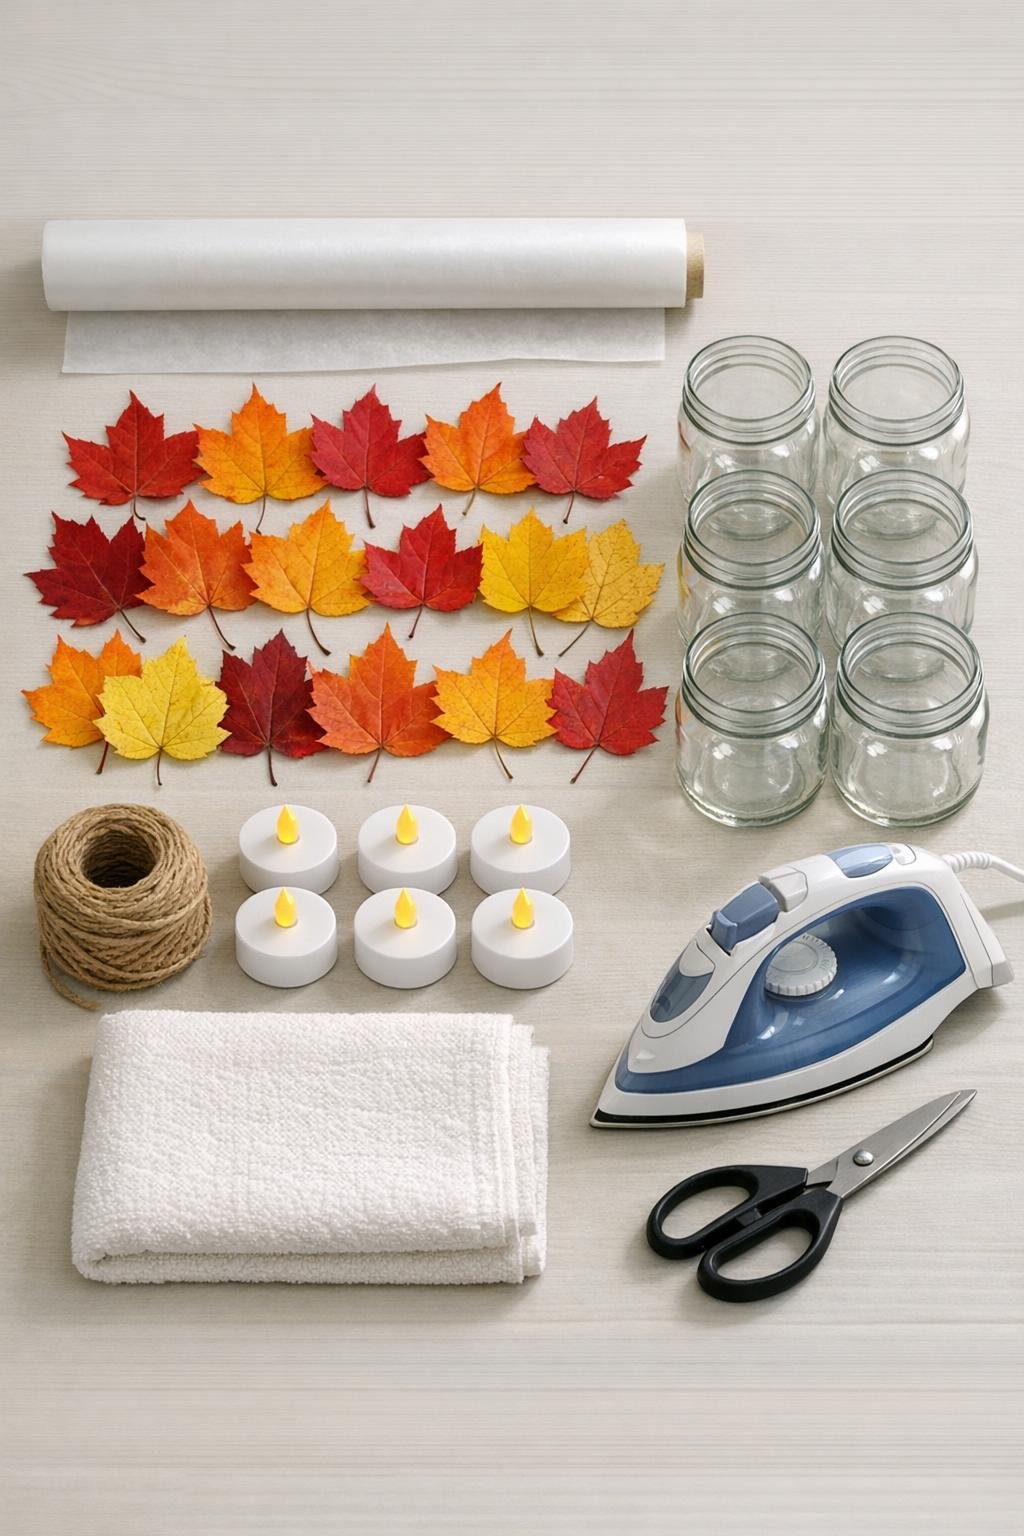
Materials
Instructions
1. Sort your leaves and choose the flattest, brightest ones; set aside any that are curled, damp, or brittle enough to crumble. I like mixing a few small leaves with medium ones so each panel looks full without becoming too bulky.
2. Tear off 12 sheets of wax paper about 14 inches long each, making 6 pairs. Each pair will become one leaf panel for one jar.
3. Lay the folded towel on your table and place one wax paper sheet on top. Arrange 3 to 4 leaves in a loose rectangle in the center, leaving about a 1-inch border all the way around.
4. Place a second sheet of wax paper over the leaves to make a sandwich. Smooth it gently with your hands so the leaves stay flat and centered.
5. Set the iron to low heat with no steam, then press and glide it over the top sheet for 10 to 15 seconds at a time. Keep the iron moving until the wax paper lightly seals around the leaves and looks slightly fused.
6. Let the fused sheet cool for 30 seconds, then trim it into a rectangle sized to wrap around one jar with a 1-inch overlap; for a 16-ounce jar, about 9 inches wide by 4 1/2 inches tall usually works well. Repeat with the remaining wax paper and leaves until you have 6 panels.
7. Wrap one leaf panel around a jar with the leaves facing outward and overlap the ends neatly. If needed, trim a little more from the edge so it sits straight and snug without buckling.
8. Cut a 20-inch piece of twine and tie it tightly around the upper third of the jar to hold the wax paper in place. Tie a simple bow or a clean double knot, then trim the tails to about 4 inches for a finished look.
9. Repeat the wrapping and tying for the remaining 5 jars, varying the leaf colors so the group looks rich and layered together. I usually make sure each jar has at least one deep red or golden leaf because they glow the best once lit.
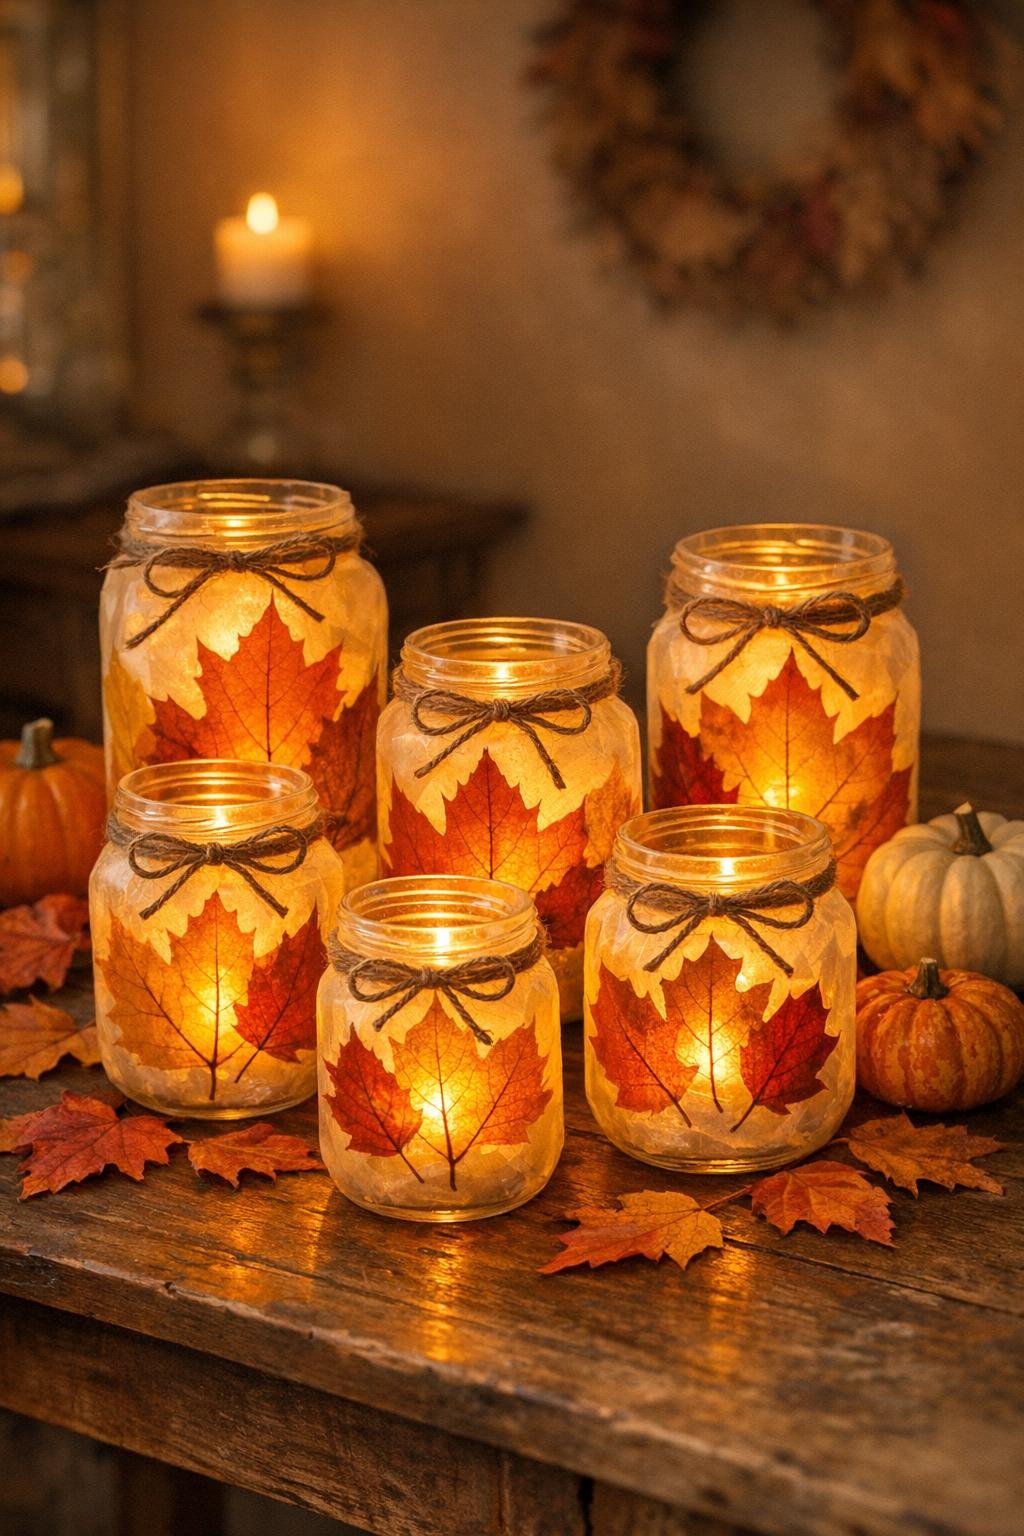
10. Place one LED tea light into each jar and switch it on. Group the jars together on a table, console, or mantel so the different leaf colors play off each other when they glow.
Variations & Tips
Leaf choice: Thin, flexible leaves work best because they seal more easily inside the wax paper. Maple, pear, and small oak leaves are usually easier to use than thick, heavily curled leaves.
Jar size: If your jars are shorter or narrower, just trim the finished wax paper panels to fit. You want enough coverage to show off the leaves, but not so much height that the paper wrinkles at the shoulder of the jar.
Iron setting: Start lower than you think you need. If the iron is too hot, the wax paper can over-melt or wrinkle; a gentle heat and a moving iron give the cleanest seal.
Safer lighting: Stick with LED tea lights only. Since wax paper is part of the design, I would never use a real flame here.
Make-ahead tip: You can fuse the leaf panels a day or two ahead, then wrap the jars later when you’re ready to decorate. That’s usually how I fit projects like this into a workweek without turning my kitchen table into a craft station for three days.
Extra polish: For a fuller, more finished display, cluster the lanterns in odd-numbered groupings on a runner or tray and tuck a few loose leaves or mini pumpkins around them. It takes about two minutes and makes the whole setup look intentional.
Gift idea: These are lovely as a small hostess gift if you bundle two jars together with an extra pair of LED tea lights. I’d keep the twine simple and natural so the leaves stay the star.