
There are some projects that look surprisingly high-end for how simple they are, and this is one of my favorites. You start with an empty wine bottle and a few basic supplies, then build up a wonderfully crinkled, timeworn surface that looks like it came from a little antique shop instead of the kitchen counter.
I love this kind of craft because it’s forgiving, inexpensive, and satisfying right away. If you enjoy easy transformation projects, or you just want something pretty to style on a shelf, mantel, or table without buying another decorative piece, this one is a treat. The texture does most of the work for you, and the paint finish is what really brings it to life.
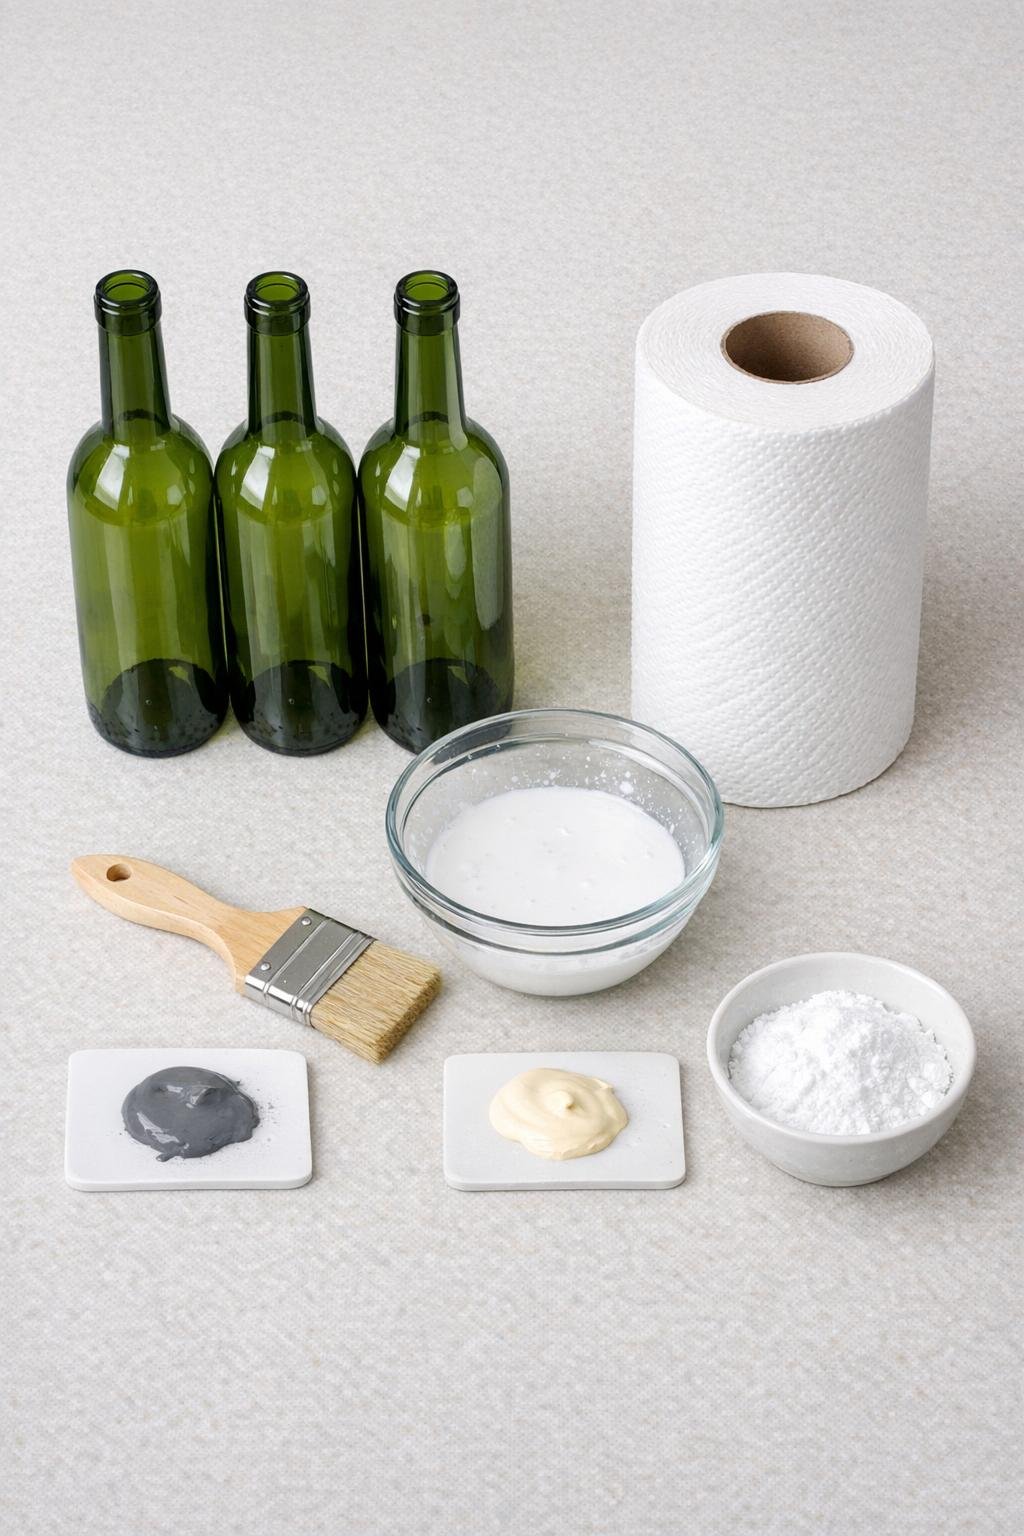
Materials
1 to 3 empty wine bottles, labels removed and fully dry
Instructions
1. Wash the wine bottles, remove the labels, and let them dry completely so the paper towel layer can stick without sliding.
2. In the mixing bowl, stir together 1 cup of white glue and 1/2 cup of water until smooth and milky.
3. Tear the paper towels into pieces about 4 to 6 inches wide instead of cutting them; the torn edges blend better and give the surface a more natural aged texture.
4. Brush a generous coat of the glue mixture onto the bottle, then dip or brush a paper towel piece with more glue and press it onto the glass.
5. Keep layering paper towel pieces over the whole bottle, overlapping slightly and scrunching the paper as you go so you get soft ridges, wrinkles, and old plaster-like lumps.
6. Wrap the body fully and cover the neck too, but leave the bottle opening clear if you want to use it as a vase later.
7. Pat down any loose corners with the brush and extra glue mixture, then let the bottle dry upright for 12 to 24 hours until the surface feels hard.
8. Mix the gray acrylic paint with the baking soda, if using, to create a thicker stone-like base coat, then brush it over the entire dried bottle and push paint into every crease.
9. Let the gray coat dry, then lightly dry-brush cream paint over the raised texture so the wrinkles and ridges start to look like aged carved stone.
10. If you want even more depth, dab a little extra gray into deeper creases and add one more soft pass of cream over the high spots.
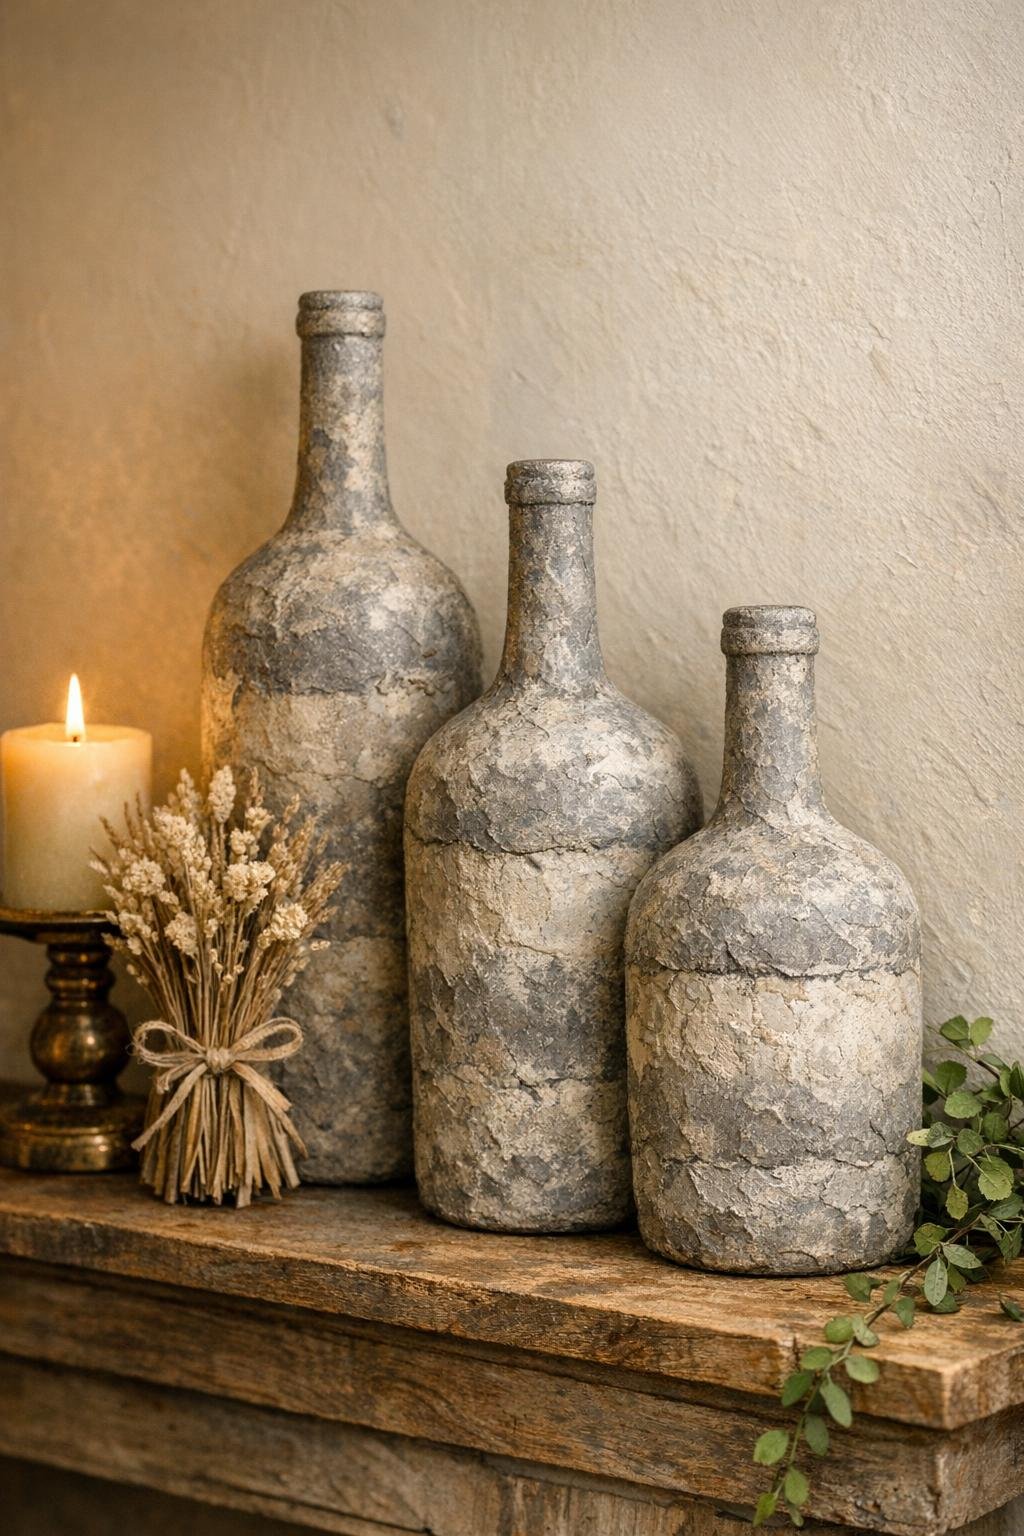
11. Let the paint dry completely, then set the bottle out on a mantel, shelf, console, or dining table by itself or grouped with the others for a fuller collected look.
Variations & Tips
For a chunkier stone finish: Crumple the paper towels more aggressively before pressing them on, and use the baking soda in the paint to make the surface look thicker and more weathered.
For a softer antique look: Use more cream than gray in the final layers so the bottle reads like old plaster or chalky limestone instead of darker stone.
For a fuller display: I like making all 3 bottles at once and clustering them together. Different bottle heights make the finished arrangement look more collected and much more substantial.
For fresh or dried stems: Keep the bottle opening clear during the papering step. Once everything is dry, you can add a few dried branches, faux greenery, or a simple stem or two without fuss.
For picky crafters who want less mess: Brush the glue mixture onto the bottle first and then onto the paper after it’s in place instead of dipping the paper. It gives you a little more control and keeps the work surface tidier.
If the surface looks too flat: Don’t stop at one paint pass. A little extra gray in the recesses and a final light cream dry-brush is usually the step that makes the whole piece look special.