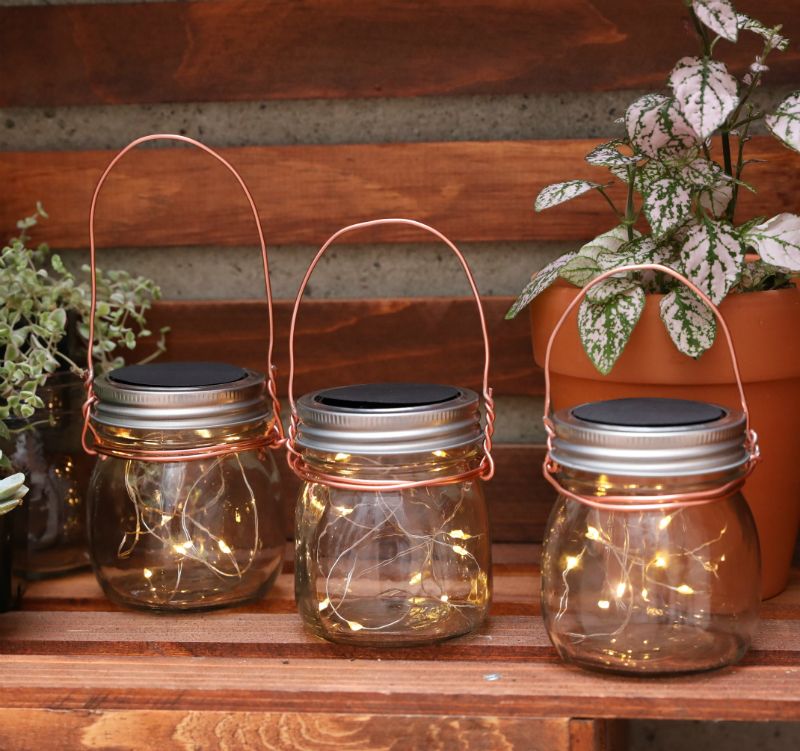
Adding a warm glow to interior decor doesn’t have to come with a large price tag. Using materials readily available in the home, you'll find it simple to create a solar-powered jar light that creates a welcoming ambiance while helping the environment. A small mason jar, crafting wire and a solar- powered string of decorative lights make illuminating a room a simple and aesthetically pleasing task.
A small mason jar allows you to add a collection of several solar-powered jar lights to a shelf or countertop. Or you could easily swap it out for a single, larger jar. Aluminum crafting wire adds a rustic touch to the final product and stands out nicely when the lights are placed on a wooden shelf or alongside greenery. A solar-powered jar light is a beautiful addition to a shelf but would work well as a centerpiece when it’s time to host an elegant dinner party.
Advertisement
Materials
- Mason jar, 4 oz.
- Aluminum crafting wire
- Wire cutters
- Solar panel decorative light string
- Mason jar, 4 oz.
- Aluminum crafting wire
- Wire cutters
- Solar panel decorative light string

DIY Everywhere
Instructions
1. Remove the lid from a 4 oz. mason jar.
1. Remove the lid from a 4 oz. mason jar.
2. Cut enough aluminum crafting wire from a spool to wrap around the top rim of the mason jar at least twice. You should have 1-1/2 inches of wire left over on either side.
3. Wrap the wire twice around the neck of the jar just below the tightening ridges. Loop the wire ends underneath the wrapped wire to secure.
4. Cut 7 inches of crafting wire. Slice one end underneath the wire already wrapped below the top ridges.
5. Fold the end of the wire up and over. Twist the remaining wire around itself to create one side of a handle.
6. Loop the other side of the wire underneath the ridge-wrapped wire, this time coming in from the opposite side of the jar. This creates the second handle attachment point. Twist excess wire up the handle to secure.
7. Replace the interior plate of the mason jar lid with a solar-powered string of lights. The solar panel should be facing up from underneath the lid with the lights streaming down.
8. Turn the solar panel to the on position, and carefully arrange the lights inside the jar before twisting the lid back into place.
9. Place the solar-powered jar light on a shelf or countertop as a single accessory or in combination with other jars for a beautiful glow.
Advertisement
