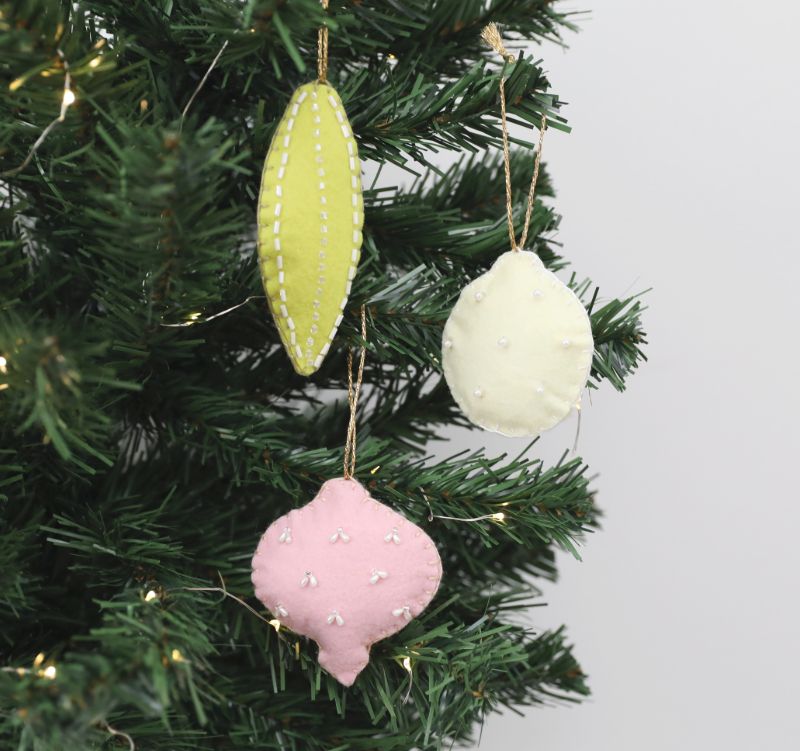
Homemade ornaments don’t have to look homey. With the right color and accent choices, they actually can be quite stylish. For example, these felt Christmas tree ornaments are festive, inexpensive, and so easy to make that you could create a new set each year from materials commonly found in a crafter’s stash.
The beads can be the color and arrangement demonstrated, or you can choose multiple colors sewed into various patterns. Use green and red for a more traditional look, or black beads for a more voguish style. If you buy some new pillows for the couch, make a set of ornaments to match. If you’re feeling “country” one year, continue the theme with a new set. You might even create more than one set in a single year: one for a party with your campy friends and another for a traditional bunch.
Advertisement
Materials
- 3 squares medium-density felt, 5 inches by 5 inches each
- Patterns (purchased, traced from cookie cutters or drawn freehand)
- Washable marker
- Beads in various sizes and colors
- All-purpose needle
- All-purpose thread in color to match felt
- Embroidery needle
- Embroidery thread
- Fabric scissors
- Polyester stuffing
- Gold or silver yarn

DIY Everywhere
Instructions
1. Lay the ornament patterns on felt squares. Holding each pattern firmly, trace around each with the marker. Cut two of each pattern.
2. Cut out shapes along the traced lines.
3. Mark dots on each ornament with the marker to indicate where you want to sew the beads. In this case, we made two lines that echoed the edge shapes, one straight, central line on the vertical ornament, and a square-ish design on the rounded ornament.
4. Starting from the back, push the threaded needle through a dot and a bead, then back through in roughly the same spot. Repeat with the other dots and beads.
5. Match each pair of ornament pieces together, decorated sides out.
6. Thread the embroidery needle with the embroidery thread.
7. For each ornament, whip-stitch along the edges, leaving a 2-inch gap.
8. Fill the gap with stuffing and whip-stitch closed.
9. Cut yarn in 6-inch lengths, one for each ornament.
10. Using the embroidery needle, push the gold yarn through the top of the ornament.
11. Tie off the end of the yarn to complete the hanging loop.
Tip: Use differently sized and colored beads for attractive decorations. In this case, we used white pearls, one round and two oblong, sewed close together so they look like a fleur de lis on the rounded ornament. On other ornaments, we sewed oblong pearls up the sides and the rounded pearls down the middles. Use your imagination!
Advertisement
