The art of adding sequins to home decor has surged in popularity, providing a unique way to personalize and bedazzle ordinary household items. One such DIY project that can transform an ordinary room into a dazzling wonderland is sewing sequins onto lampshades. This decorative project is not only an affordable way to spruce up a space but also serves as a therapeutic creative outlet. The sparkle of sequins offers a playful yet elegant touch to an interior, catching the light and enhancing the ambiance within a room. Whether you're aiming to create a statement piece or simply looking for a weekend crafting indulgence, sequinning a lampshade can offer both satisfaction and style.
The sequined lampshade serves as a sparkling focal point, ideal for any room seeking a dash of glamour. It can blend seamlessly into a bohemian scheme or accentuate the luxe in a contemporary setting. Its glistening detail balances well with subdued textiles and can add contrast to matte finishes. When styling this DIY, consider placing it in an area where natural light or soft indoor lighting can enhance its reflective qualities. A reading nook, a cozy bedroom corner, or even a chic living room can benefit from the subtle glow and texture. Positioning against a solid-colored wall can help the sequins pop, making the shimmer an art piece in itself.
Sequin Sparkle: Upcycled Lampshade Magic
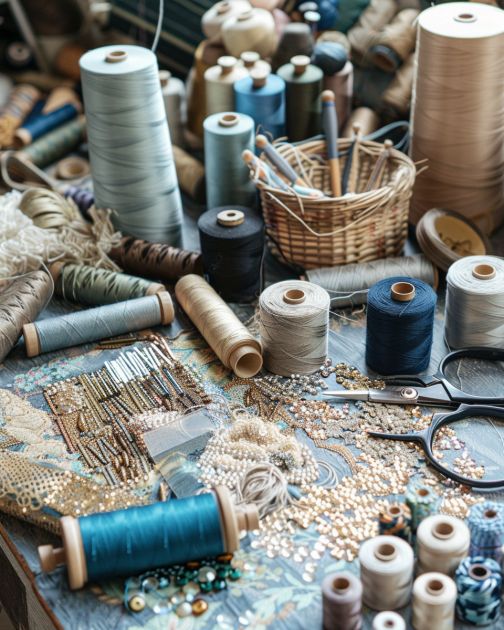
Materials:
- Lampshade (preferably with a fabric exterior)
- Sequins (color and size of your choice)
- Clear-drying fabric glue or a needle and strong clear or matching thread
- Thimble (for needlework)
- Scissors
- Pencil or fabric marker (optional, for plotting design)
- Ruler or tape measure (optional, for keeping lines straight)
Directions:
1. Begin by cleaning the lampshade to ensure a smooth working surface. If necessary, use a damp cloth to wipe away any dust or stains and let it dry completely.
2. If you plan on following a specific pattern or design, lightly sketch it onto the lampshade using a pencil or fabric marker. Alternatively, you can freehand the design as you go.
3. If using fabric glue, apply a thin line or dot of glue onto the lampshade where you want to place the sequins. Using tweezers can aid precision and keep your hands clean. If sewing, thread the needle with enough thread to work with comfortably and tie a knot at one end.
4. Begin attaching the sequins by placing or sewing them onto the lampshade, starting from the bottom and working your way around and up to maintain an even pattern. Use the ruler or tape measure as a guide to keep row spacing consistent.
5. Continue adding sequins, making sure they are secure and any glue used is invisible once dried. Overlapping sequins slightly can create a more cohesive and less gappy appearance.
6. Once you've covered the desired area (or the whole lampshade), allow any glue to dry thoroughly, or if you're sewing, tie off and trim any excess thread.
7. For a final check, gently run your hand over the sequins to ensure all are securely attached and no sharp edges are protruding.
Final Looks


Variations & Tips:
- Mix and match sequin sizes for a more varied texture or use one size for uniformity.
- Choose sequins in colors that complement the room's existing color palette or opt for striking contrast with bold, unexpected hues.
- For a more subtle shimmer, only adorn the trim of the lampshade with sequins.
- Sewing sequins allows for easy changes later, whereas fabric glue offers a quicker and firmer hold.
- Experiment with patterns, from stripes and spirals to chevrons and ombre effects.
- For those not keen on sewing or using glue, consider using sequin trim or ribbons which can be easily wrapped around and adhered to the lampshade.
- Always work in good lighting to avoid eyestrain and to ensure even placement of the sequins.