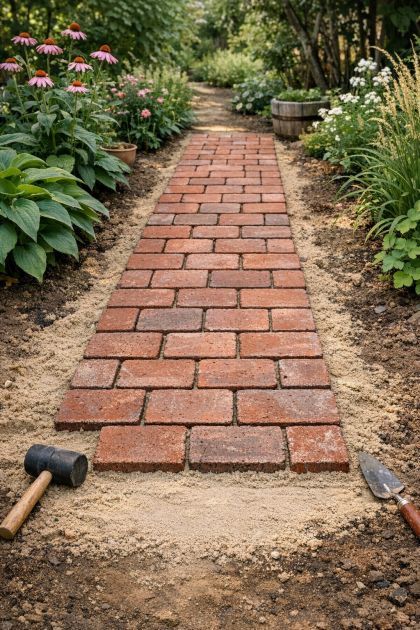
Transforming your backyard into an inviting space can be a rewarding project. Creating a DIY garden walkway using red clay bricks laid into a sand bed is a simple yet effective way to enhance your outdoor area. This method is cost-effective, requires minimal tools, and can be accomplished by anyone with a little patience and attention to detail. The result is a charming path that adds character and functionality to your garden without the need for professional help.
This garden walkway not only serves a practical purpose but also adds a rustic charm to your landscape design. The red clay bricks provide a warm, earthy tone that complements natural surroundings beautifully. This type of pathway works well with traditional, cottage, or even modern garden styles, depending on how you accessorize the surrounding area. Consider pairing it with lush greenery or colorful flower beds to create a harmonious and inviting garden space.
DIY Garden Walkway with Red Clay Bricks
Materials
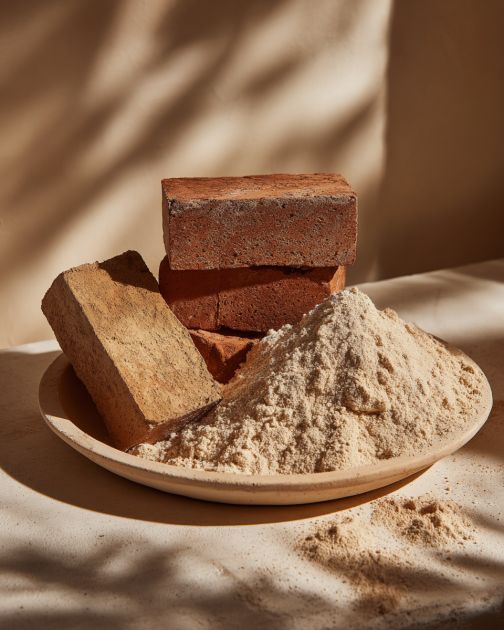
Red clay bricks (rectangular, quantity depends on walkway size)
Coarse sand (enough to create a 2-3 inch layer in the walkway area)
Landscape fabric (enough to cover the walkway area)
Wooden stakes and string (for layout)
Rubber mallet
Level
Shovel
Tamping tool (manual or mechanical)
Broom
Directions
Begin by planning the layout of your garden walkway. Use wooden stakes and string to mark the edges of the path.
Remove any grass or vegetation from the marked area, and dig down to a depth of about 4-6 inches.
Lay landscape fabric over the exposed soil to prevent weed growth. Ensure it covers the entire walkway area.
Pour coarse sand onto the landscape fabric, spreading it evenly to create a 2-3 inch sand bed. Use a level to ensure the sand is evenly distributed and flat.
Starting at one end of the walkway, place the red clay bricks snugly side by side on the sand. Tap each brick gently with a rubber mallet to set it firmly into the sand bed.
Continue placing bricks in your desired pattern, checking frequently with the level to maintain an even surface.
Once all bricks are laid, use a tamping tool to compact the bricks into the sand, ensuring they are set firmly and level.
Sweep additional sand into the joints between the bricks, filling any gaps to stabilize the walkway further.
Brush off any excess sand from the brick surfaces to finish the walkway.
Variations & Tips
To customize your walkway, consider experimenting with different brick patterns such as herringbone or basket weave for added visual interest. You can also use different shades or types of bricks to create a unique design. For added durability, consider applying a sealant to the bricks to protect them from weathering. If you prefer a more natural look, allow moss or ground cover plants to grow between the bricks over time, adding a touch of greenery to the path.