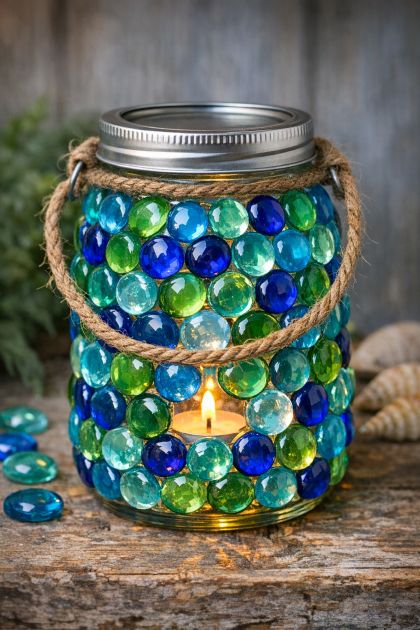
The DIY mosaic lantern made from glass gems is a stunning and creative way to add a touch of color and elegance to your home décor. By transforming a simple glass mason jar into a vibrant lantern, you can create a piece that reflects light beautifully and adds a unique ambiance to any room. This project is perfect for those who enjoy personalizing their space with handmade items and want to explore their artistic side.
This DIY mosaic lantern can serve as a centerpiece on a dining table or an accent piece on a mantel or shelf. To enhance its charm, place it near a light source or a window where it can catch the light and create beautiful reflections. Pair it with neutral tones or other sea-inspired décor elements for a cohesive look. The blue and green hues work well in coastal-themed or nature-inspired interiors.
DIY Mosaic Lantern
Materials
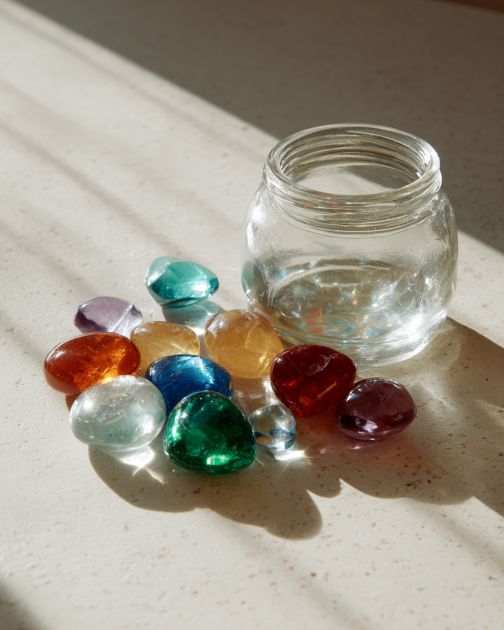
4 bags of translucent blue and green flat glass gems
1 standard clear glass mason jar
Strong clear-drying adhesive suitable for glass
Clean cloth or paper towel
Directions
Clean the surface of the mason jar with a cloth to ensure it is free of any dust or grease.
Arrange your glass gems by color and size to plan your design.
Starting from the bottom of the jar, apply a small amount of adhesive to the back of each glass gem.
Press the gem onto the jar, holding it in place for a few seconds to ensure a strong bond.
Continue gluing the gems in your desired pattern, alternating between blue and green to create a mosaic effect.
Once you've covered the entire jar, allow the adhesive to dry completely according to the manufacturer's instructions.
Clean any adhesive residue from the jar with a damp cloth to enhance the clarity of the gems.
Place a tealight or LED candle inside the jar to illuminate your mosaic lantern.
Variations & Tips
For a different look, you can experiment with different color combinations of glass gems, such as red and orange for a warmer tone or clear and frosted gems for a subtle elegance. You could also try different gem shapes or sizes to add variety to your design. For a personalized touch, consider adding a ribbon or twine around the neck of the jar, or paint the jar before applying the gems for an additional layer of design.