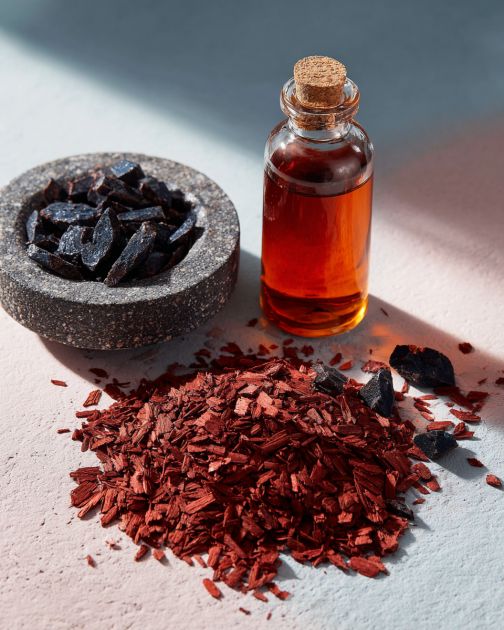
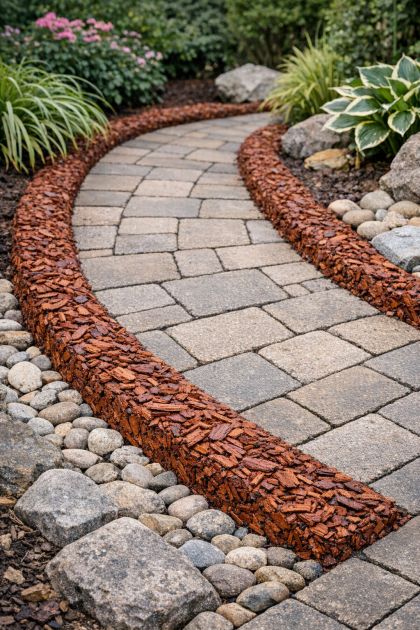
Creating a stabilized walkway border using mulch can enhance the aesthetic and functionality of your garden or yard. By mixing red cedar mulch with liquid mulch glue, you can create a durable and visually appealing border that helps contain garden beds and pathways, preventing mulch or soil from spilling into unwanted areas. This method is particularly useful for homeowners looking to improve the appearance of their landscape with a simple DIY project.
This home improvement project beautifully complements rustic or natural outdoor designs. The rich color of red cedar mulch adds warmth and contrast against greenery, making it a stylish choice for garden borders, pathways, or any landscaped area. The stabilized border helps maintain clean lines and structure in the garden, enhancing curb appeal.
DIY Stabilized Walkway Border
Materials
Red cedar mulch (2 cubic feet per 10 linear feet of border)
Liquid mulch glue (1 gallon per 20 square feet)
Mixing bucket or wheelbarrow
Trowel or small shovel
Gloves
Measuring tape
Garden edging (optional, for extra definition)
Plastic sheeting or tarp (for mixing area)
Directions
Begin by measuring the length of the area where you want to create the border to determine how much red cedar mulch and liquid mulch glue you will need.
Lay down plastic sheeting or a tarp in your workspace to protect the ground and make cleanup easier.
Pour the desired amount of red cedar mulch onto the tarp. Wearing gloves, use a trowel or small shovel to create a mound in the center.
Slowly add liquid mulch glue to the mulch, starting with a small amount. Use your hands or the trowel to thoroughly mix the glue into the mulch until it's evenly coated and begins to clump together.
Continue to add glue and mix until the mulch reaches a sticky, dough-like consistency that holds its shape when squeezed.
Once the mixture is ready, scoop it up and begin forming it into a border along the desired area of your garden or pathway. Press down firmly to ensure it adheres to the ground.
For a more defined edge, you can install garden edging along the border before placing the mulch mixture.
Allow the mixture to dry and cure according to the instructions on the liquid mulch glue packaging, typically 24-48 hours.
After drying, the border should be solid and stable, providing a neat and organized look to your landscape.
Variations & Tips
To add variation to this project, consider using different colored mulches to match or complement your garden's color scheme. You can also mix in decorative stones or pebbles with the mulch for added texture and interest. If you have a longer border to create, consider using a wheelbarrow for easier mixing. For a more permanent solution, consider embedding small bricks or stones along the edge before applying the stabilized mulch.