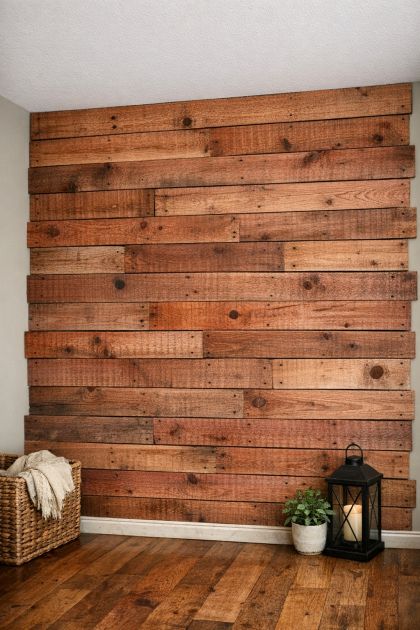
Creating a rustic feature wall using cedar fence boards is a fantastic way to add warmth and character to a room. This DIY project is both simple and impactful, allowing you to transform a plain drywall surface into a stunning focal point. Cedar boards, known for their rich reddish hues and natural texture, offer an organic feel that can make any space feel cozy and inviting. Whether you're aiming to enhance a living room, bedroom, or even a hallway, this project offers a compelling visual upgrade to your home.
This rustic feature wall is perfect for homes that embrace natural elements and a cozy atmosphere. The reddish tones of cedar complement a variety of interior styles, including farmhouse, coastal, and eclectic. Pair the feature wall with neutral-colored furniture and accents to let the rich texture of the wood shine. Incorporate soft textiles and greenery to further enhance the rustic charm. This wall can also serve as a backdrop for artwork or shelves, adding depth and interest to your decor.
DIY Rustic Cedar Feature Wall
Materials
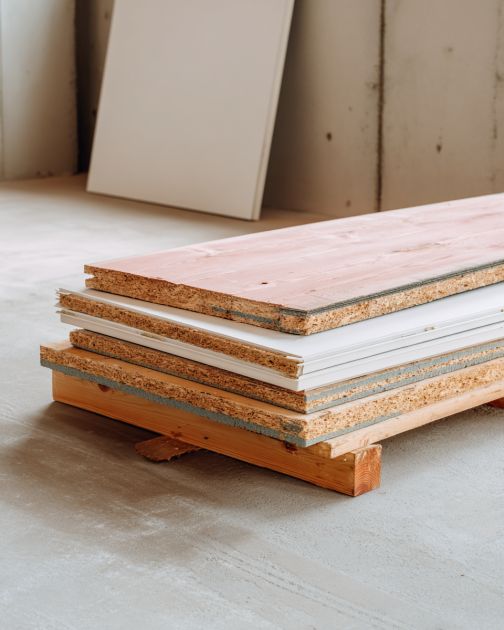
Rough cedar fence boards (1x6 inches, number depending on wall size)
Nails (1.5-inch finishing nails)
Hammer or nail gun
Measuring tape
Level
Stud finder
Saw (hand saw or circular saw for cutting boards to length)
Sandpaper (optional, for smoothing edges)
Safety goggles
Dust mask
Directions
Measure the wall area where you want to install the cedar feature wall.
Use the stud finder to locate and mark the studs behind the drywall for secure nailing.
Cut the cedar boards to the desired length using a saw. Consider staggering the lengths for a more dynamic look.
Starting at the bottom of the wall, position the first cedar board horizontally and ensure it's level.
Nail the board into place, securing it to the studs. Use two nails per stud for stability.
Continue adding boards above the first, ensuring each is level and fits snugly against the previous one.
Repeat the process until the entire wall is covered, trimming boards as necessary to fit around outlets or light switches.
Optionally, sand the edges of the boards to prevent splinters.
Inspect the wall for any loose boards and secure them as needed.
Variations & Tips
For a different look, consider painting or staining the cedar boards before installation to match your home's color scheme. You can also create a herringbone or chevron pattern for added visual interest. If you prefer a smoother finish, sand the boards more thoroughly before installation. For a more dramatic effect, incorporate lighting along the top or sides of the feature wall to enhance the wood's texture and color. Remember to adjust the board placement around any obstacles like outlets or window frames for a seamless appearance.