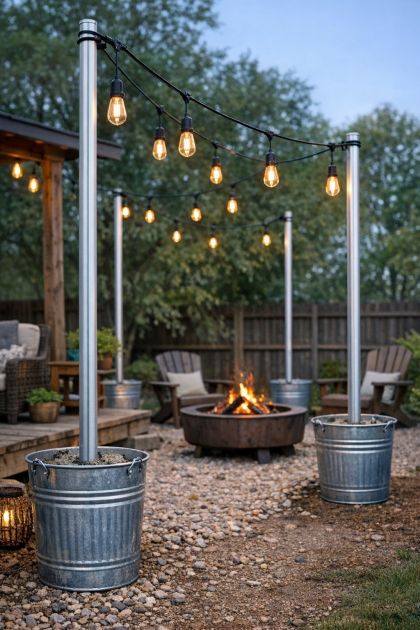
Transforming your backyard into a beautifully lit oasis can be both functional and stylish with this DIY project. Cementing tall aluminum poles inside ribbed galvanized metal buckets not only provides a sturdy base for outdoor lighting but also adds a modern industrial charm to your outdoor space. This guide will walk you through how to create durable and attractive light poles that enhance the ambiance of your backyard, making it perfect for evening gatherings or simply enjoying a quiet night under the stars.
These DIY light poles are perfect for creating a warm and inviting atmosphere in any backyard setting. Pair them with string lights to illuminate pathways or seating areas, adding both safety and aesthetic appeal. The ribbed galvanized metal buckets provide a rustic touch that complements modern and traditional decor alike. Consider using these light poles along garden paths, around decks, or near outdoor dining areas to create a cohesive and stylish outdoor lighting design.
DIY Backyard Light Poles
Materials
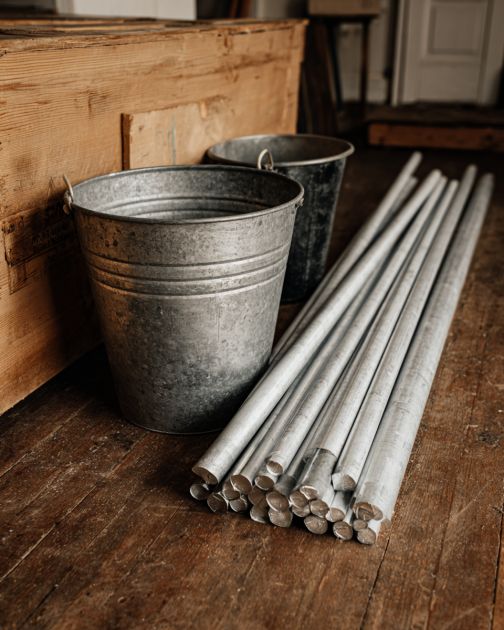
Tall aluminum poles (8-10 feet)
Ribbed galvanized metal buckets (5-gallon capacity)
Quick-setting concrete mix (enough for each bucket)
Water
Bucket or large container for mixing concrete
Trowel or stick for stirring
Level
Protective gloves
Safety goggles
Directions
Start by selecting a flat, stable area in your backyard where you want to place the light poles.
Put on protective gloves and safety goggles to ensure safety while handling concrete.
Mix the quick-setting concrete in a bucket or large container according to the package instructions. Use the trowel or a stick to stir until the mixture is smooth and lump-free.
Fill the ribbed galvanized metal bucket about halfway with the mixed concrete.
Insert the tall aluminum pole into the center of the bucket. Use a level to ensure the pole is perfectly vertical.
Hold the pole steady and fill the rest of the bucket with concrete, ensuring the pole remains centered and upright.
Allow the concrete to set according to the manufacturer's instructions. This usually takes a few hours.
Once the concrete is fully set, your light pole is ready to be used. Attach string lights or other outdoor lighting fixtures to the top of the pole.
Variations & Tips
To customize your DIY light poles, consider painting the aluminum poles with outdoor spray paint to match your backyard's color scheme. You can also use buckets of different sizes or shapes for a varied look. For added stability, consider placing gravel or stones at the bottom of the bucket before pouring in the concrete. If you prefer a more natural aesthetic, wrap the poles with climbing plants or vines. Additionally, solar-powered lights can be used for an eco-friendly lighting solution.