Transform your backyard shed into a charming focal point by adding a DIY shed window planter made from painted wooden crates. This simple yet effective home improvement project not only enhances the aesthetic appeal of your shed but also provides a functional space for plants, adding a touch of nature to your outdoor area. Attaching painted wooden crates below small glass windows is an adorable way to utilize space and bring life to your backyard.
This home improvement project is perfect for those looking to add a rustic or farmhouse touch to their outdoor space. The painted wooden crates can be customized to match the existing color scheme of your backyard or shed, providing a seamless integration into your outdoor design. Consider using contrasting colors for the crates to make them stand out or earthy tones to blend in with the natural surroundings. This charming addition not only enhances the visual appeal of your backyard but also promotes a sense of coziness and homeliness.
DIY Shed Window Planter
Materials
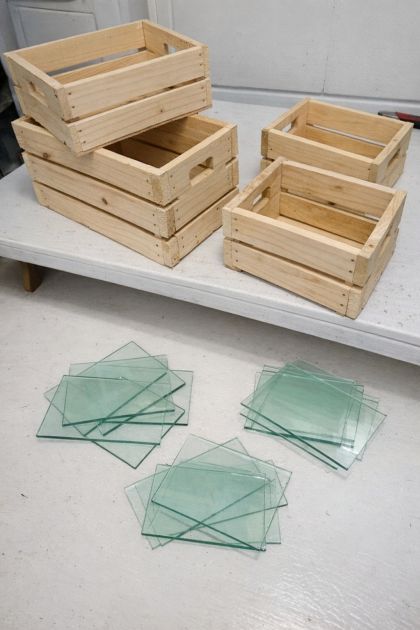
2 wooden crates (each approximately 12" x 18" x 9")
Exterior-grade wood paint (color of your choice)
Sandpaper (medium grit)
Paintbrushes
Drill with screwdriver bit
Wood screws (1.5 inches)
Level
Measuring tape
Protective gloves
Safety goggles
Directions
Start by sanding the wooden crates to smooth out any rough edges and prepare them for painting.
Once the crates are sanded, wipe them down with a damp cloth to remove any dust.
Paint the crates with your chosen exterior-grade wood paint. Allow them to dry completely before applying a second coat, if necessary.
While the crates are drying, use a measuring tape to determine the ideal placement below your small glass windows. Ensure that the crates will be centered and level.
Once the paint is dry, position the first crate below the window, using a level to ensure it is straight.
Drill pilot holes through the back of the crate and into the shed wall. Secure the crate using wood screws.
Repeat the process for the second crate, ensuring both crates are evenly spaced and aligned.
Once both crates are securely attached, fill them with potting soil and plant your chosen flowers or greenery.
Variations & Tips
For variations, consider using different sizes or styles of crates to create a unique look. You could also experiment with different paint techniques, such as distressing for a vintage look or using stencils to add patterns or designs. If you prefer a more natural look, leave the crates unpainted or use a wood stain to enhance the natural grain. Additionally, you could line the crates with plastic to prevent soil from leaking and use them as herb gardens or succulent planters.