Repurposing everyday items into unique home decor pieces can be a fun and rewarding project. This DIY project transforms broken wooden ruler pieces and a few other common household items into a stunning and unexpected creation. It's a perfect weekend project for those who love to add a touch of creativity and individuality to their homes.
This DIY piece can be styled in modern or eclectic interiors. Place it on a bookshelf or console table as a conversation starter. Pair it with neutral-colored decor to let its intricate details stand out, or surround it with other natural wood elements for a cohesive look.
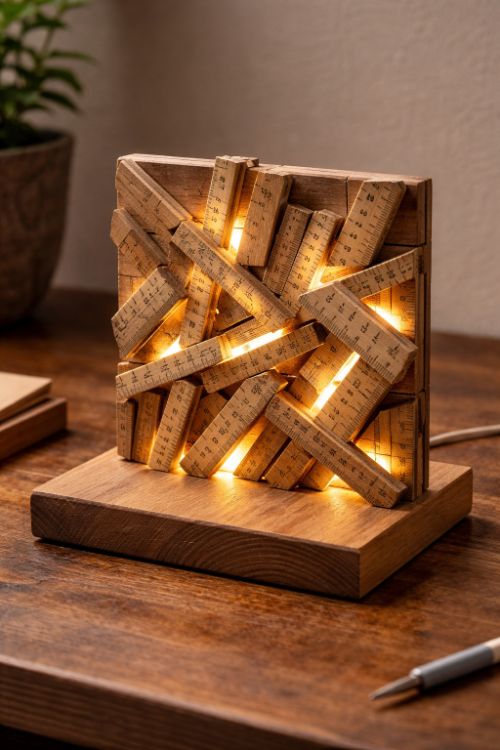
Ruler Lamp
Materials
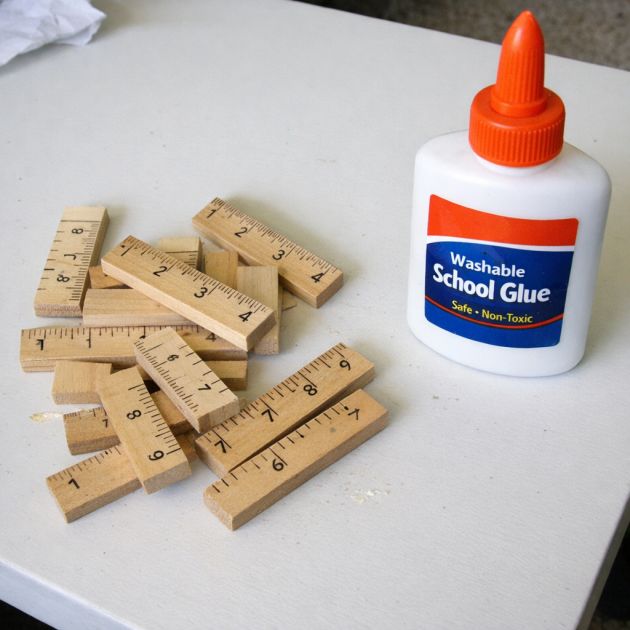
Broken wooden ruler pieces (approximately 10-15 pieces)
Small wooden base (6x6 inches)
LED light strip (12 inches)
Clear epoxy glue
Sandpaper (medium grit)
Directions
Sand down any rough edges on the broken ruler pieces to ensure they are smooth and splinter-free.
Arrange the ruler pieces in a pattern on the base, leaving space for the LED light strip. Experiment with different configurations until you find a design you like.
Use the clear epoxy glue to securely attach the ruler pieces to the wooden base. Allow the glue to cure for at least 24 hours.
Once the glue is dry, attach the LED light strip to the base, ensuring it is evenly distributed to illuminate the piece effectively.
Plug in the LED light strip and enjoy your new decorative lamp.
Variations & Tips
For a different look, consider painting the ruler pieces in various colors before assembling them. You can also use different types of wood to add texture and contrast. If you prefer a more rustic appearance, leave the rulers in their natural, weathered state. Experiment with different lighting temperatures of the LED strip to match your room's ambiance.