Creating a simple and effective greenhouse cloche using plastic milk jugs is a great way to extend your gardening season. This DIY project transforms common household items into a practical tool that helps protect plants from cold weather, facilitates early planting, and encourages faster growth by maintaining warmth and humidity around the plants.
These greenhouse cloches can be placed in a garden bed or on a patio. The translucent white of the plastic milk jugs complements the green of plant foliage, creating a clean and natural aesthetic. Arrange multiple cloches in a symmetrical pattern for a visually pleasing effect, and consider placing them among potted plants for a cohesive look.
Plastic Milk Jug Greenhouse Cloches
Materials
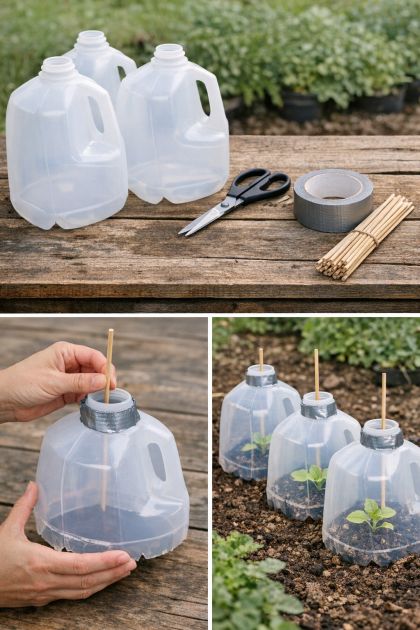
2 Plastic milk jugs (1-gallon size, thoroughly cleaned)
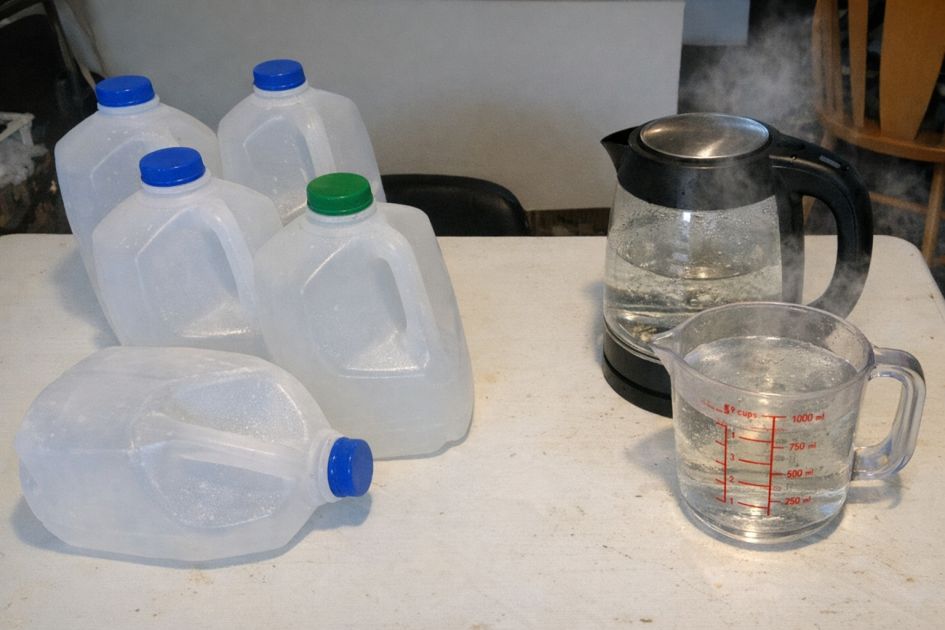
1 Metal basin large enough to partially submerge the jugs
Boiling water (enough to fill the basin half-full)
Directions
Cut the bottom 2 inches off each plastic milk jug using a sharp utility knife to create an open base. This will allow the cloche to fit over plants.
Heat water until boiling and carefully pour it into the metal basin until it's half full.
Submerge the cut edge of each milk jug into the steaming water for about 30 seconds to soften the plastic, which will help eliminate sharp edges and make the jugs easier to handle.
Remove jugs from the water and let them cool slightly. The softened edges will harden quickly, forming a smooth and safe base.
Place the cloches over young plants or seedlings in your garden, ensuring the open base is in contact with the soil. This creates a mini greenhouse effect.
Variations & Tips
For added stability, you can weigh down the cloches by placing small stones or garden soil around the base. If you need ventilation, consider cutting a small flap or holes at the top of each jug to allow excess heat to escape. Another variation includes painting the top of the jugs with a non-toxic white paint to reflect sunlight and prevent overheating, especially in warmer climates.